A user group is a collection of Management UI users grouped under a specific name. Setting up user groups simplifies the alignment of users, organizational structures, and roles. This module enables the configuration of record-level security, allowing users to access certain entity records while restricting access to others. To prevent users from altering their user group settings or manipulating other user groups, the system administrator must configure entity-level access in Roles (for example, Create and Update rights for the users they wish to restrict). For additional security measures, see our security overview.
Antavo’s user groups can be nested within other groups in a parent-child relationship, reflecting the company’s hierarchy. For example, a Global group can include Europe users and APAC users.
Users can belong to multiple user groups if they participate in different hierarchical structures.
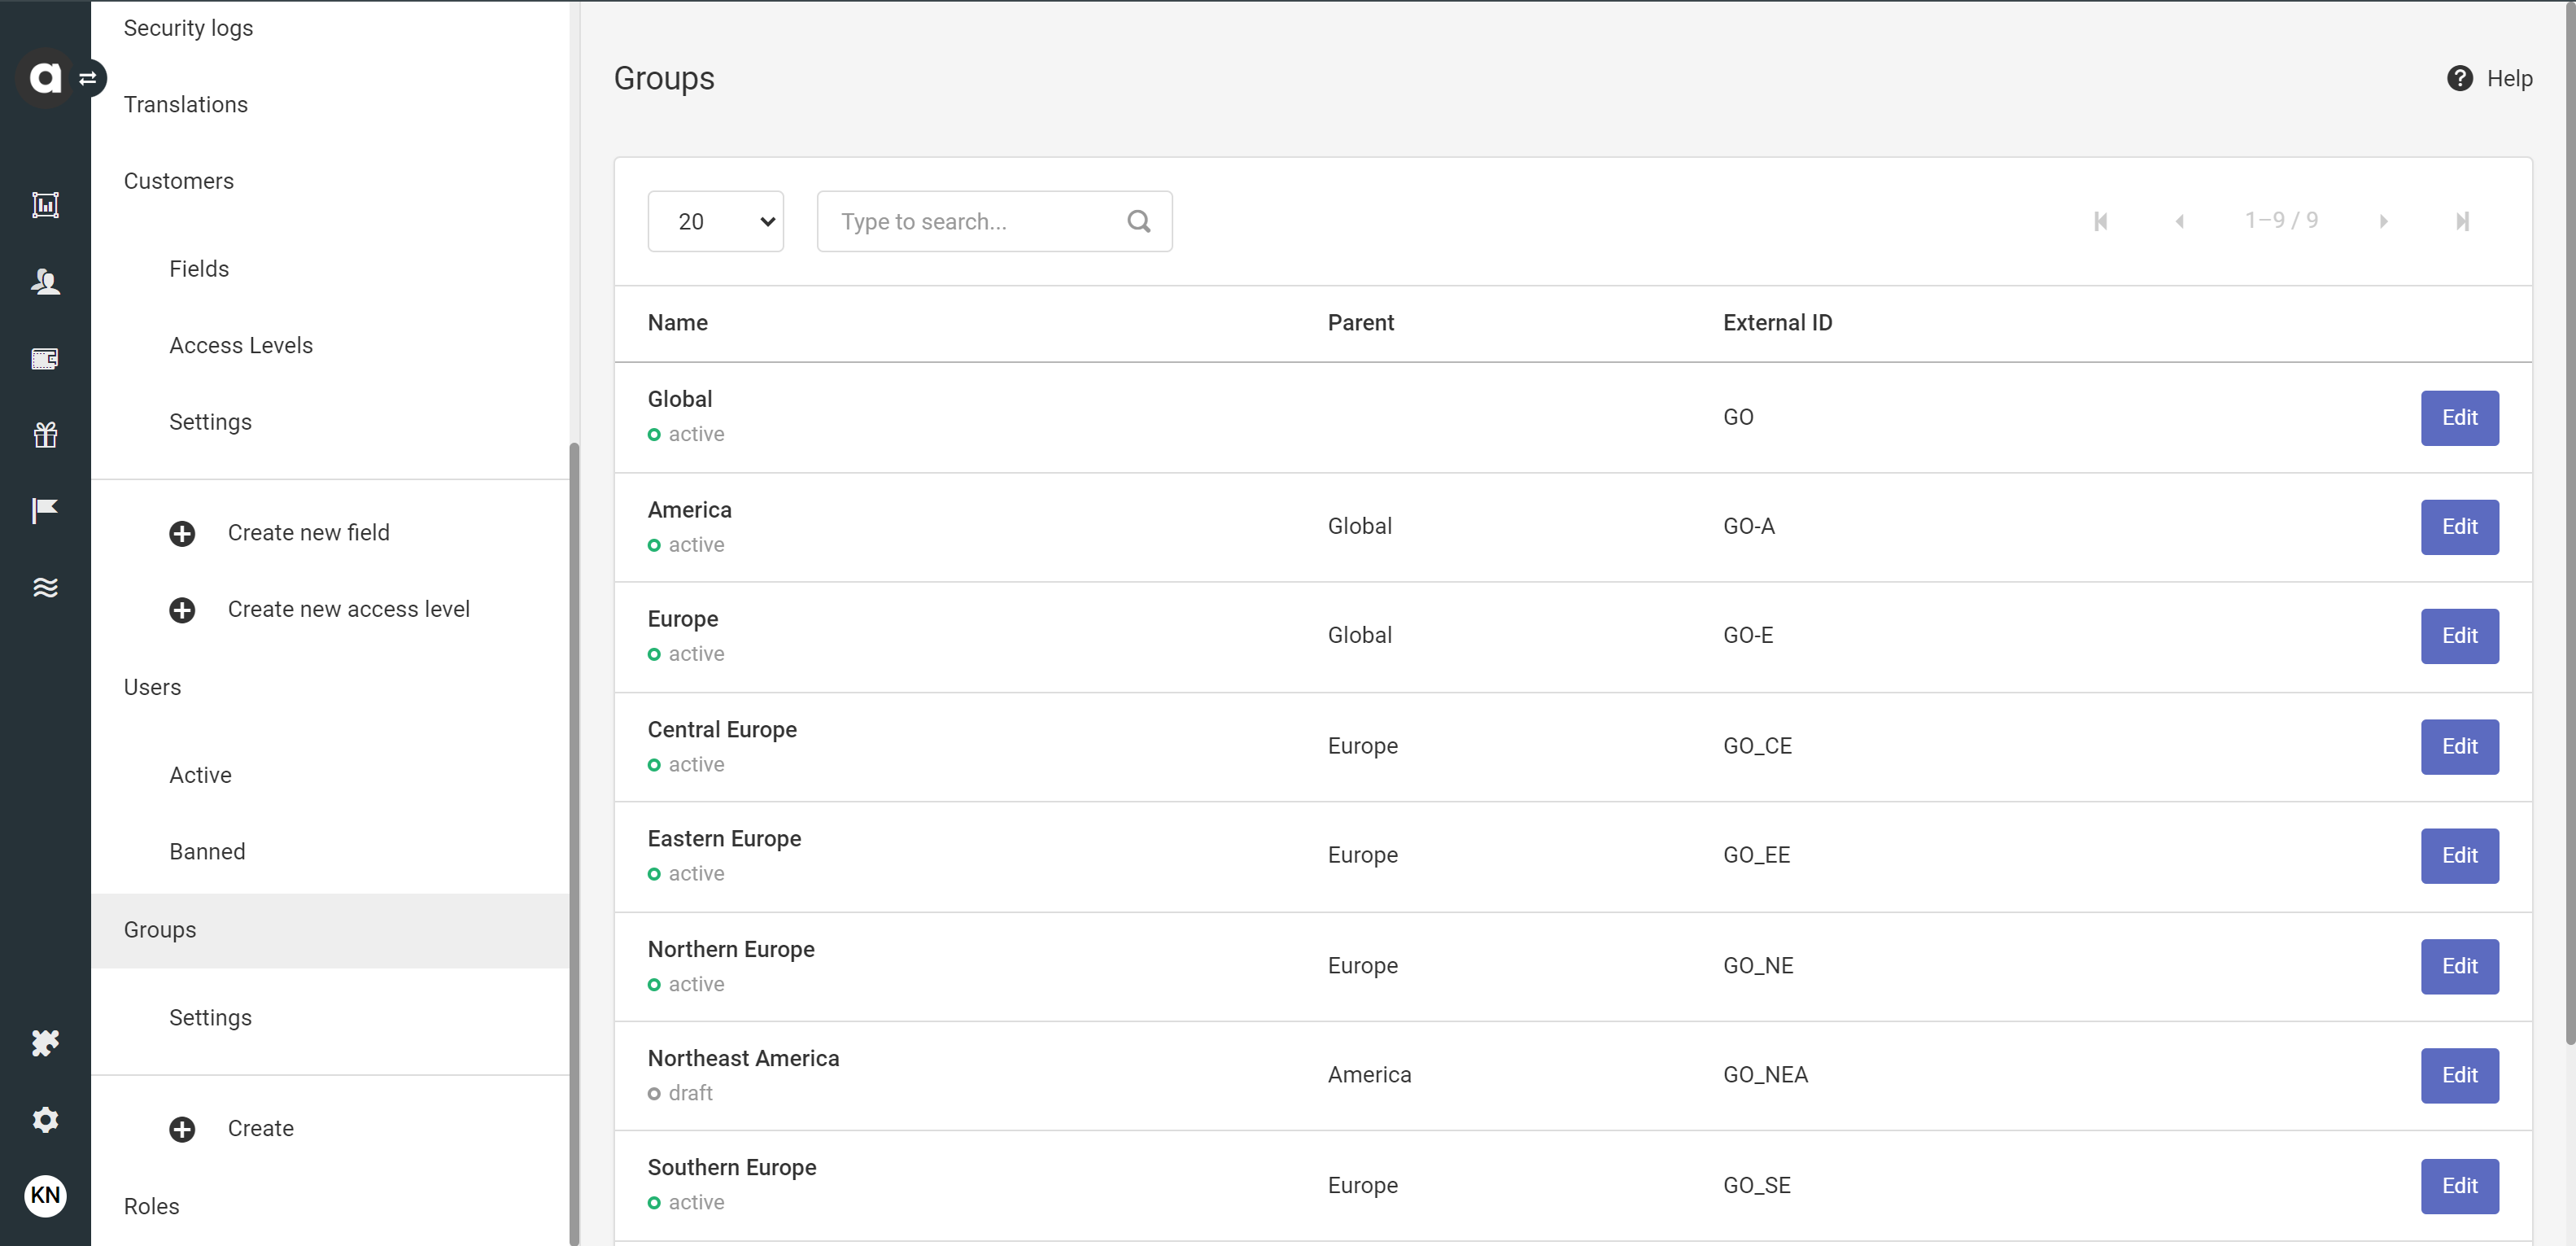
To access the module configuration page, click the Settings icon in the main sidebar, and navigate to the Groups tab. When you open the page, you will see a list of user groups configured. Each group displays the following information:
Name | The name of the user group. A text label below the name indicates whether the group is active or inactive. |
Parent | The parent group, e.g., Global or Europe |
External ID | The external identifier of the user group |
Configuring user groups
Create a new user group
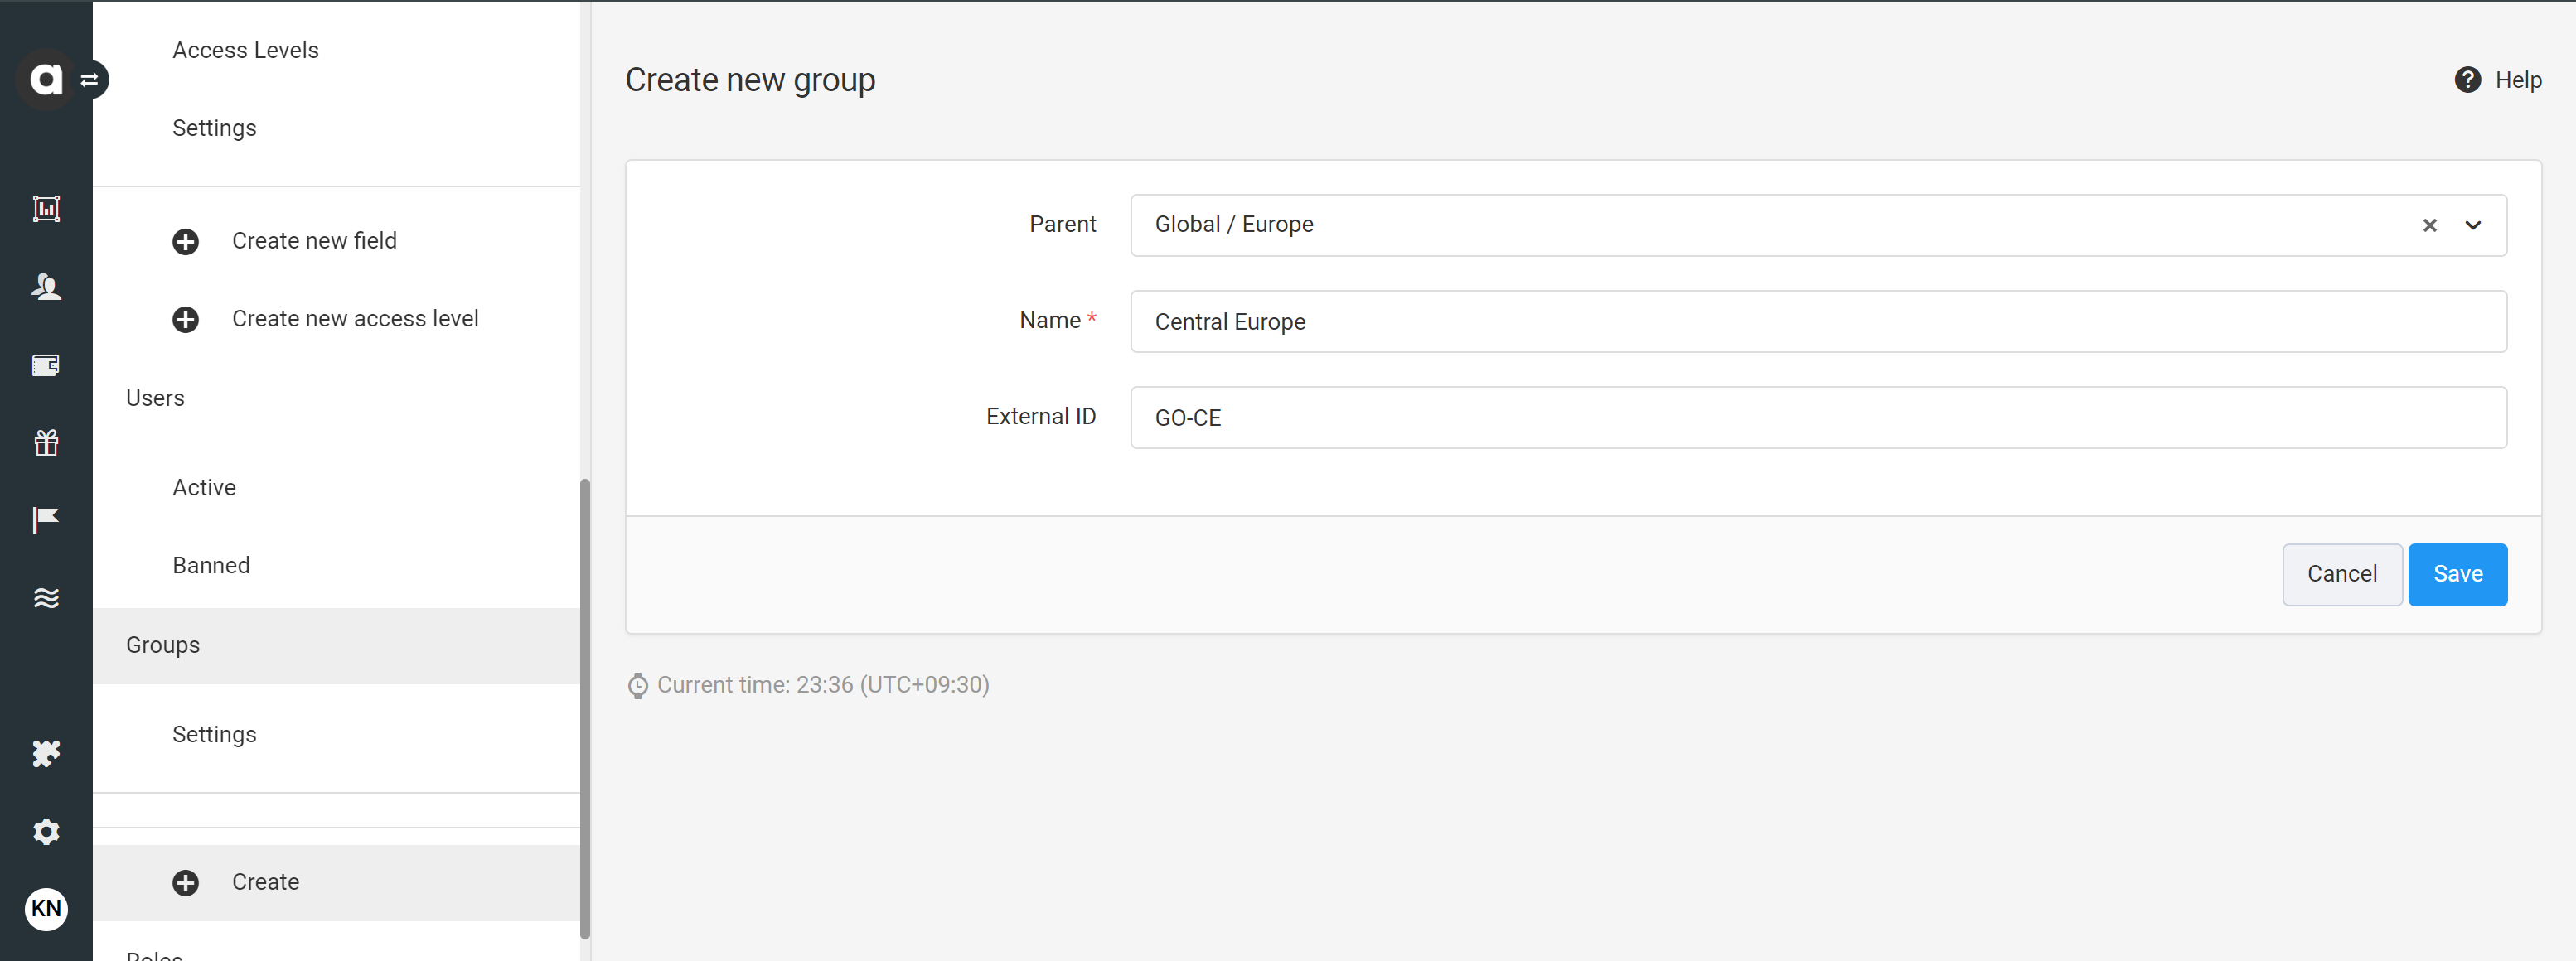
Click the Create menu item on the left-hand side
Use the Parent field to add the name of the group from which this user group will inherit permissions
For example, if you are configuring a new Central Europe group, it can inherit the permissions from the Europe group.Add the human-readable name of the user group
Add the unique external identifier, which will be used by systems outside of Antavo
Click Save
After saving for the first time, the status of the group is draft. This means the group cannot be assigned to users and only appears in the list of groups on the User groups module configuration page.
To activate the new user group, click the Set active button on the upper right-hand side of the setup page and confirm the activation in the dialog that appears. Once activated, you can add entity objects to these groups in batches through mapping or individually through the Personal information tab in the Customer insights menu. After assigning a customer to the appropriate user group, the name and external ID of the group will be displayed on the Customer overview page.
Settings
Entities
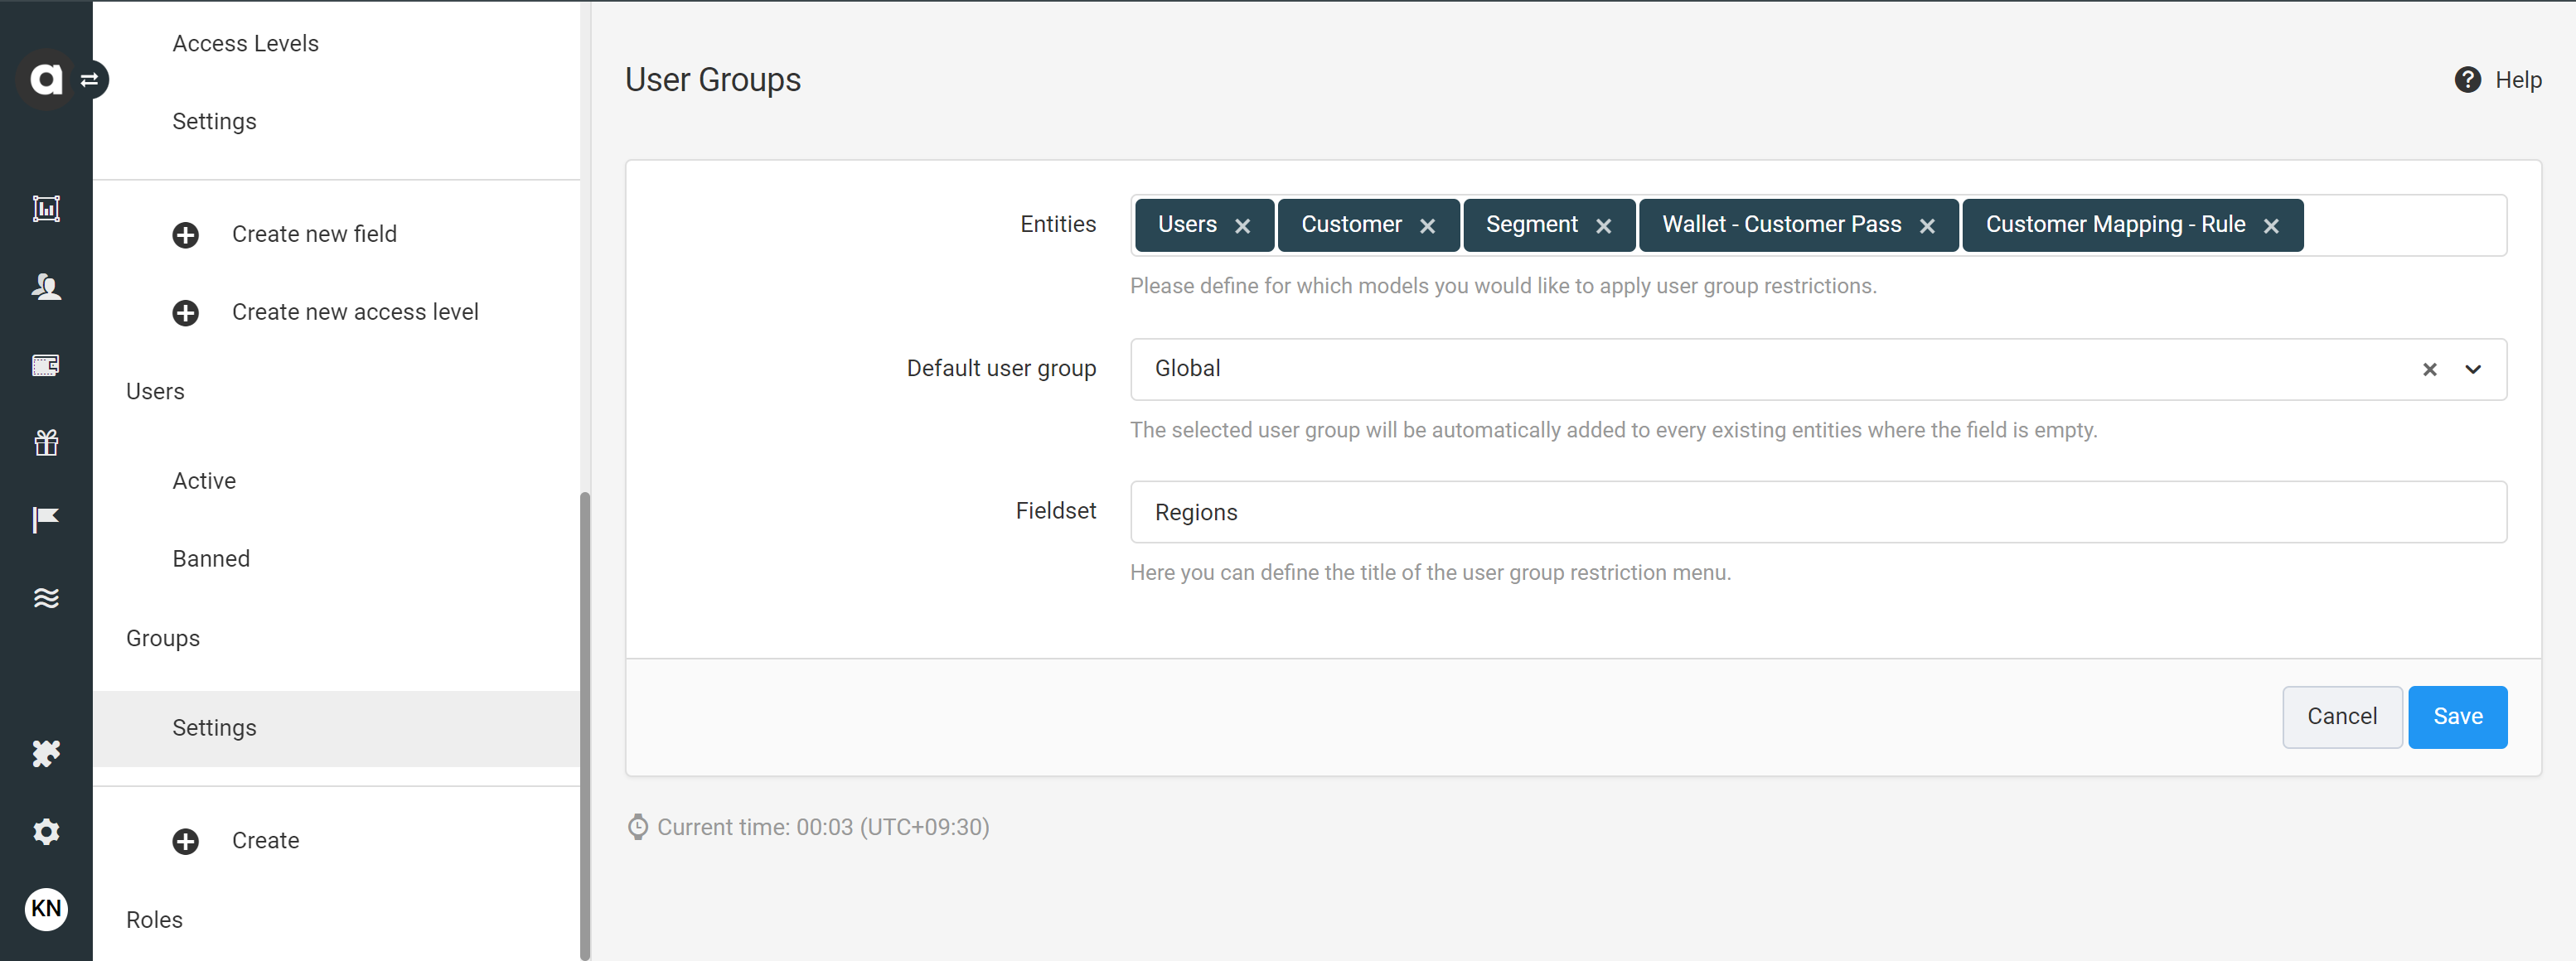
The user group feature is designed to integrate seamlessly with various Antavo functionalities. In the Entities field, you can add the entities you want to work with based on user group permissions. The individual items of these entities will be accessible to users according to the user group settings of the items.
The supported entities are as follows:
Users: Added under Settings → Users
Challenges: Added under Challenges
Customers: Listed under Customer insights
Transactions: Stored under Transactions
Segments: Created under Segments
Webhook logs
Tiers: Added under Tiers
Approval items:Aadded under Content approvals
Workflows: Added under Workflows
Products: Added under Product catalog
Coupon pools: Added under Coupons
Coupons: Uploaded in Coupons and/or assigned to customers by Reward and Offer redeem events
Reward categories: Added under Rewards
Customer reward claims: Registered through Reward events
Stores: Added under Store management
Gamified profiling flows: Added under Gamified profiling
Customer passes: Assigned to specific customers and stored under the Customer profile
Pass template: Created under Wallet
Prize Wheels: Added under Prize wheels
Accounts: Created in Multi-accounts
Customer mapping: After configuring mapping rules, customers will be automatically assigned to the given user group.
If user group restrictions are enabled for an entity on the User groups → Settings page, a new column titled User groups. will appear on the corresponding listing page. This column displays which user groups have access to the objects.
Default user group
The user group you select will automatically be associated with all users who have been added with an empty Group field setting.
Fieldset
Using the Fieldset field, you can define the name of the section on the entity editor page where the user group restriction is configurable.
Managing user groups
Edit a user group
Go to the Groups tab of the Settings page
Click the Edit button of the group that you want to edit
Edit the user group settings
Click Save to update settings
Deactivate an account
If you want to stop using an account, you can deactivate it anytime:
Go to the Groups tab of the Settings page
Click the Edit button of the group that you want to deactivate
Click the Set inactive button on the upper right-hand side of the page
Confirm your choice in the dialog that appears
Archive an account
You can delete an inactive user group from the Management UI by archiving it.
Go to the Groups tab of the Settings page
Click on the inactive group you want to archive
Click on the Archive button on the upper right-hand side of the page
Confirm your choice in the dialog that appears
Archiving is irreversible. Once an account is archived, it cannot be restored.
Using user groups as customer filters
If the Customer entity has been added in the User group settings, you can use it as a customer filter in workflows through Customer attribute filters and in segments.
To add customers with a specific user group associated, use the following parameter: Attribute: relations Operator: in group/not in group Value: {ID of the group}

The Value dropdown list displays the human-readable name of the group as well.
Imports and exports related to user groups
Add user group restrictions to entities
Using the Imports module, the user group ID field can be imported for the following entities:
Products
Coupon pools
Stores
Rewards
Create and update user groups
Using the Imports module, you can create new and update existing user groups. Ensure that you include the External ID field values in the import file. The system identifies the existing user groups by the External ID attribute. When updating a group through the import process, it's crucial to include the matching External ID value in the import file.
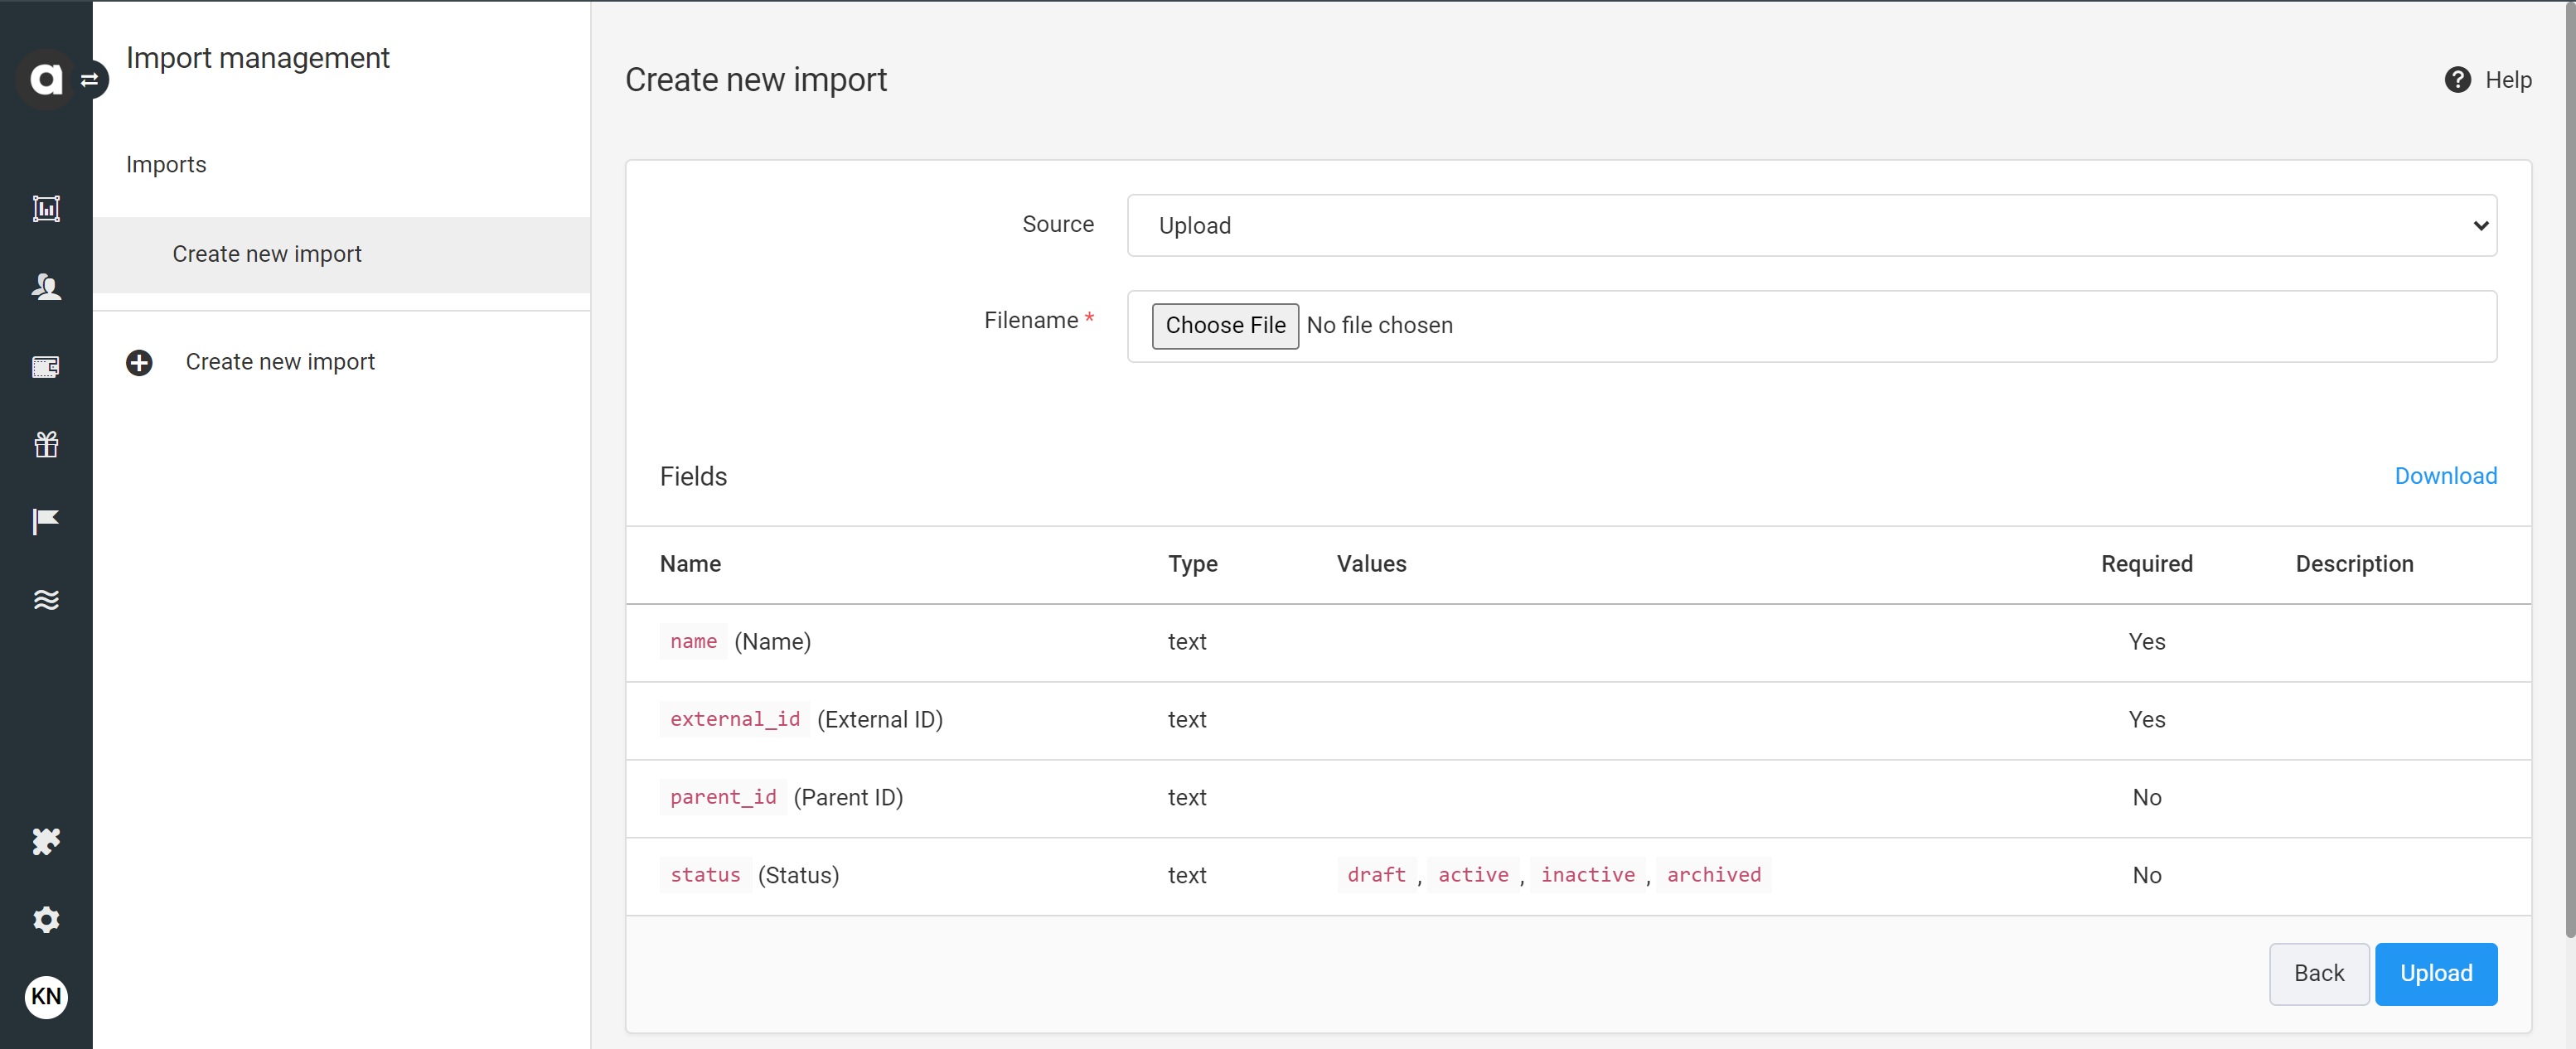
After clicking Upload, the Import settings page will offer you Module options - to update an existing user group, select the Update option.

Export user groups restriction information of entities
Using the Exports module, the assigned user group is exportable for the following entities:
Customers
Content Approvals
Coupons
Coupon pools
Stores
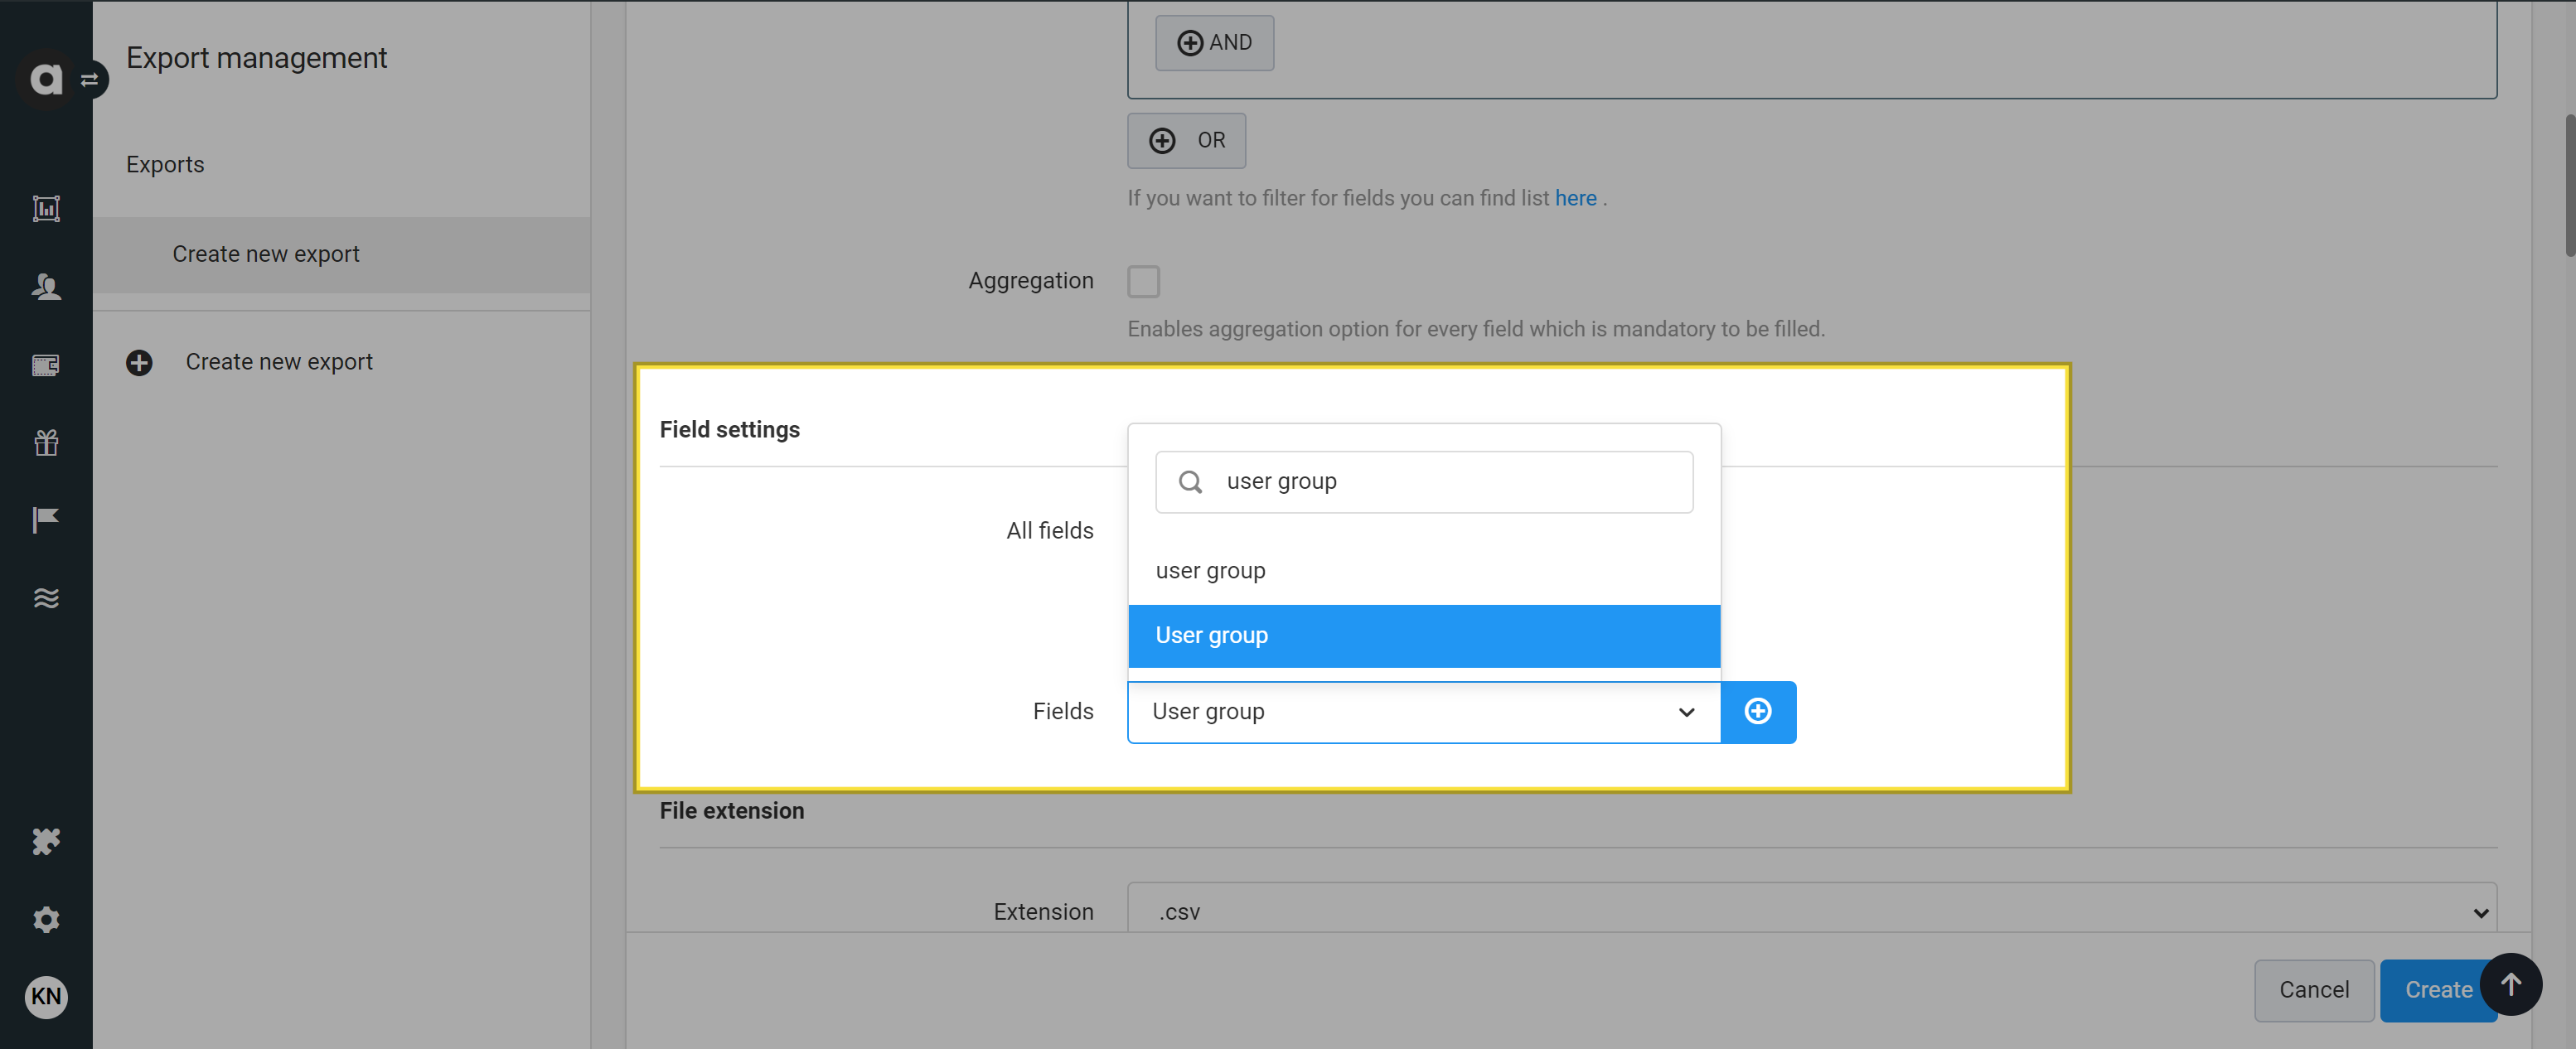
Rewards
