The Users interface enables the addition of more users to the Management UI.
Upon navigating to the Users tab, the page displays a list of active users already added to the Management UI, presenting the following information:
Name | Name of the user |
Username | Username of the user |
Roles | Roles assigned to the user |
Last login at | Date of the last login |
Adding a new user
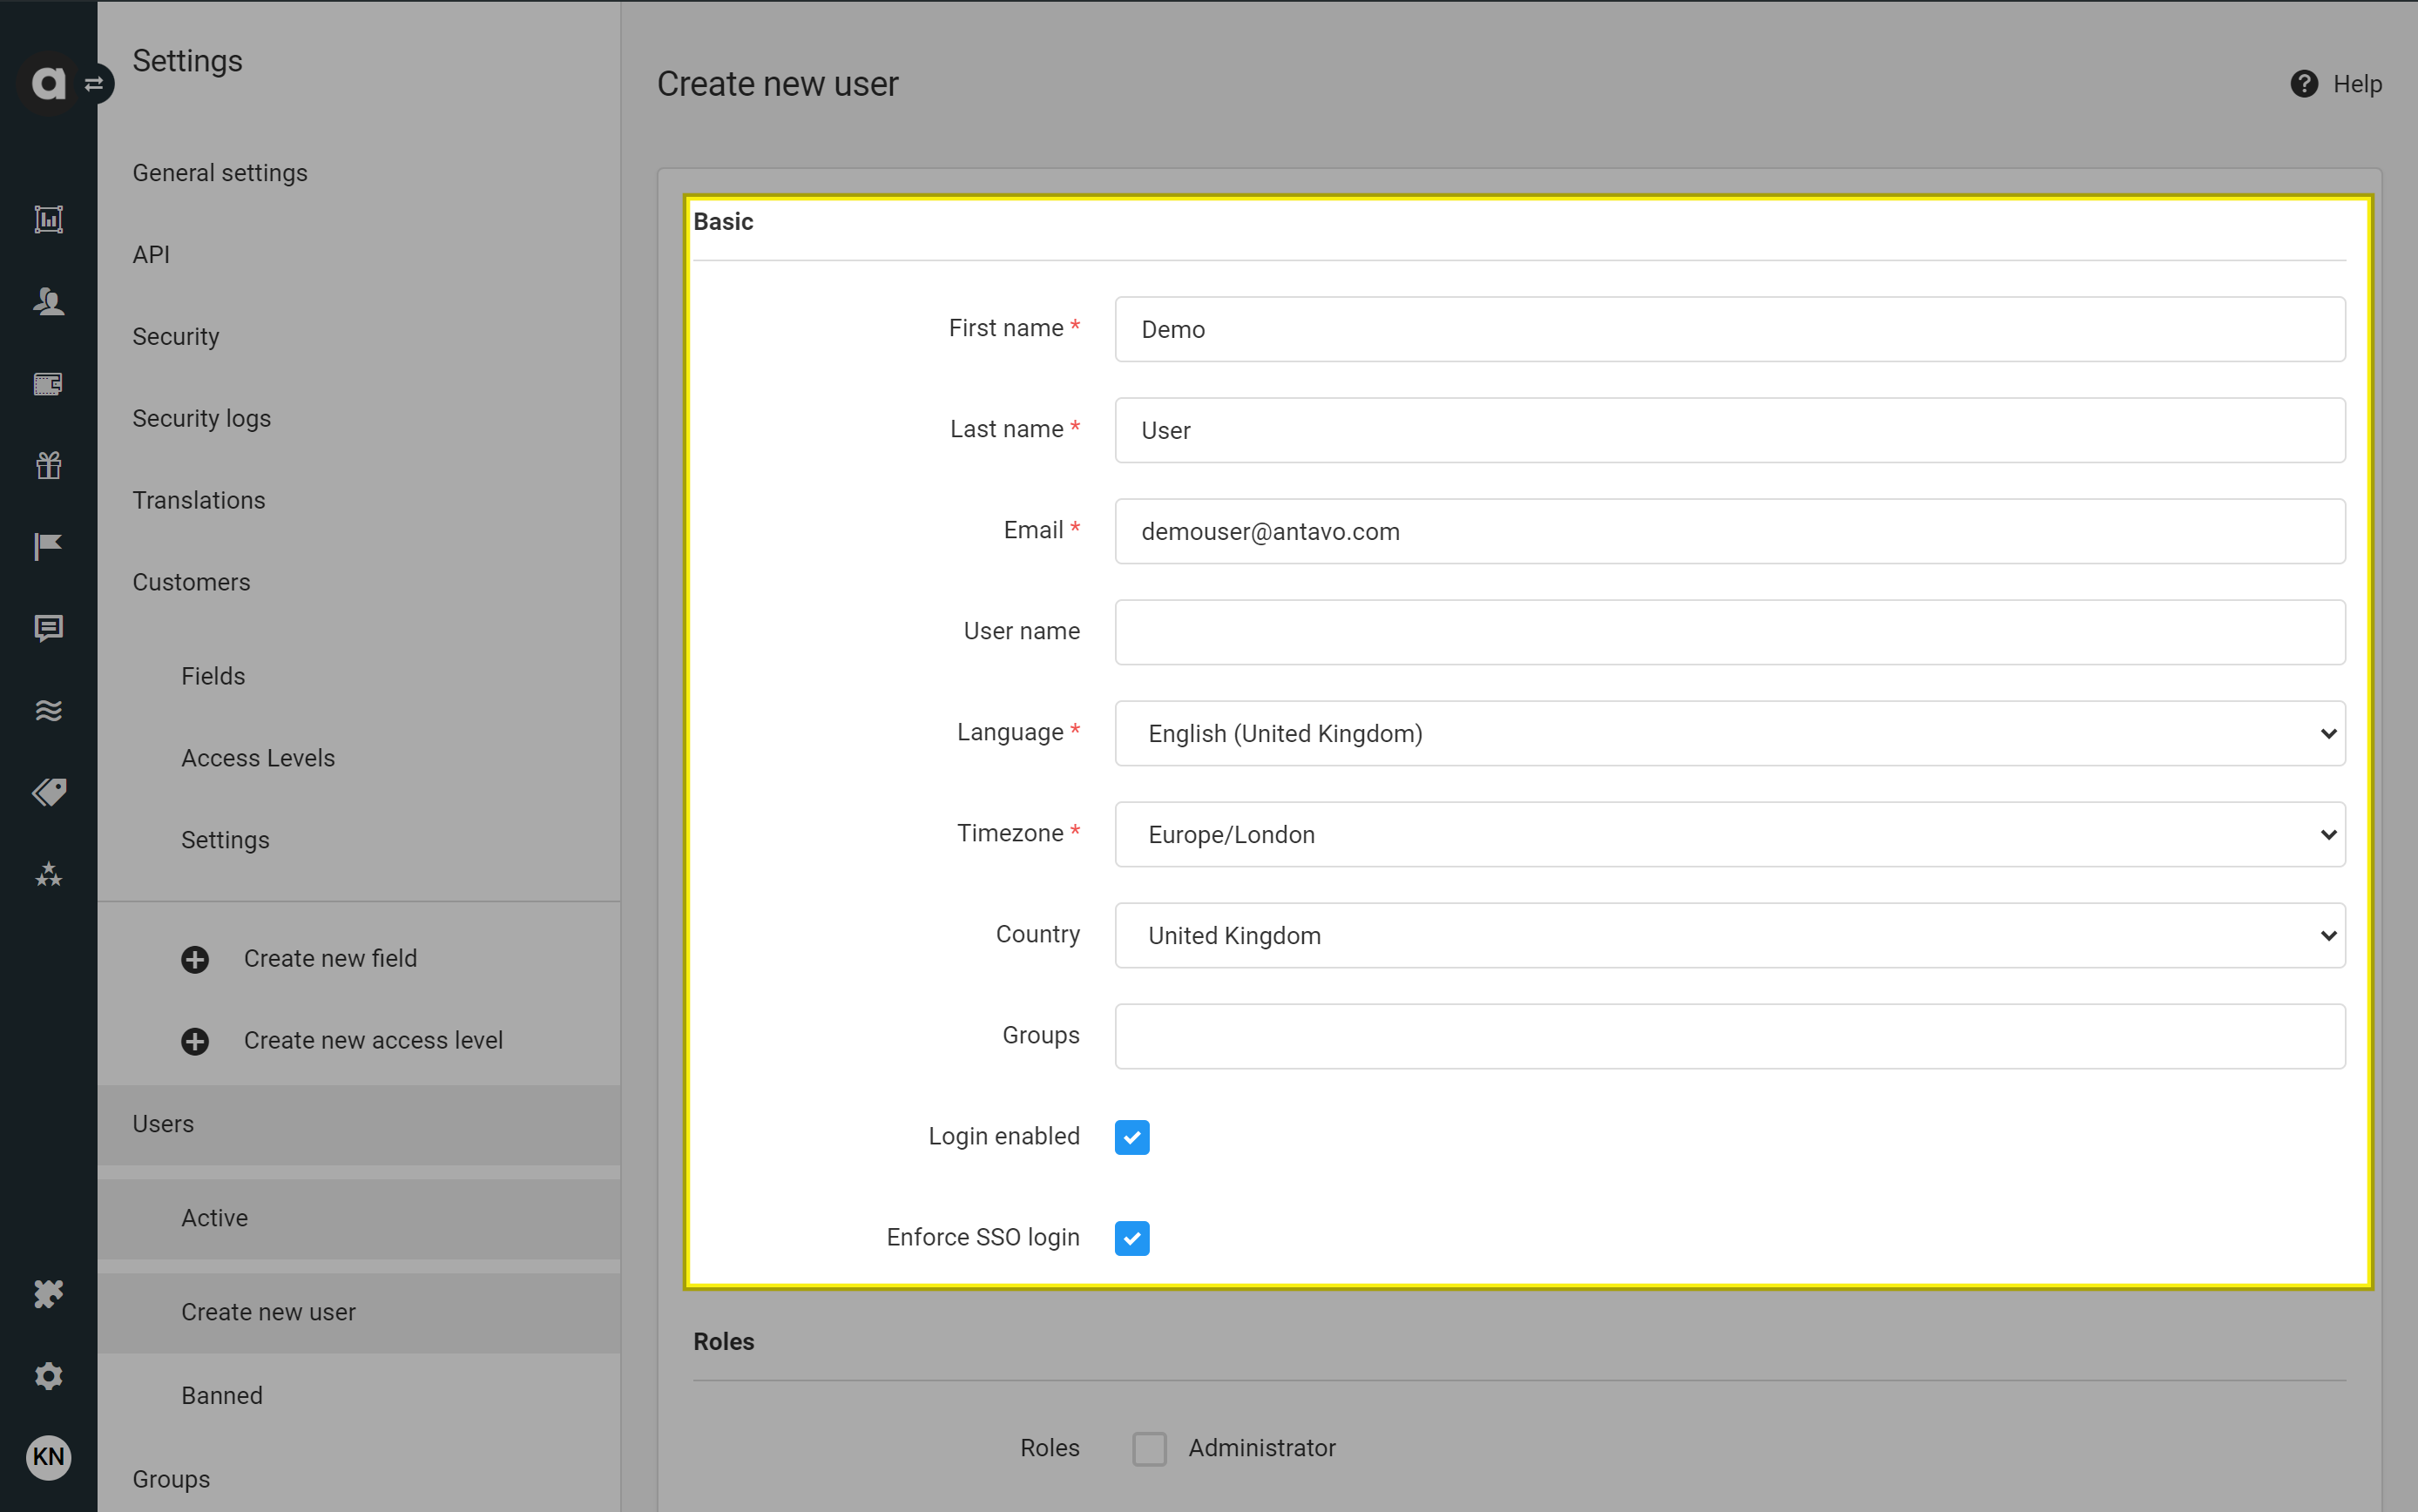
Basic user information
Click the Add new user
Enter the first name
Enter the last name
Add the email address
Add a username
Select the user’s language
The Management UI is available in English (UK), English (US) and Chinese.
This setting controls the language of the interface texts and also applies the corresponding regional date format:English (United Kingdom): day/month/year → 14/04/2023
English (United States): month/day/year → 04/14/2023
Chinese: year/month/day → 2023/04/14
Select the user’s timezone
Select the user’s country
Assign a user group
One user can belong to multiple groups. Read more about user groups in the User groups article.Mark the Login enabled checkbox
Please note that if you leave the checkbox unchecked, the new user won’t be able to log in to the Management UI.Enforce SSO login
If you use the SSO module to authenticate Management UI users, you can decide whether to allow login exclusively through SSO by checking this option. If unchecked, customers can access the Management UI via the Antavo login page. The Enforce SSO login checkbox is enabled by default, meaning users can log in through SSO only.

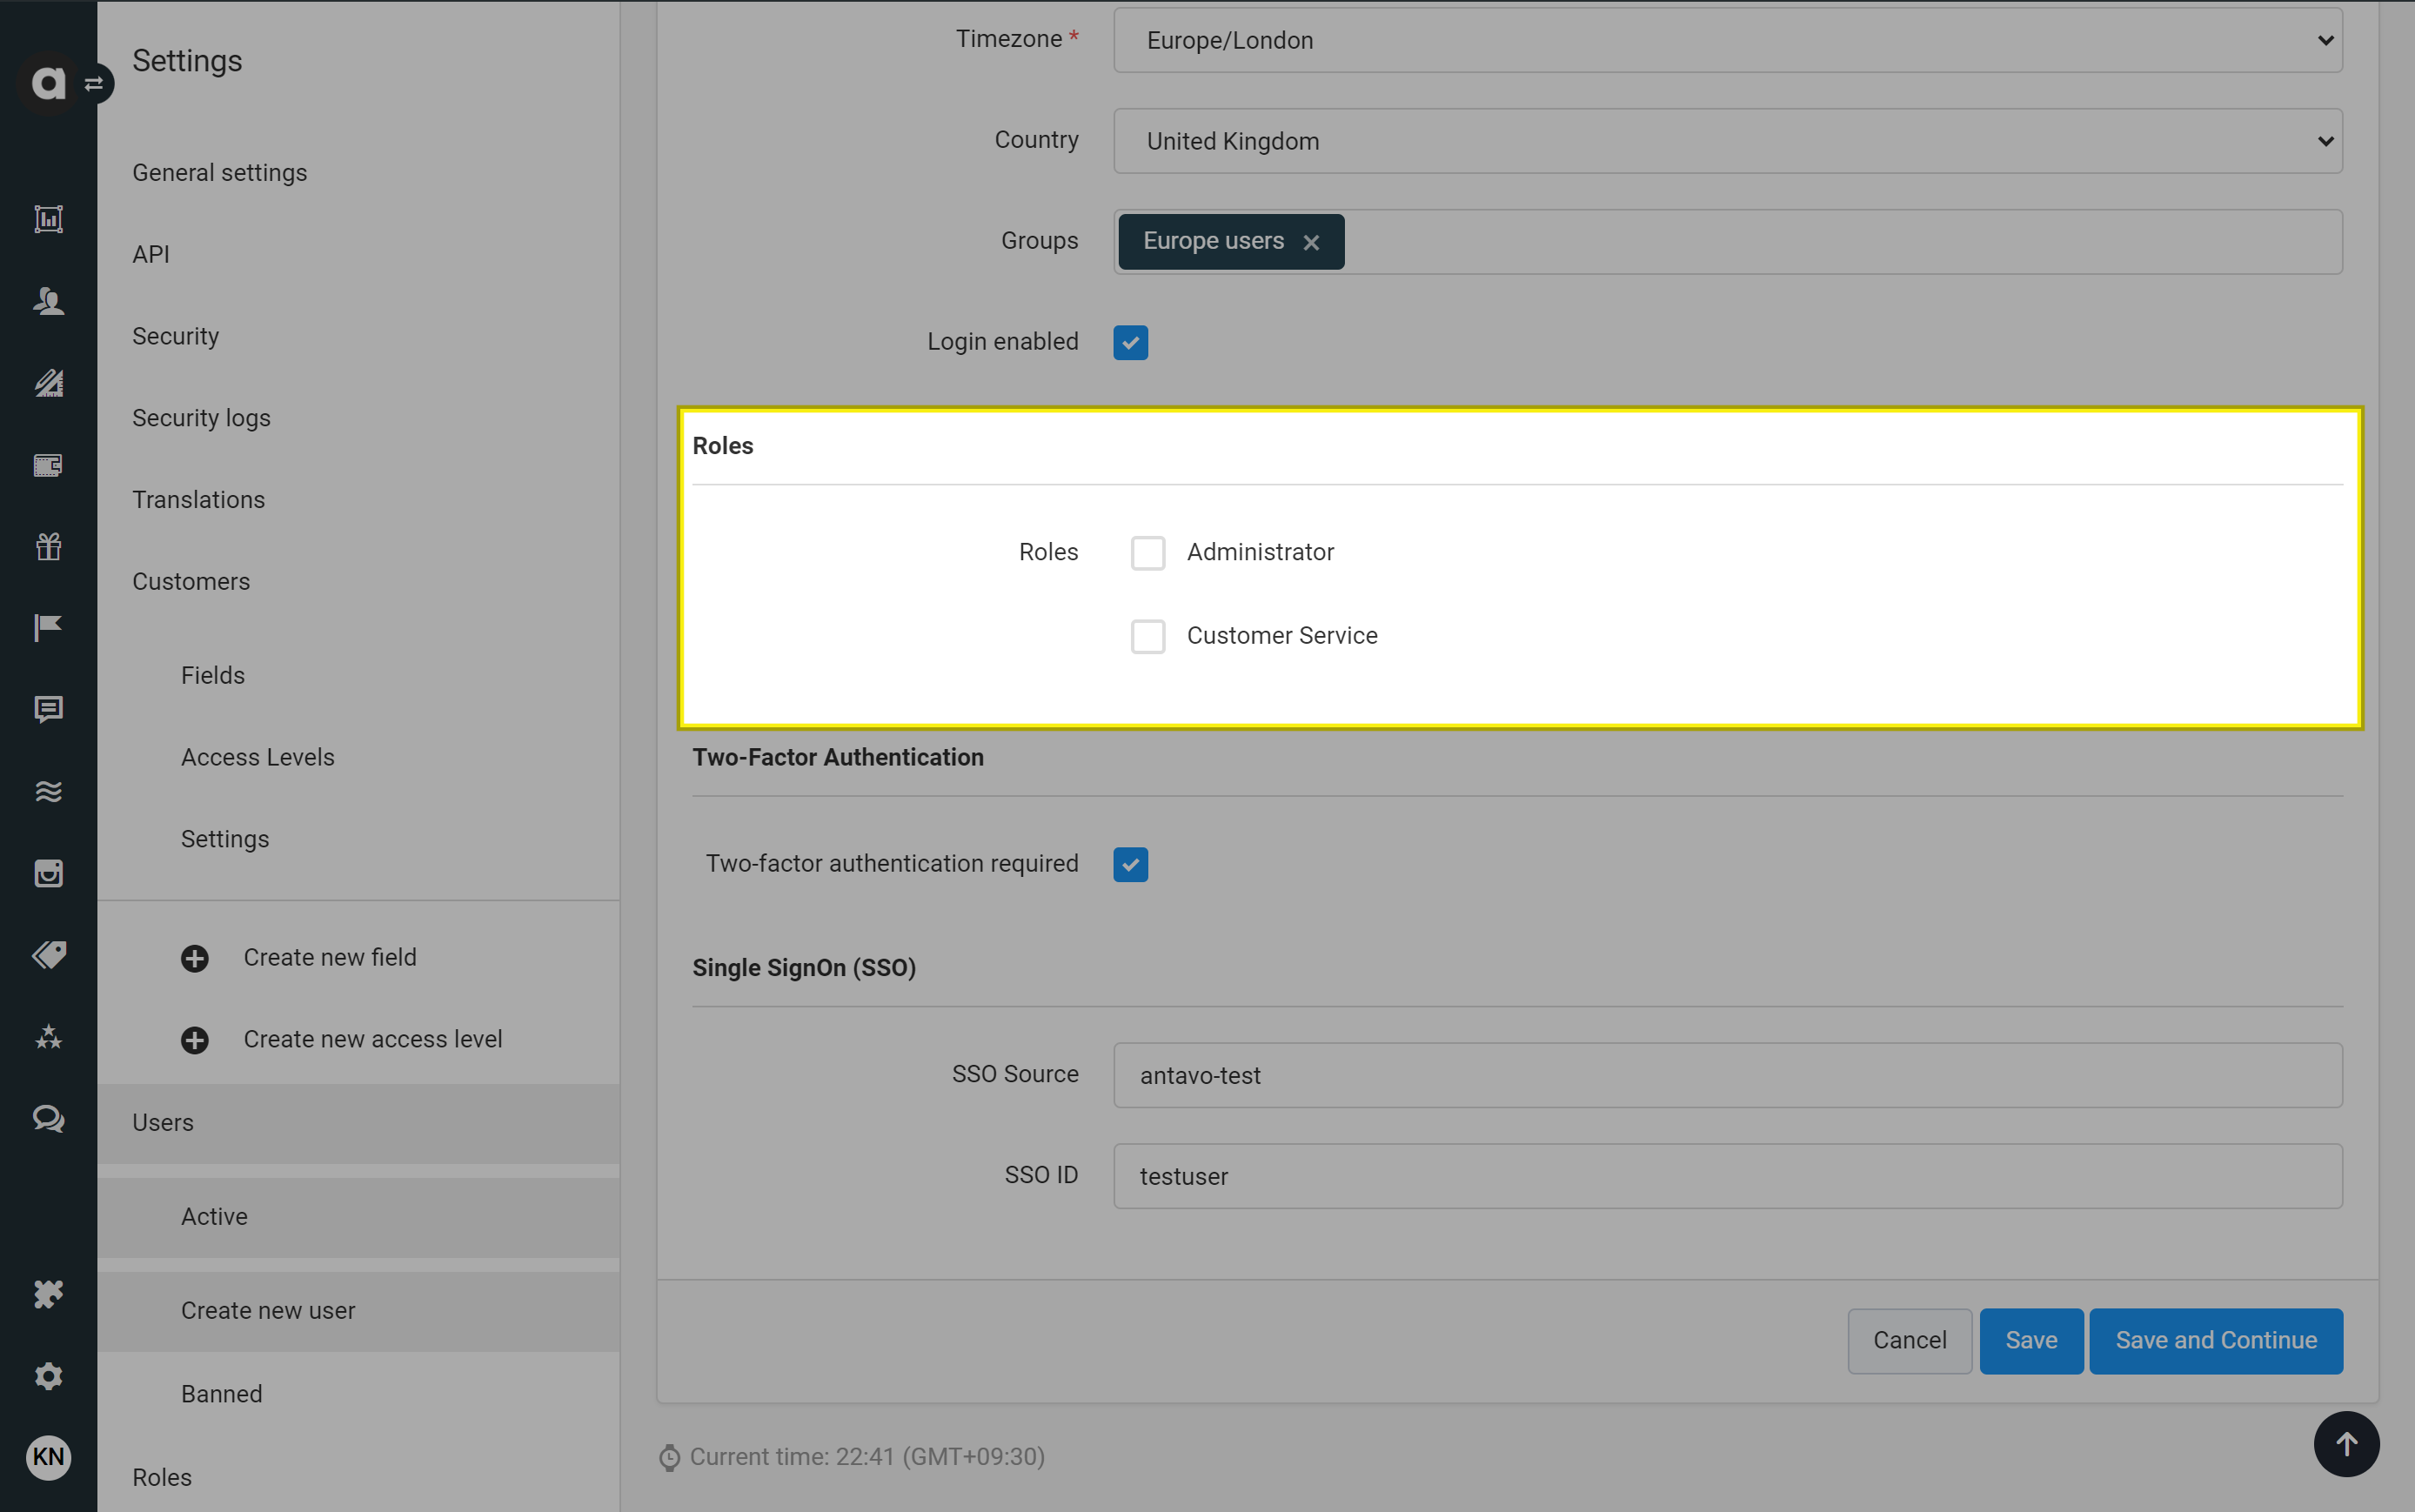
Roles
Assign a role to the new user
Please note that the user will only gain access to the Management UI once a role has been assigned. Find out how to create roles in the Roles article.

Two-Factor Authentication
If the MFA module is enabled in your workspace, you can require the multi-faction authentication process during user logins to the Management UI. Check the box to activate this feature.
.png)
Single Sign On (SSO)
The Single Sign On section appears on the interface when the SSO module is enabled. This section is used to set the SSO Source and SSO ID for the new user.
.png)
Activating SSO replaces the traditional username and password fields with a single sign-in button, as per the CUSTOMER_NAME SIGN_IN_PROVIDER template.
Save the new user
Click Save to save the new user and return to the complete list of users. Alternatively, click Save and continue to save the user and immediately add another.
After a new user is saved, an automated email containing a link to complete account setup by setting a password will be sent to them. Once they’ve set their password, they can log into the Management UI and access pages according to their assigned role.
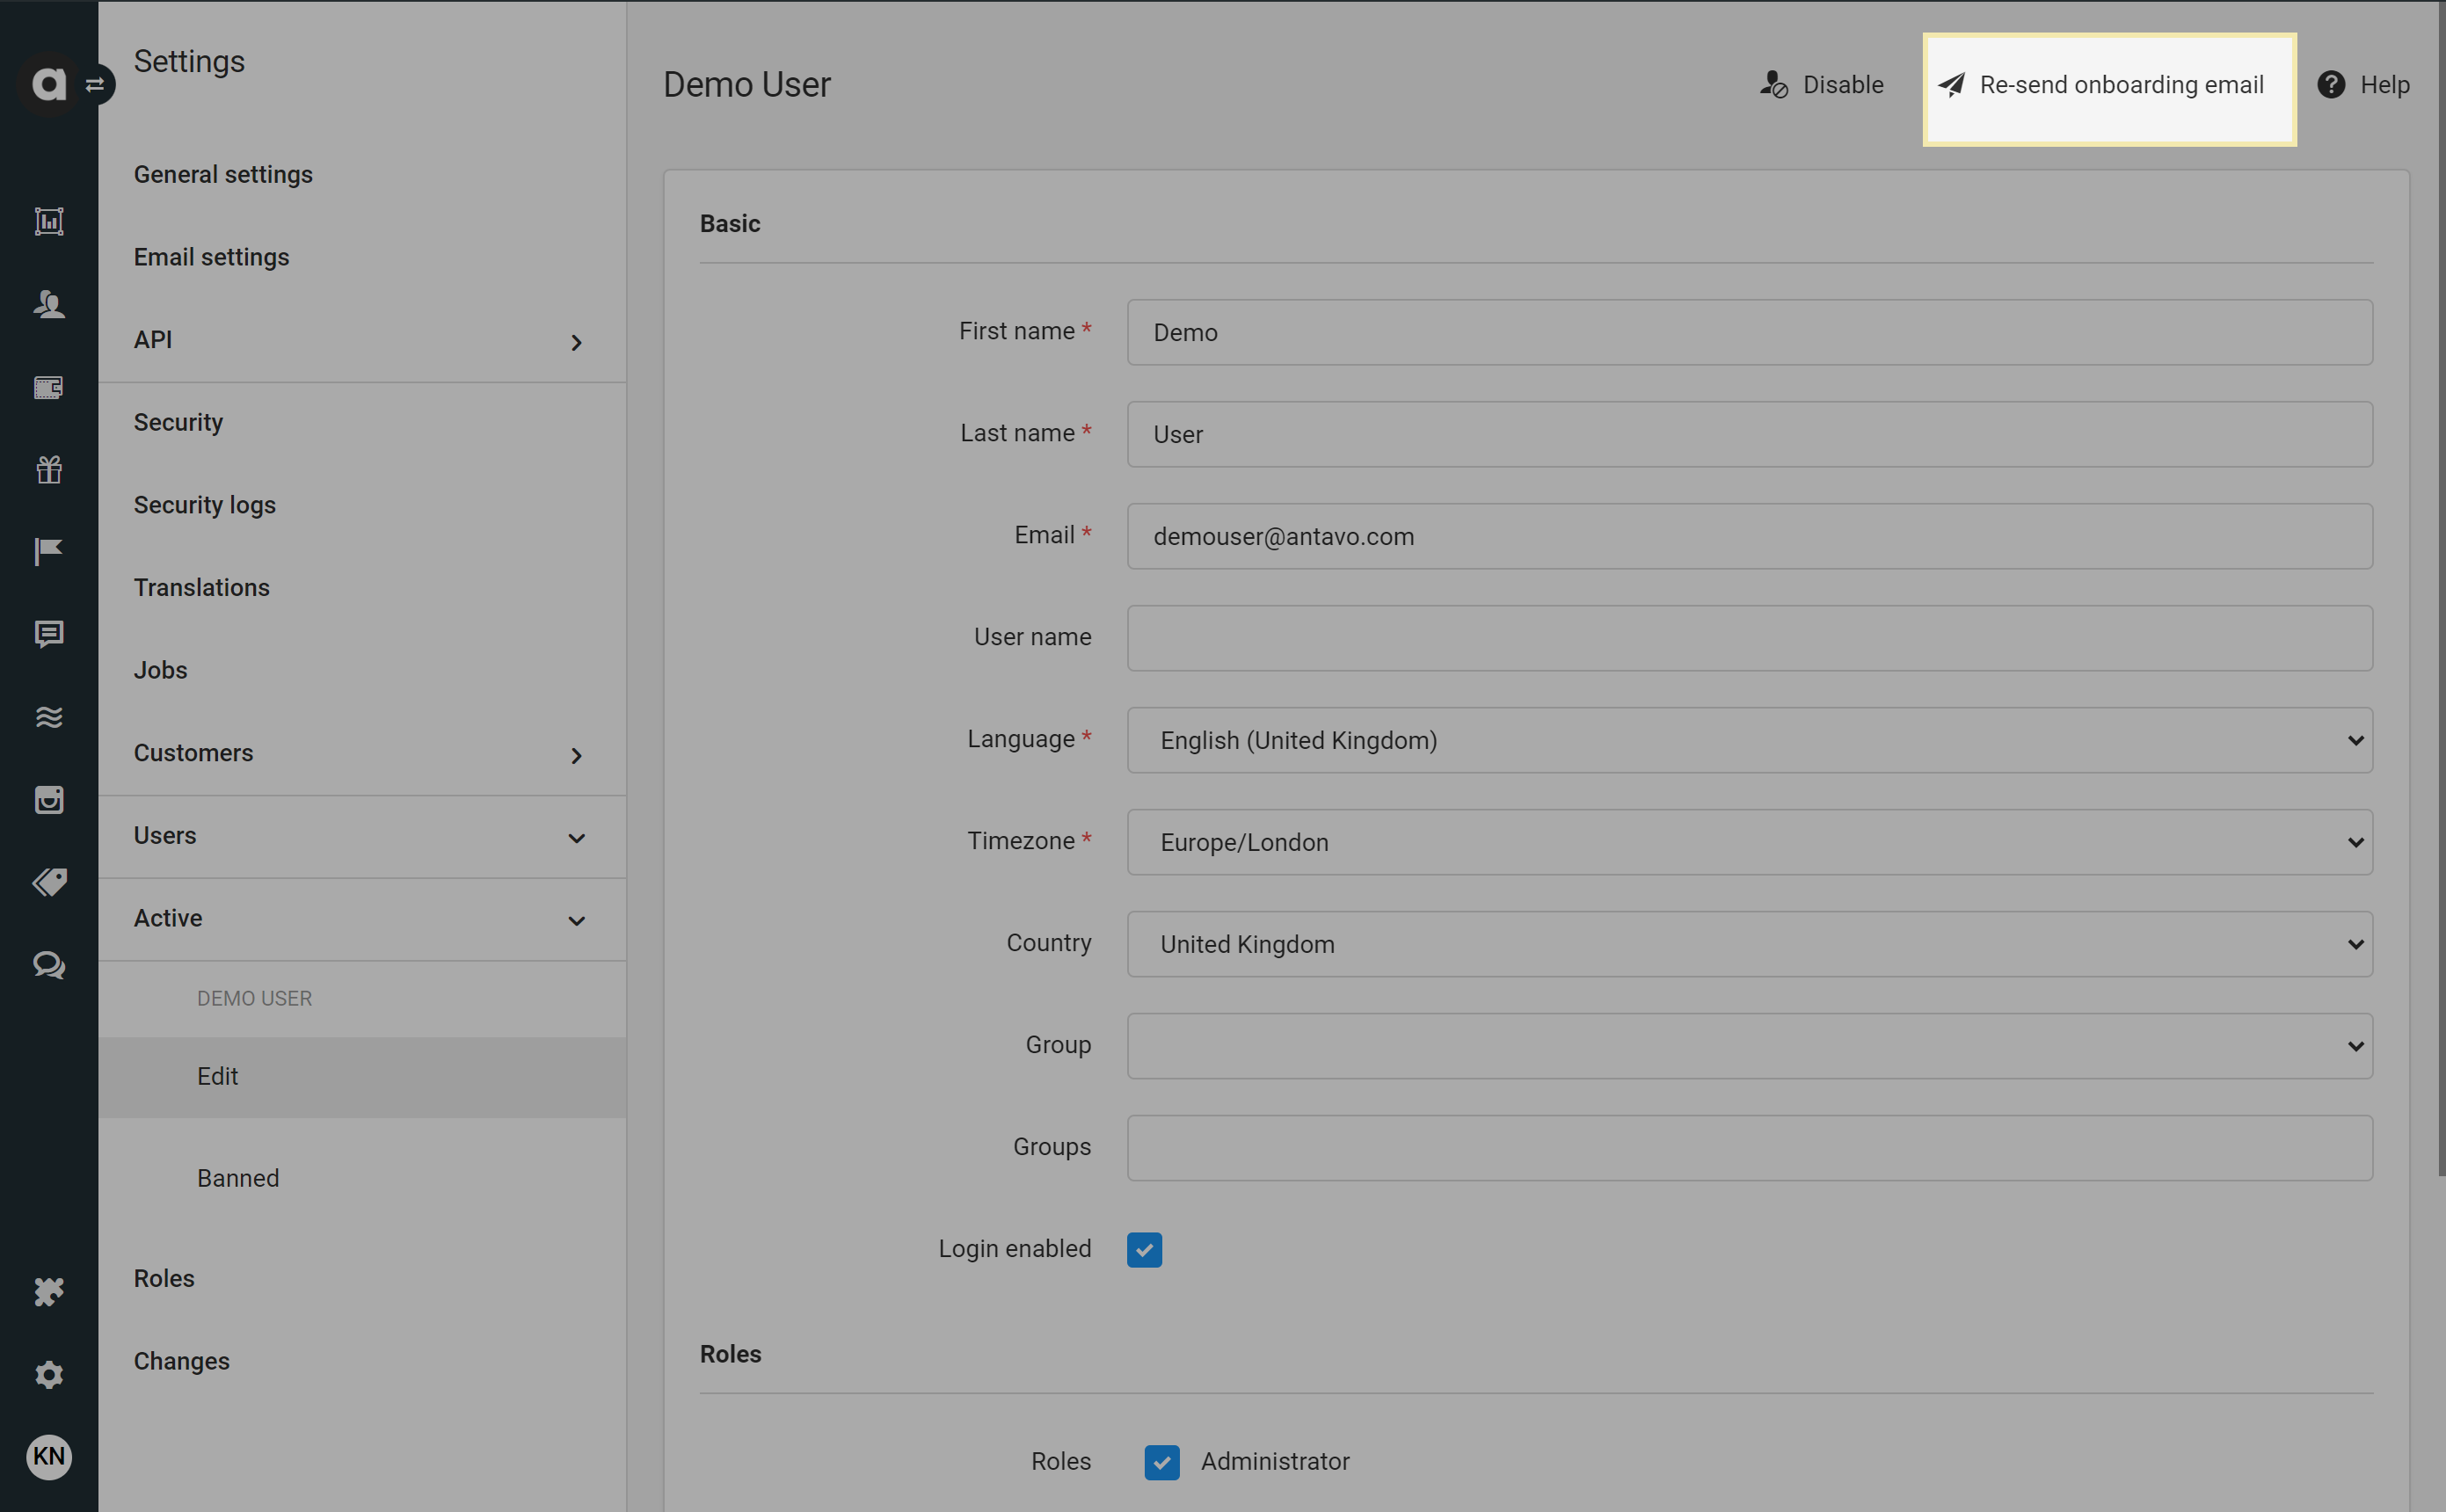
Re-send onboarding email
After the onboarding email has been sent and before the new user completes the registration, a Re-send onboarding email button becomes available on the user page. Clicking this button allows you to send a new email.
This feature proves especially useful if the new user doesn't register within 24 hours, as the registration link expires 24 hours after the onboarding email is sent.

Please be aware that the Re-send onboarding email button is only accessible to Management UI users whose roles have all User permissions enabled in the permission mask.
Banned users
When you access the Banned tab, you’ll see users who have been temporarily locked out of the system for 10 minutes due to multiple failed login attempts.
Managing users
Edit a user
Navigate to the User list
Click the Edit button next to the user you wish to modify
Use the search bar on the page to quickly locate users.Edit settings as needed
Click Save
Unban a user
Navigate to the Banned tab
Click the Unban button next to the user you wish to unban
You can prompt users to reset their password by selecting Force password reset.
Delete a user
Follow these steps to revoke a user’s access to the Management UI:
Navigate to the User list
Click the Edit button next to the user you wish to delete
Click the Disable button located in the upper right corner of the user editor page
Once a user is disabled, they cannot be re-added. If you require assistance with restoring a user account, please contact the Antavo Service Desk.