Create workflows
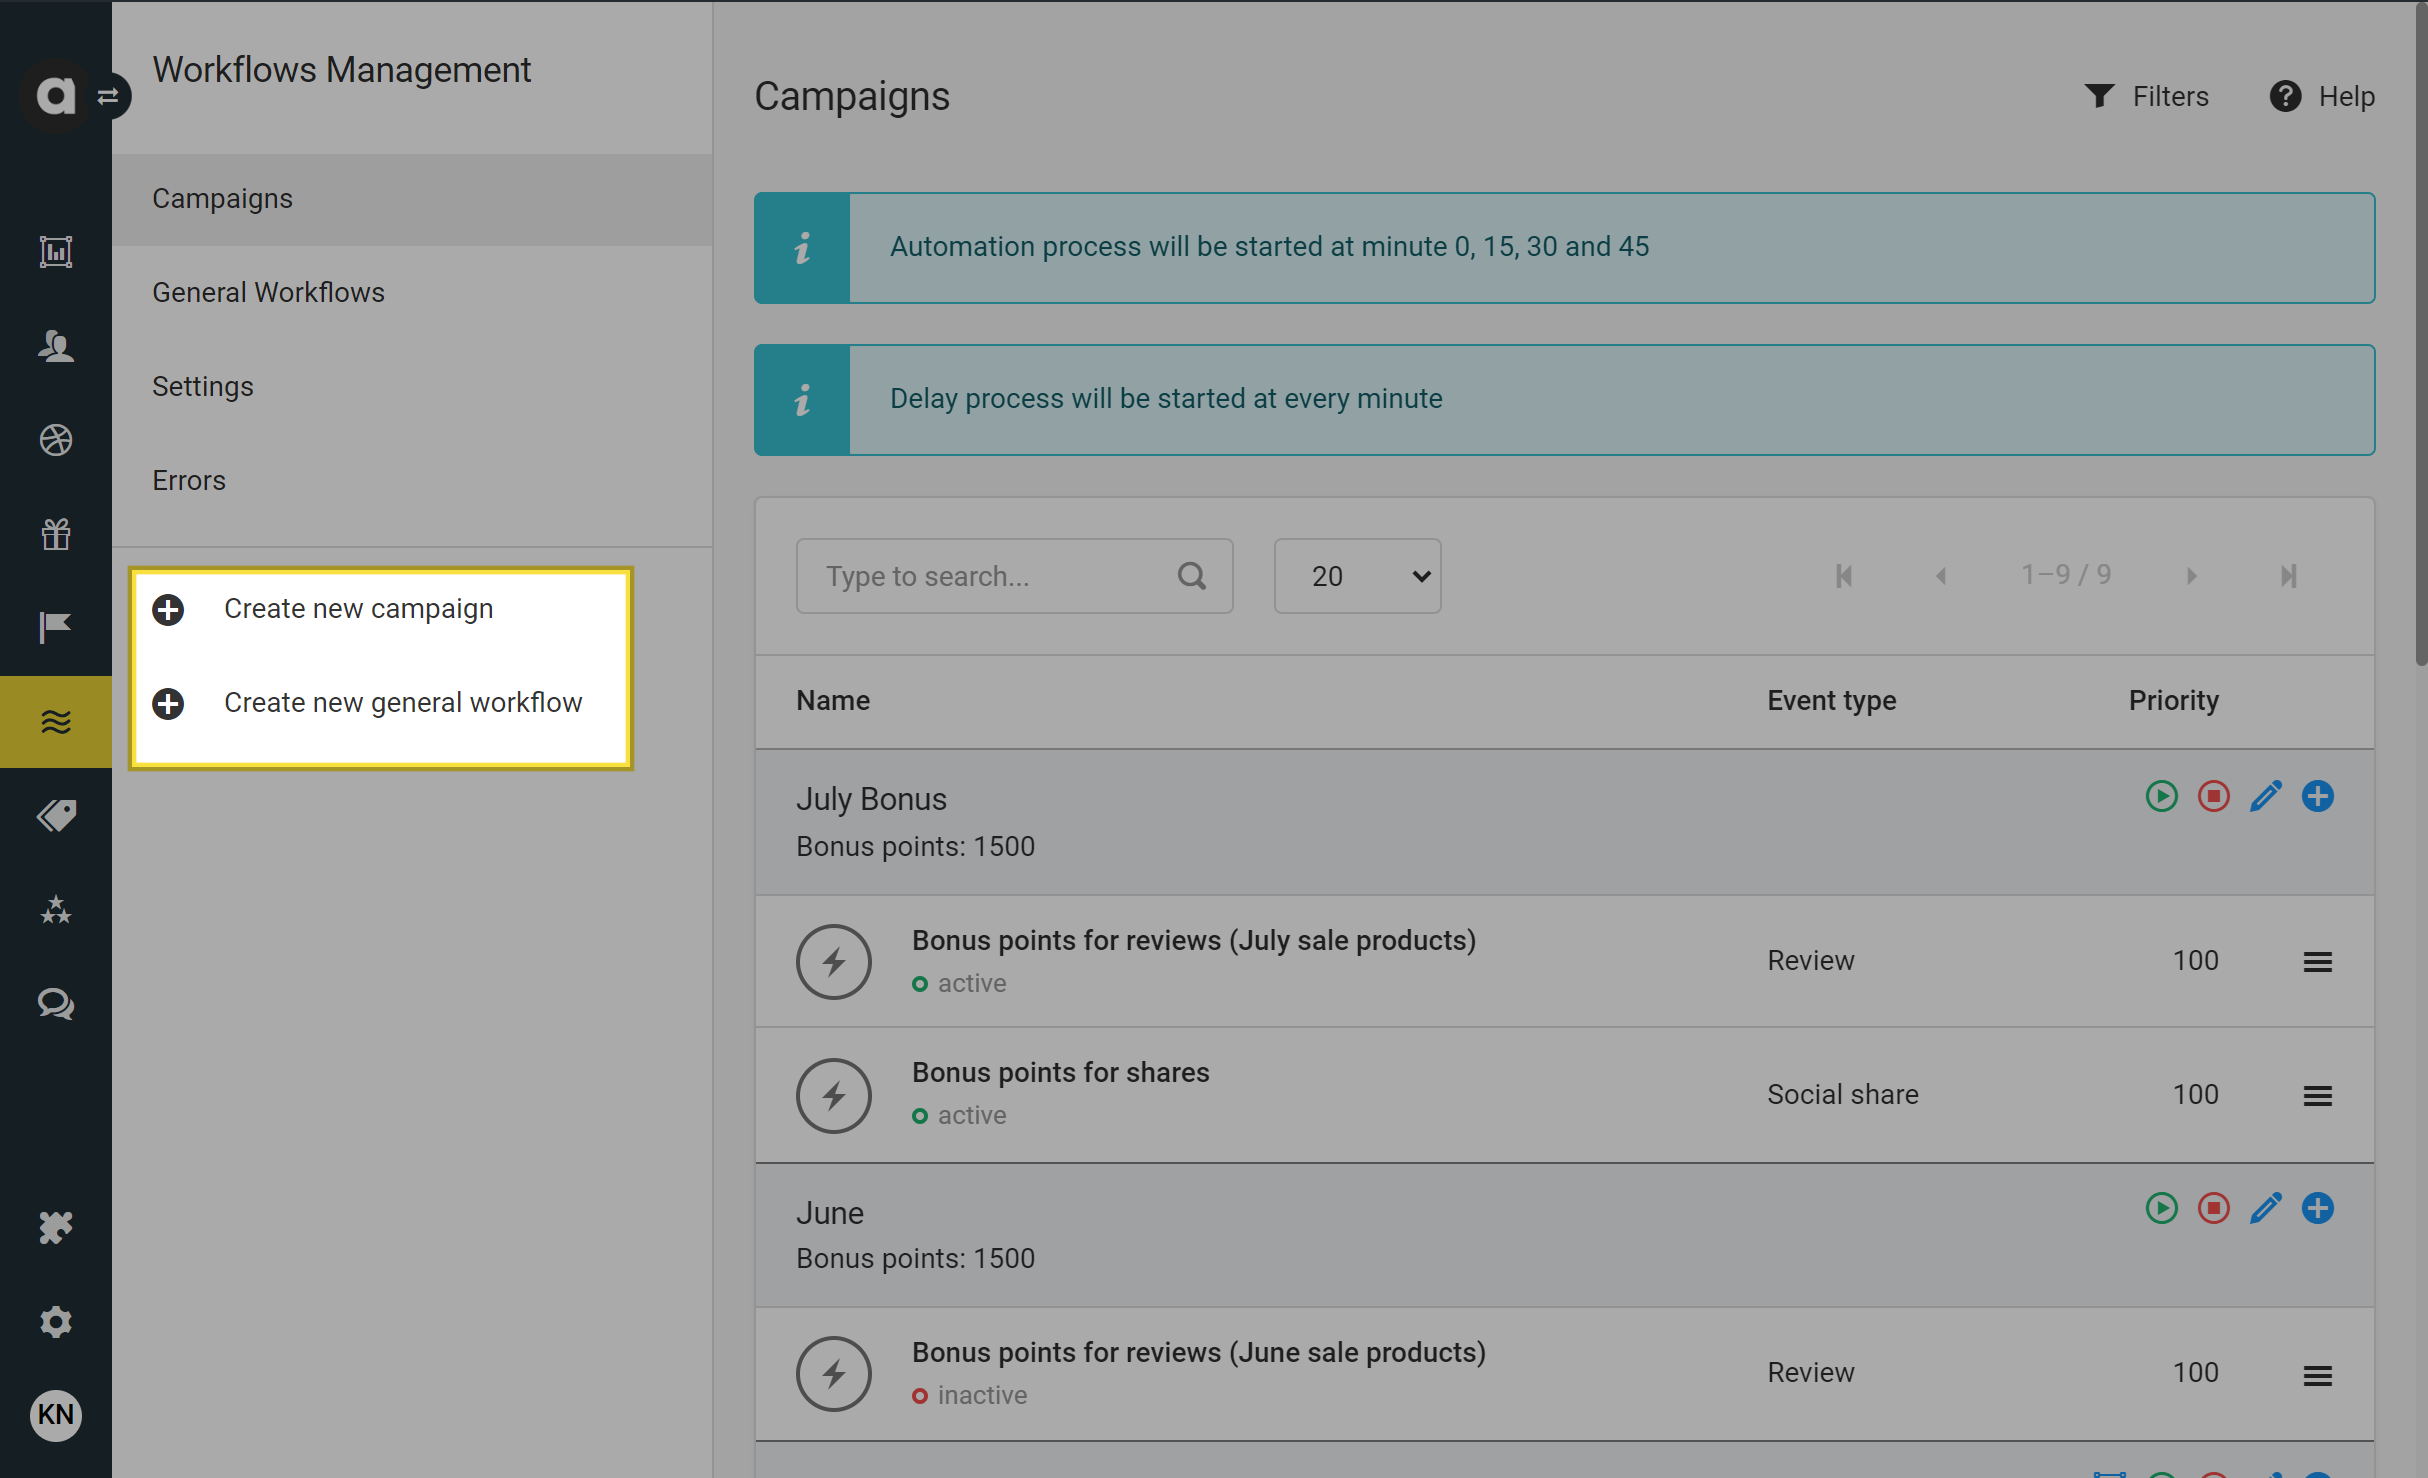
To create a new workflow, click the Create new general workflow or the Create new campaign button on the sidebar depending on the workflow type you plan to configure.
Campaigns require fundamental settings that you need to define before creating the course(s) of workflow(s) within the newly added campaign. In contrast, the general workflow configuration, as there’s no campaign level, starts with defining the Workflow settings right away.
Configure campaign settings
Remember, while general workflows define one single workflow running long-term, campaigns can include multiple workflows running in parallel.
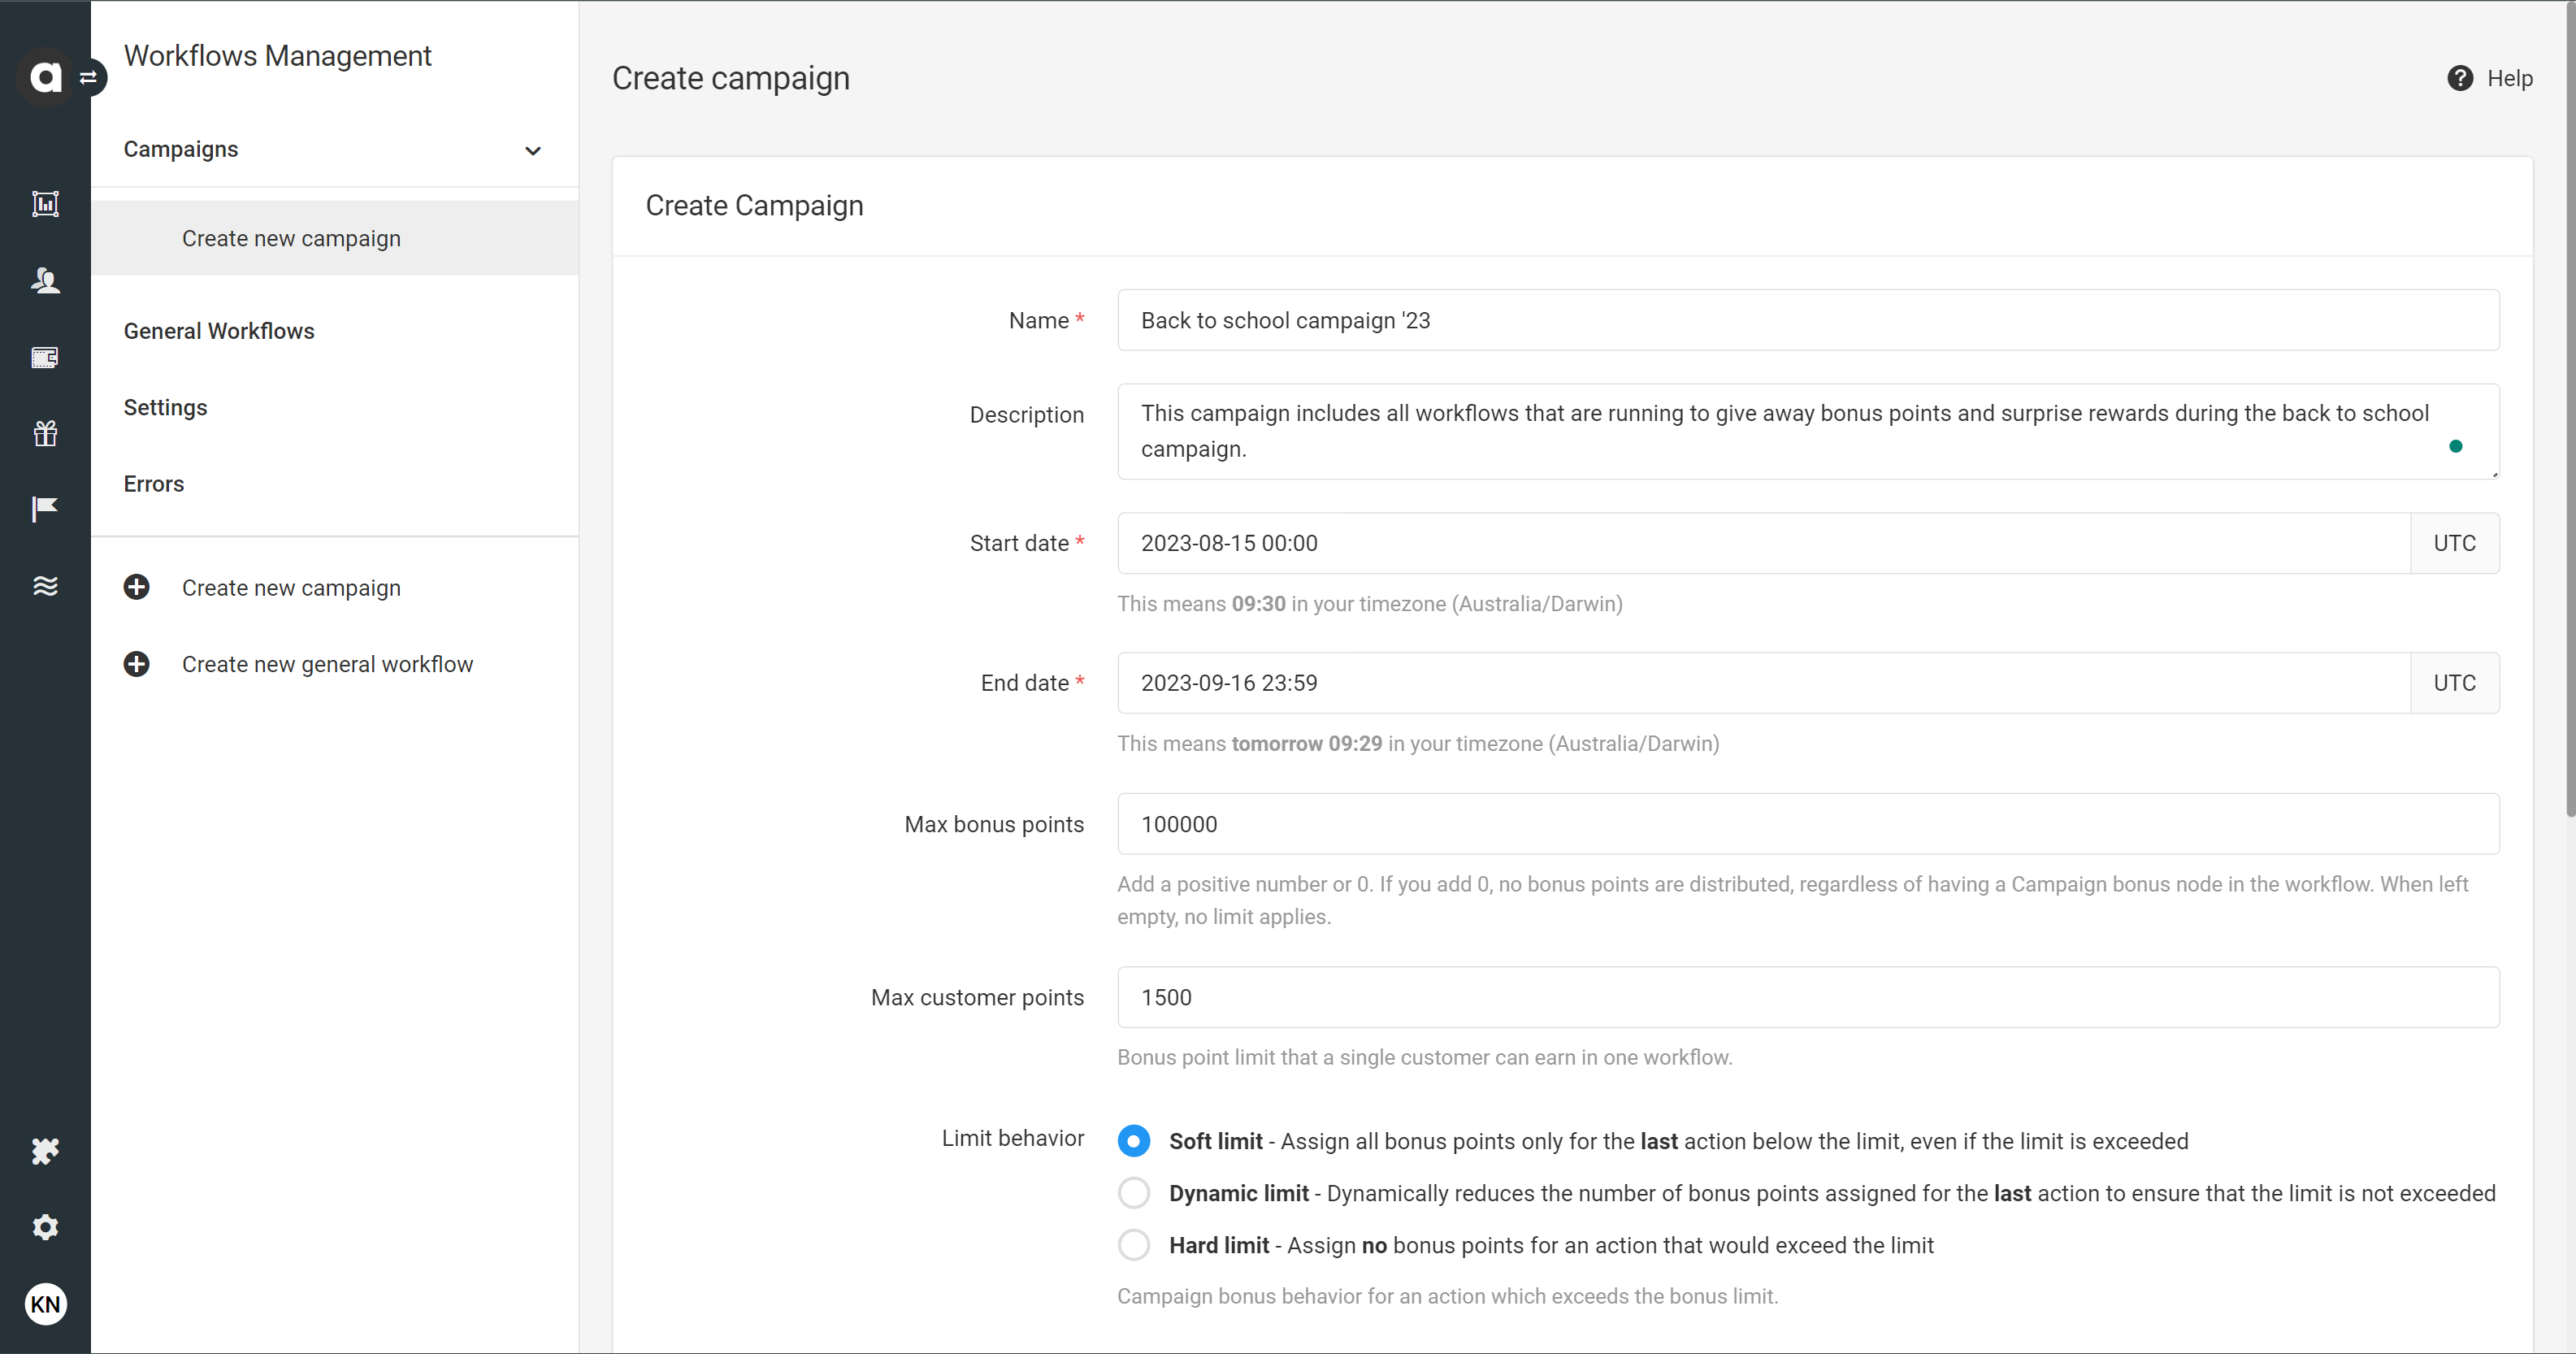
Enter the name of the campaign
Add a description to provide context
Set the start date and end date of the campaign in the UTC timezone
All workflows under this campaign will inherit these dates. The help text displays the dates converted to the workspace timezone.Max bonus points
This value determines the maximum number of points awarded throughout the entire campaign. Enter a positive number or zero. Zero value overrides all campaign bonuses, resulting in no bonus points. All restrictions are removed if this field is left empty.Max customer points
This value sets the maximum number of points awarded to a single customer during the campaign. Enter a positive number or zero. Zero value means no bonus points will be awarded to individual customers. All restrictions are removed if this field is left empty.Limit behavior
Choose one of the following options to determine the campaign bonus behavior when an action exceeds the bonus limit:Soft limit: All bonus points are assigned only for the last action below the limit, even if the limit is exceeded.
Dynamic limit: The number of bonus points assigned for the last action is dynamically reduced to ensure the limit is not exceeded.
Hard limit: No bonus points are assigned for an action that would exceed the limit.
Campaign Loyalty Card
You might want to display your campaigns on your membership site to inform customers about the point-earning option. The information that you provide under this section is available through the/customers/{customer_id}/activitiesand/customers/{customer_id}/activities/earnendpoints of the Display API.Card enabled: If unchecked, this campaign won’t be included in the API response.
Card title: Title displayed on the loyalty card.
Card description: Description shown on the loyalty card.
Card image: Image associated with the loyalty card
Segments: The campaign will only be included in the response if the customer belongs to any selected segments.
Click Create to proceed with workflow configuration.
You can revisit and modify campaign settings anytime by clicking the Edit button next to the campaign under the Campaigns tab.
Configure workflow settings
Workflow configuration starts with selecting the workflow template. Currently, only the blank template is available.
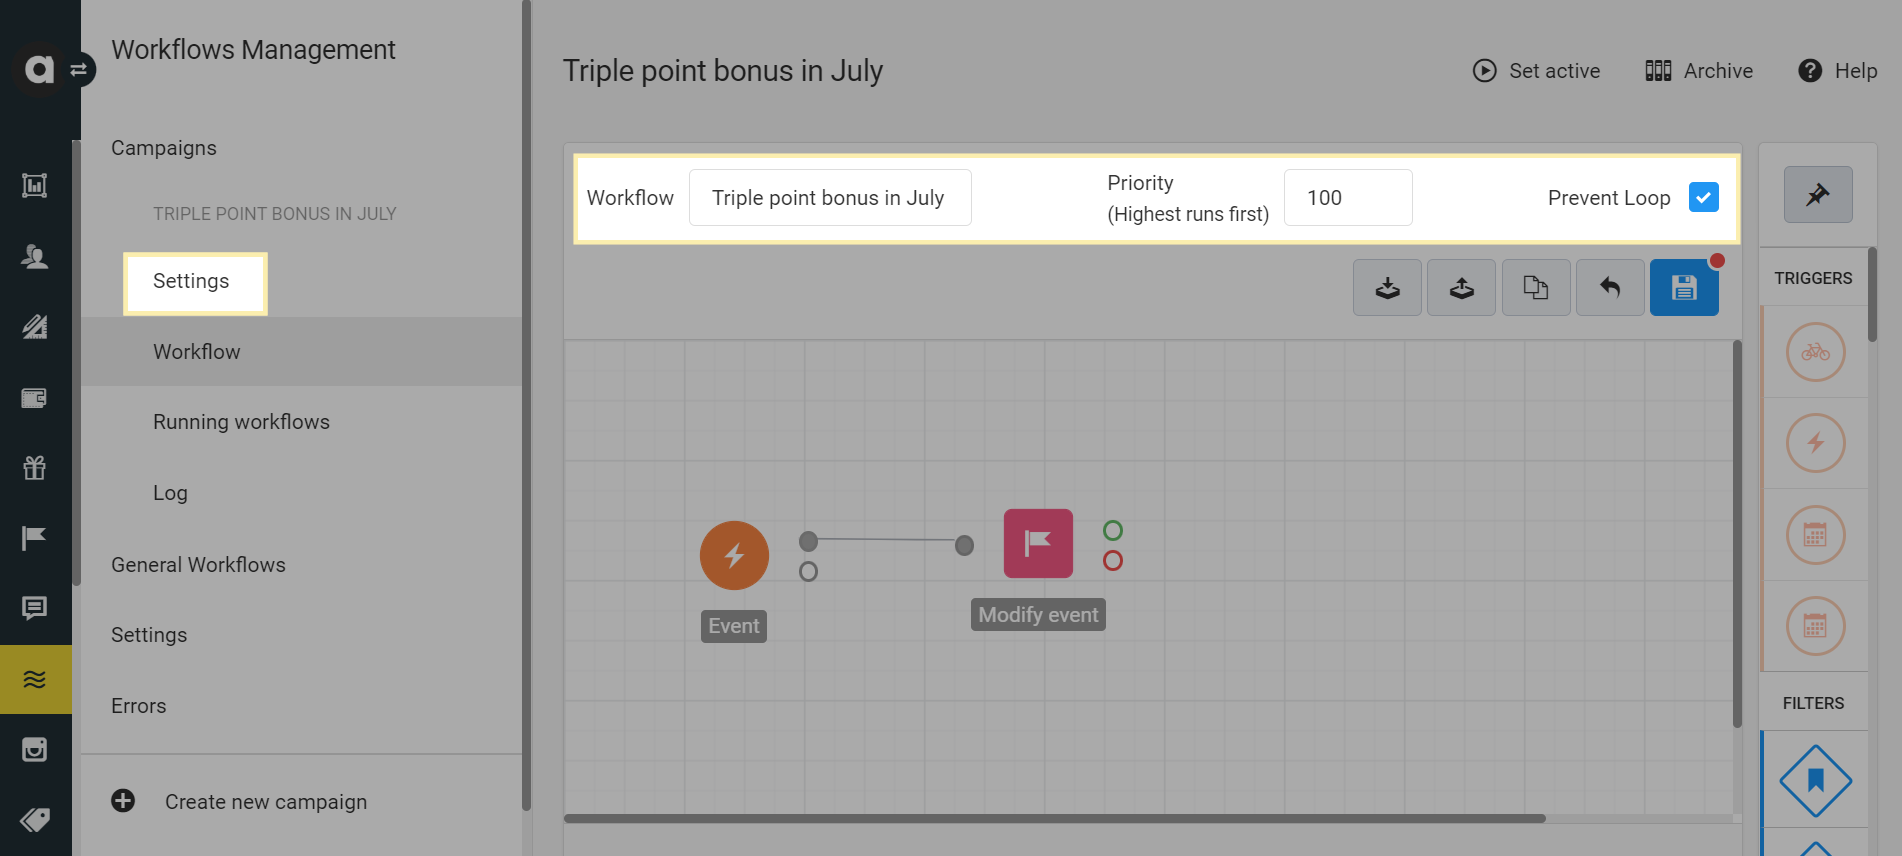
Select the blank template and click Next. The next step is to configure three basic workflow settings:
Name the workflow
Set the priority of the workflow
By setting a priority, you can define the order of workflow execution if more than one workflow is triggered at the same time, by the same event. The workflow with the highest priority will run first. If all workflows have the same priority, the order of workflow execution will depend on how background applications process them.Check the Prevent loop box if you want to disable self-triggered workflows
A loop evolves when the workflow uses the same type of event as the trigger and an action it triggers.
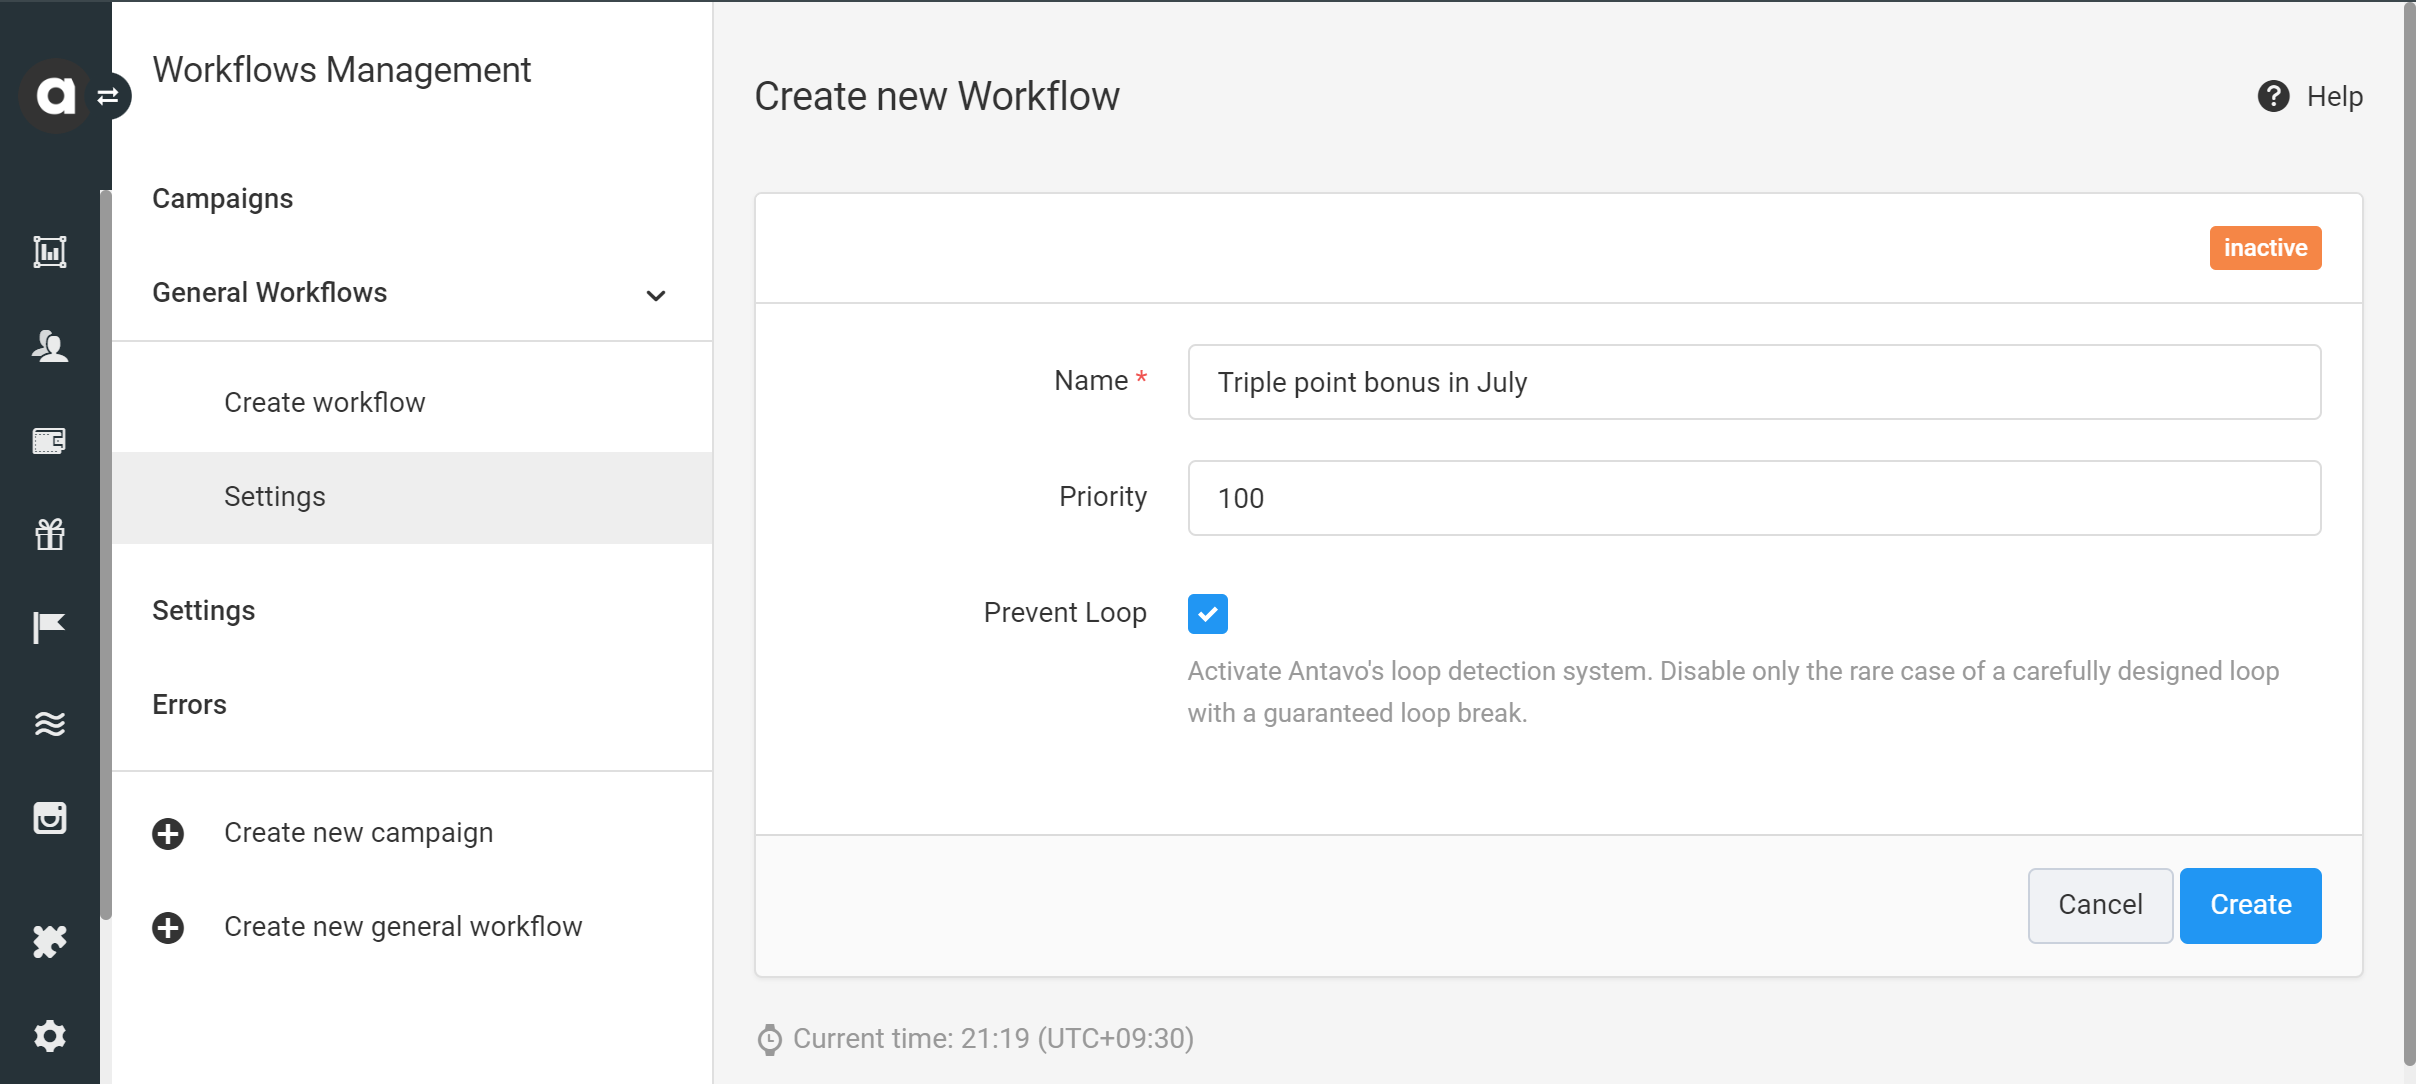
You can modify these settings anytime under the Settings tab of the workflow configuration page or on the workflow editor canvas.
Workflow editor
After workflow settings are defined, you are directed to the editor page of the workflow where you can create the branching logic of the workflow. This interface is called the workflow canvas.
Operations on the workflow canvas
Add workflow nodes
Add workflow nodes to the canvas by dragging and dropping nodes from the right side of the page. You can use the search field at the top of the page to find an node more easily.
Double-click on any of the nodes placed on the canvas to edit the name to help identify each node's purpose in the workflow.
Set up the branching logic
Connect nodes to create the branching logic of the workflow by clicking on the inputs and outputs of nodes.
Configure node settings
Configure the settings of workflow nodes by double-clicking them on the canvas. You can find all the configuration fields of every workflow node under the Nodes section of the user manual.
Date, variables, and volt expressions can be used in free text configuration fields. The usage of these expressions is indicated by displaying the following icons at the end of the input field:
V for volt functions (eg. volt: {{ customer.spendable % 10 == 0 }} - if the number of spendable points is divisible by 10)
D for dates (eg. Date: 2023-02-13 or Date: +2 weeks)
E for variable expressions (eg. {customer.first_name})
Transported attributes
Each workflow node displays the entities transported from connected predecessor nodes of the workflow. This helps identify the variables that can be used in the current node. Available transport entities appear at the bottom of the node configuration popup. Their variables are populated in configuration fields as a dropdown list when typing the name of the transported entity between {} brackets.
Challenge attributes are transported as activity attributes during data transmission. Please consider this when using them to ensure correct operation.
Copy and delete workflow nodes and links
To delete a node, hover over it and click the X button that appears. To delete a connection, click on the link and then click the X button that appears.
To clone the node, right-click on its icon and select Copy. Then, right-click on the canvas and select Paste. All the node settings will be copied to the new node.
Action bar
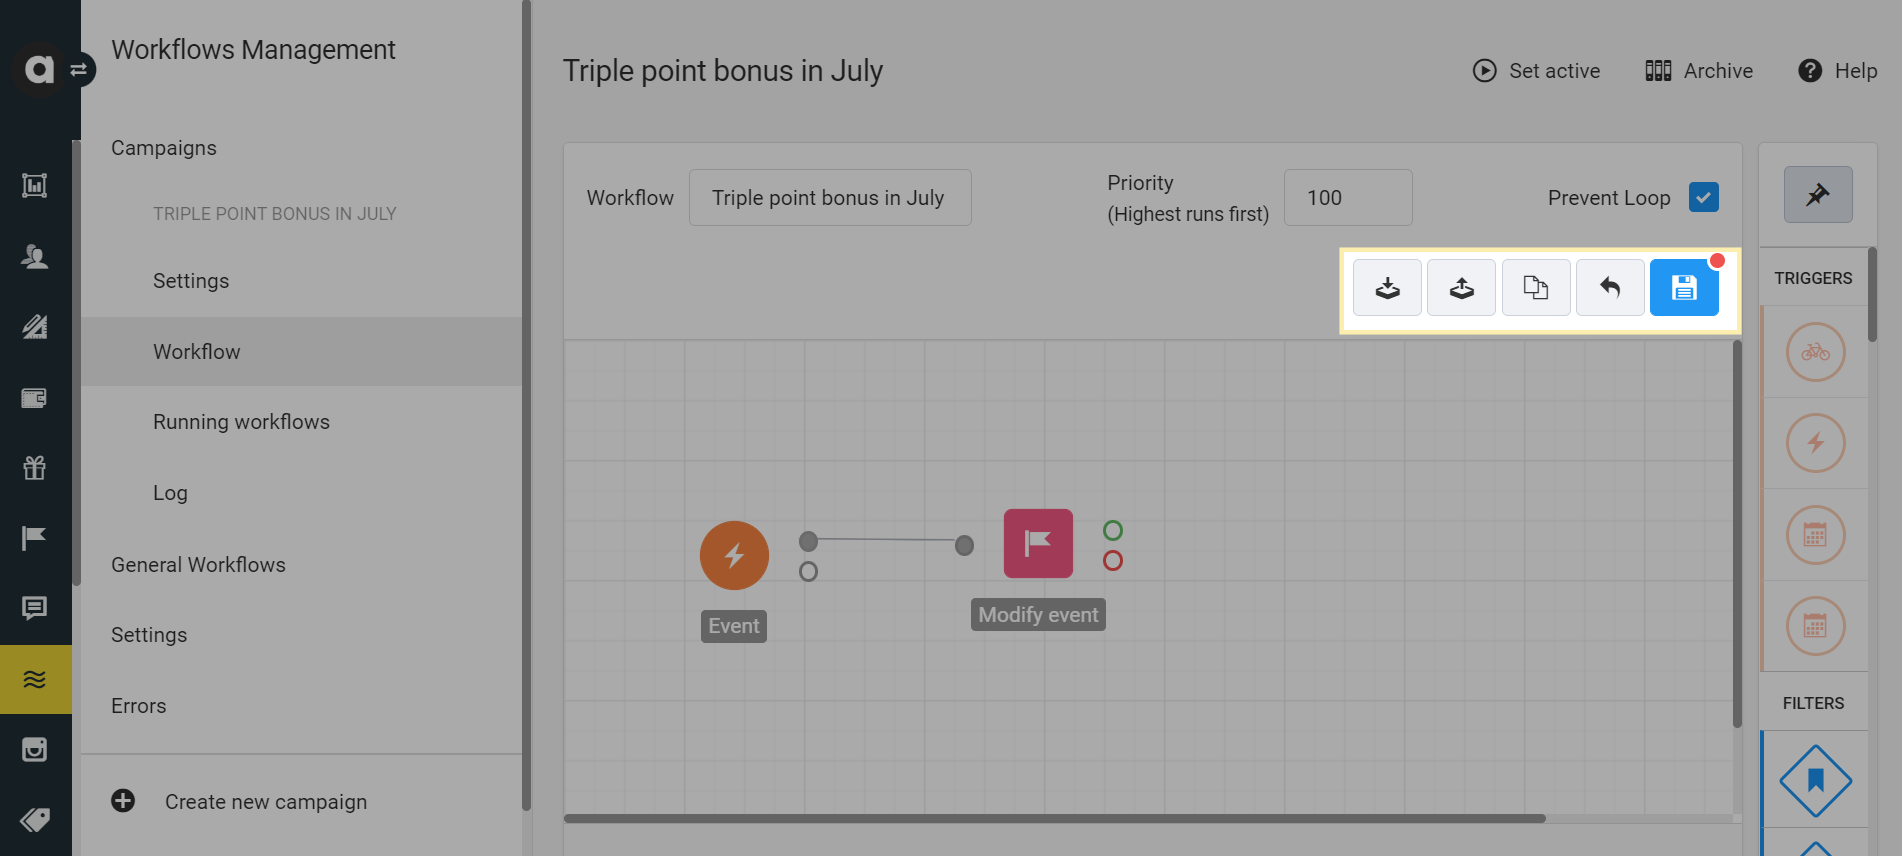
Workflows have five action buttons above the canvas:
Import and export workflows
Importing and exporting workflows is useful when you need to migrate workflows across different Management UI environments. Workflows are exported to your device in JSON file format, and the same file format is required for importing.
Clone workflows
The Clone button replicates the functionality of the Clone action button on the Campaigns of General workflows tab. You can also find the Clone button on the top right corner of the Workflow settings page.
Revert an operation
Click the arrow button to undo all canvas operations made since the last save.
Save
Don’t forget to save your workflow settings before leaving the page. Saving will fail if required node settings are missing, or the workflow nodes are not connected properly. A warning message will be displayed reminding you to complete the workflow configuration. The unconnected node(s) are indicated with a red highlight.
.png)
Activate and inactivate a workflow
First, your workflow will be saved with inactive status. Click the Set active button on the top right corner of the page to activate the workflow. If you decide to inactivate a workflow, click the Set inactive button.
Please confirm your action in the dialog that appears.
If the workflow contains a Wait node, inactivating it will stop new runs, but workflows already waiting will still continue.
Edit a workflow
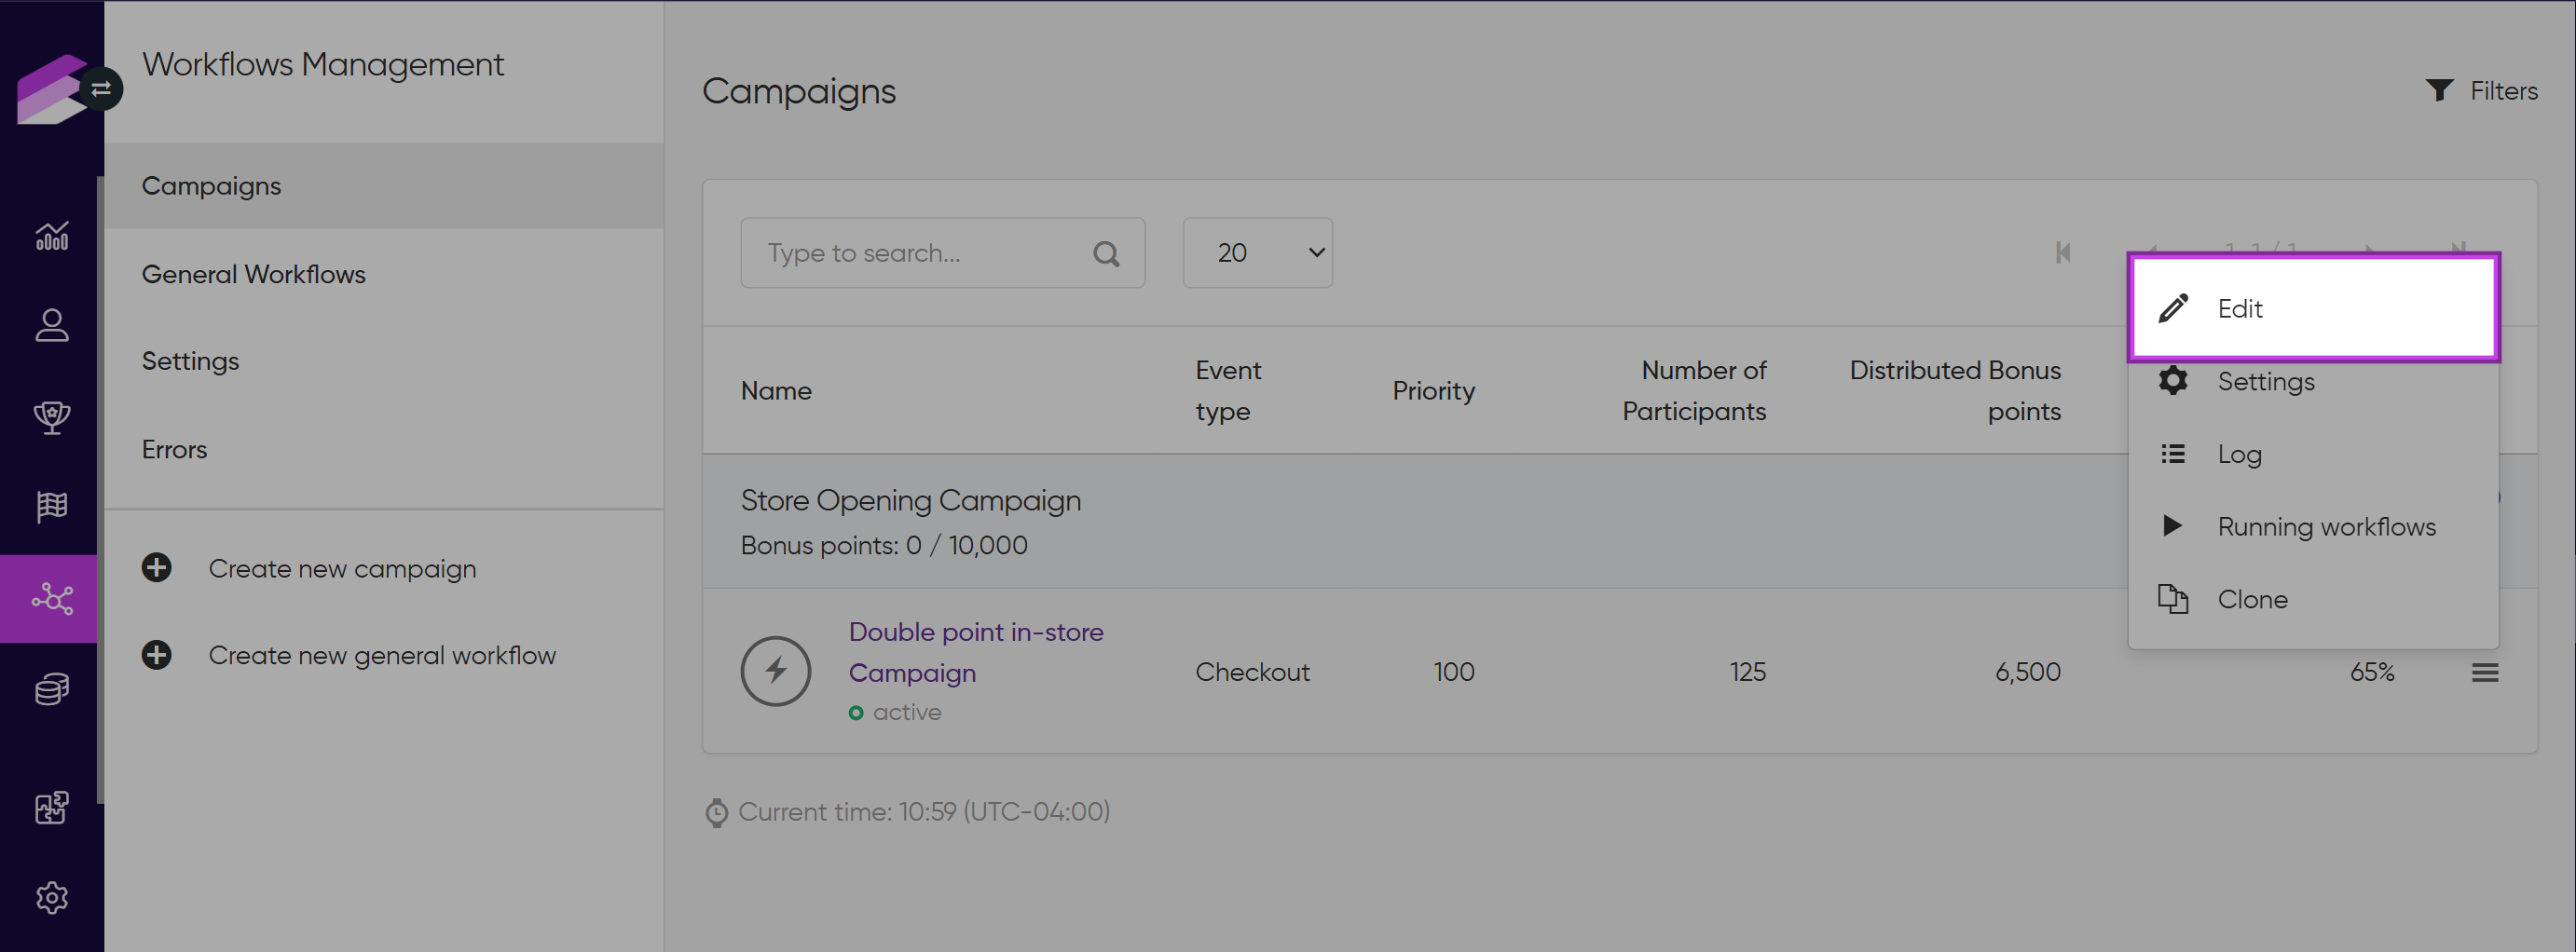
You can return and change the workflow settings anytime through the Edit option under the hamburger menu of the workflow in the Campaigns or General Workflows tab. Use the search bar at the top of these pages to find a specific workflow to edit. After making your changes, click the Save icon to apply them.
If the workflow contains a Wait node, changes will only apply to new runs. Workflows already waiting at a Wait node will continue based on the version they started with.
Archive a workflow
You can archive inactive workflows by clicking the Archive button on the top right-hand side of the page. If the workflow is archived, you cannot retrieve it anymore. When a workflow is archived, its name gets updated so you can use it again. Archiving campaigns is not possible.
