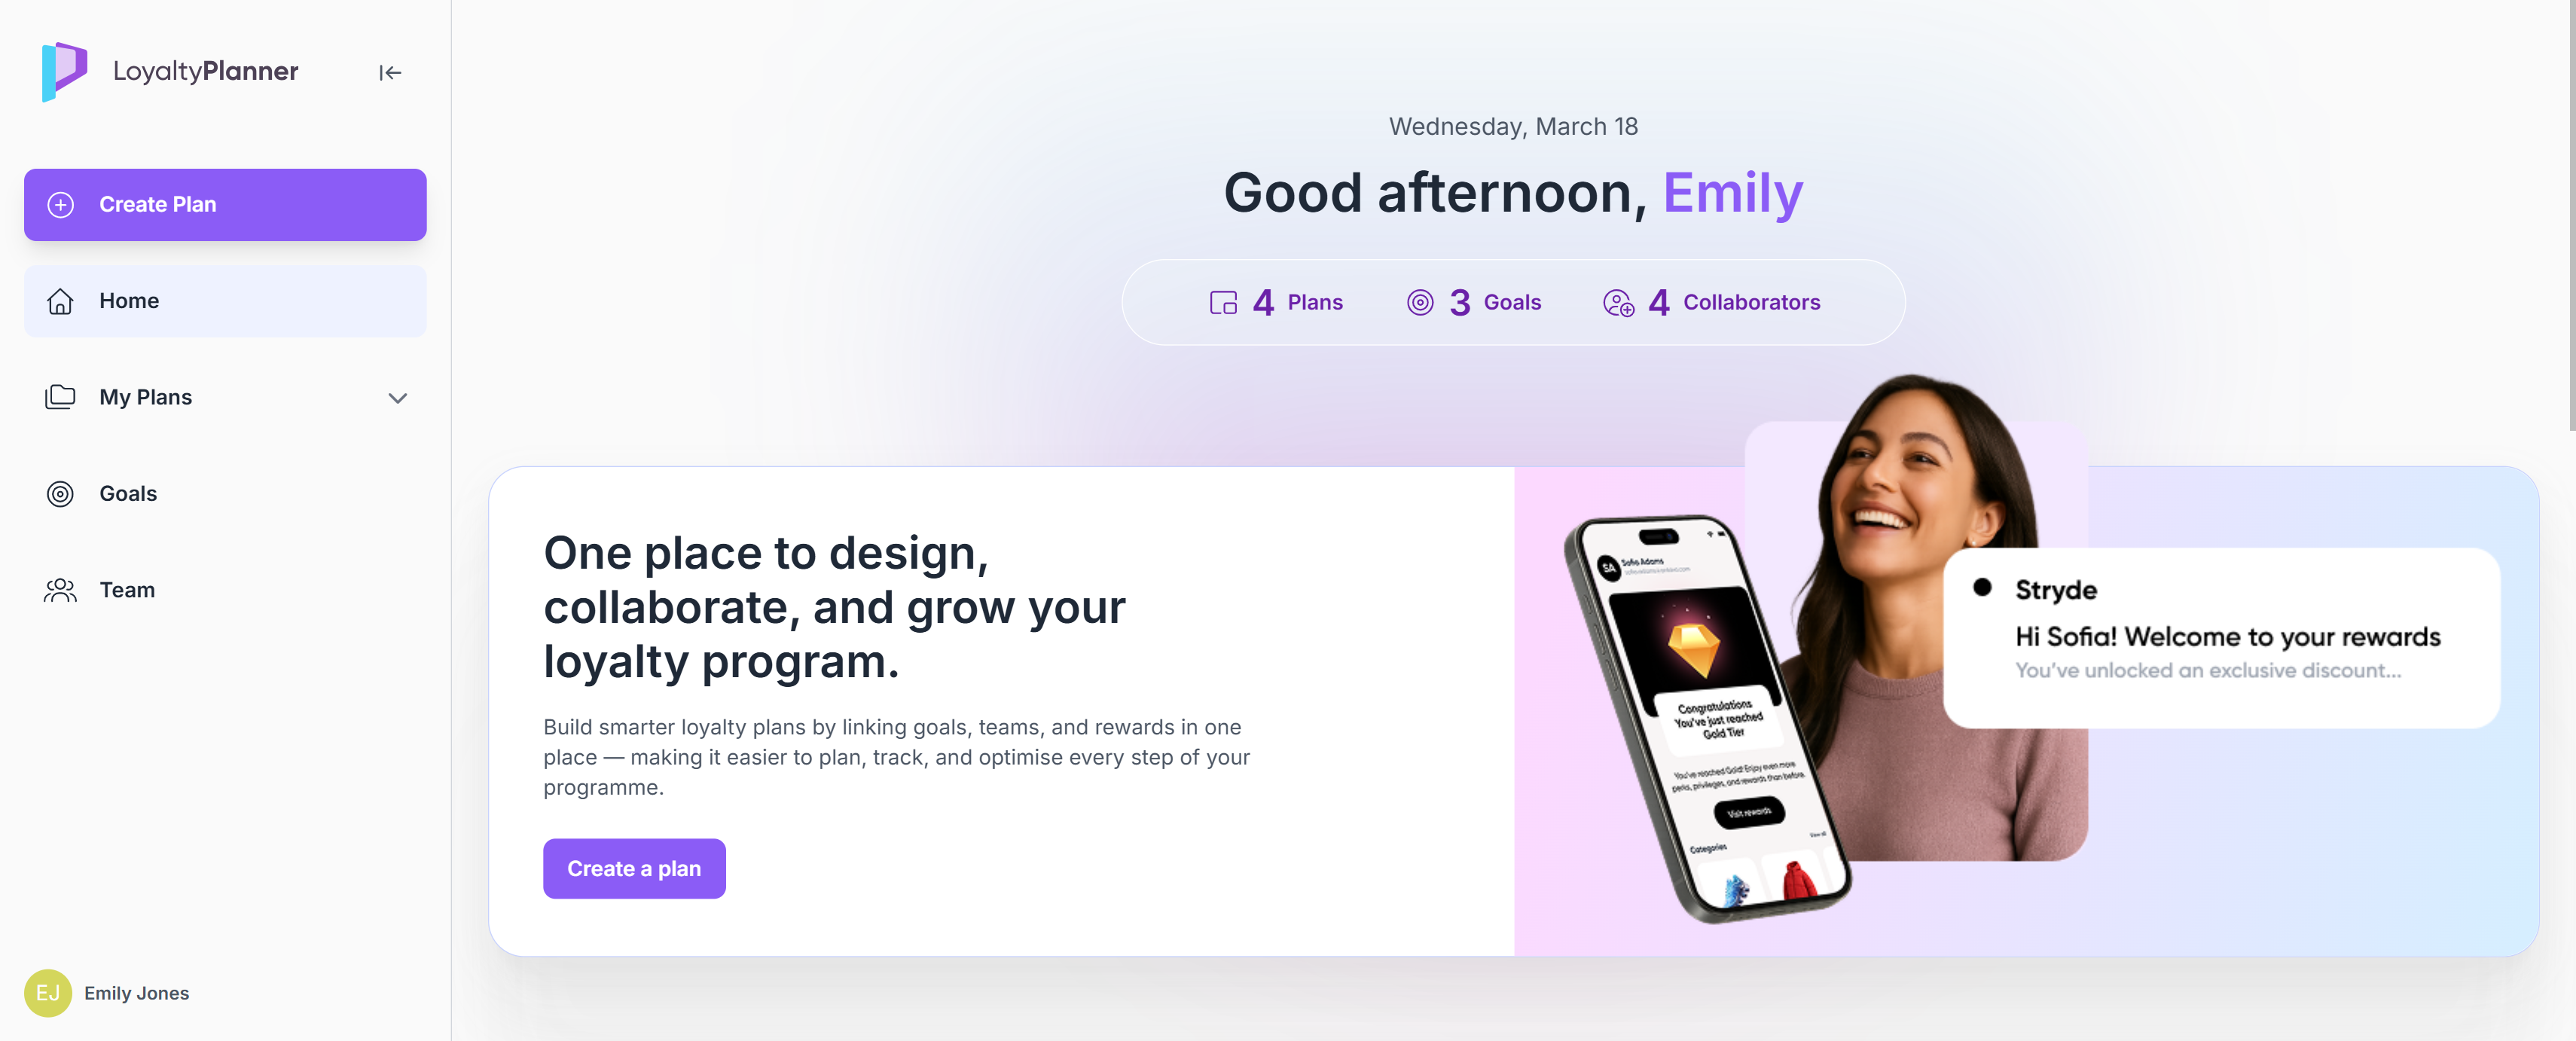
When you first open Planner, you land in your workspace, where you can begin designing or refining loyalty programs in a structured, visual environment.
Your workspace is prepared for you, there’s no technical setup required. You can immediately create a new plan, upload your existing loyalty documentation, or start from scratch. Everything you configure becomes part of the member journeys that describe how your program behaves.
Core Concepts
Planner is built around a set of core building blocks that define how loyalty programs come to life:
Plan: Container for one loyalty program concept. It holds your concept settings, the Loyalty Map, the member journeys, documents, and all refinements you make over time.
Concept Whiteboard: The workspace where you define the core settings of your loyalty program. It guides you through program structure, enrollment rules, rewards, and earning logic, and captures the inputs the Planner uses.
Member Journey: Detailed flows generated from the Concept Whiteboard, which represent how your program reacts when a member performs an action, reaches a condition, earns value, redeems value, or moves through tiers.
Loyalty Map: Visual model of your program. It organises Member Journeys into stages and stations, helping you understand how your program behaves end-to-end.
Navigating Your Workspace
Planner’s navigation is organized in a sidebar on the left, giving quick access to all main tools.
Create Plan
Use this button when you want to start a new loyalty program concept.
Home
Your general dashboard with:
Quick access to Create a Plan
Recent Activity
Shows the plans you recently viewed or updated.My Team & Collaborators (coming soon)
Displays active collaborators working with you.My Goals
A snapshot of the goals you’re tracking within your loyalty initiatives.
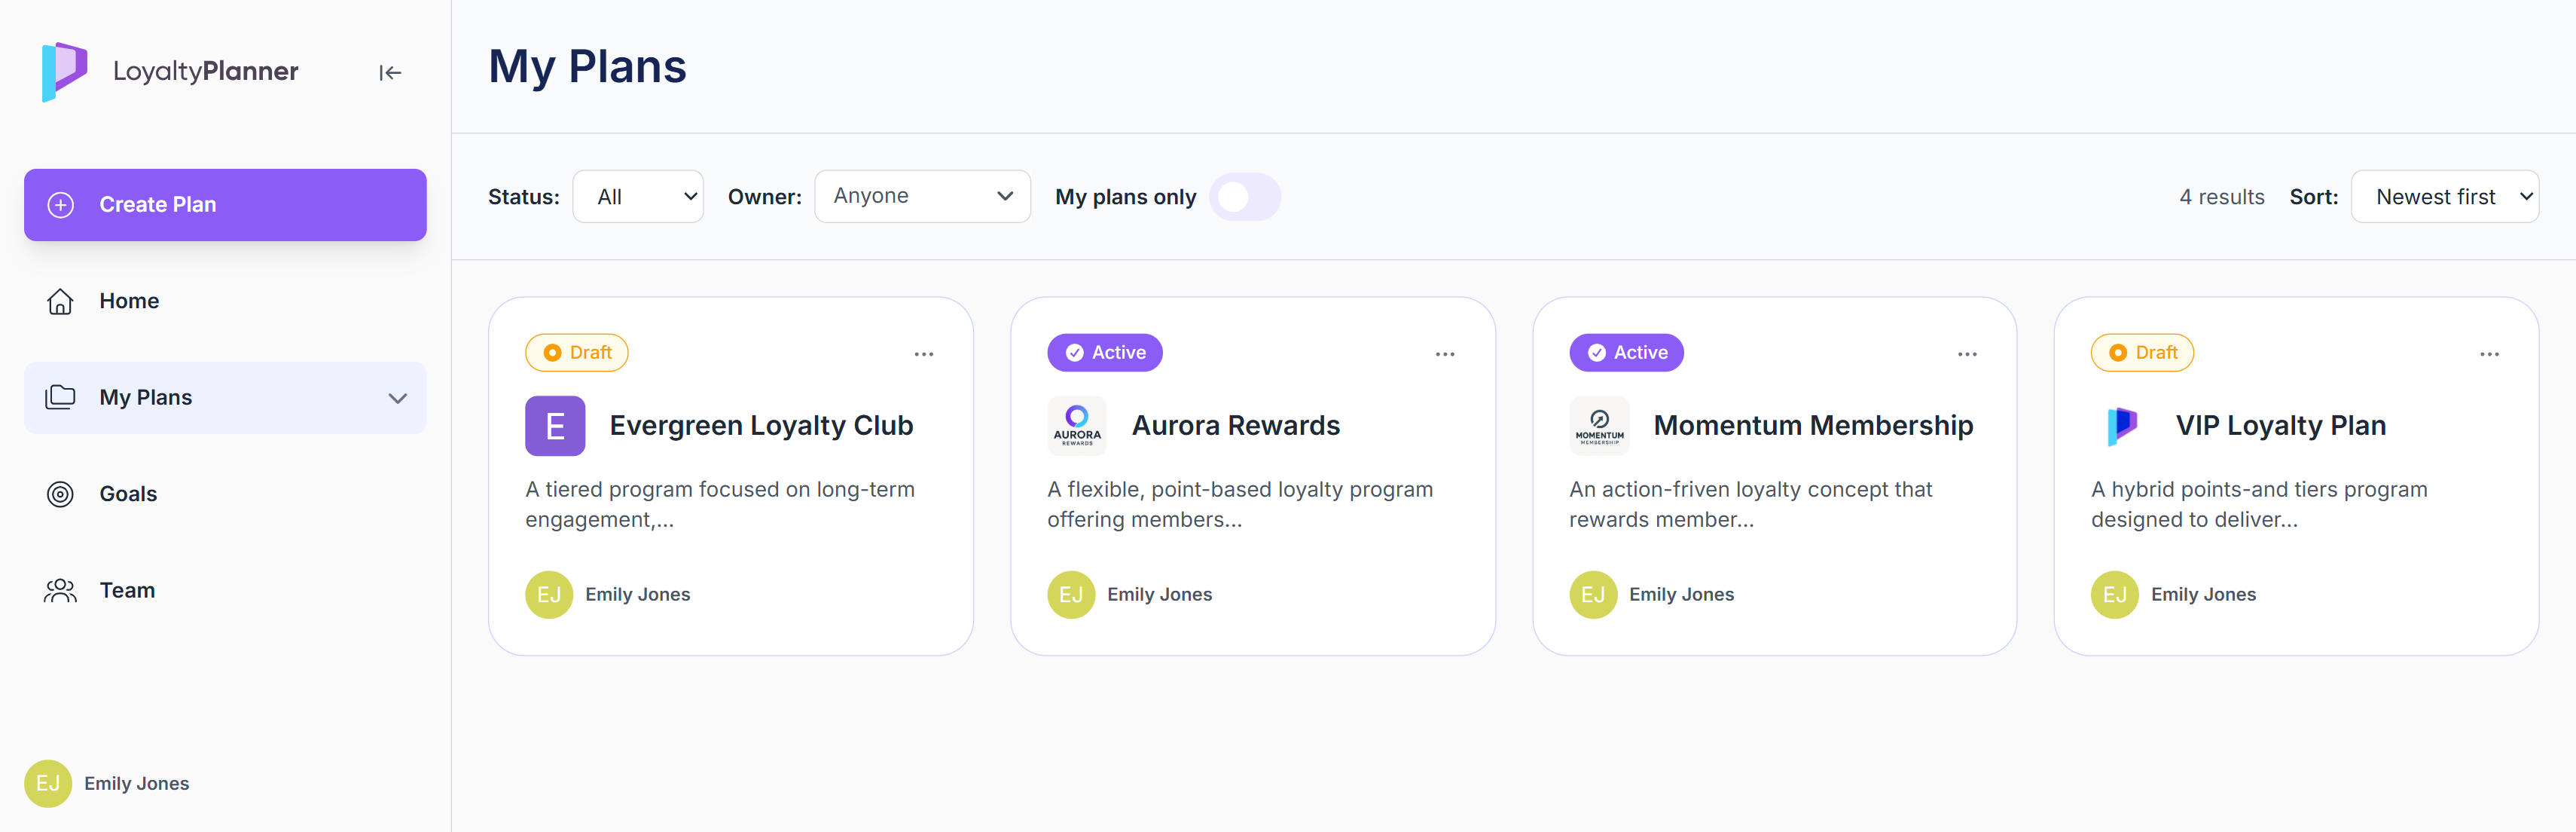
My Plans
A dedicated page listing all plans you have access to.
Here you can:
View all your plans in one place
See key details such as name, description, status, and owner
Open a plan to continue working on its concept
Use the … button to delete a plan (only plans with draft status can be deleted)
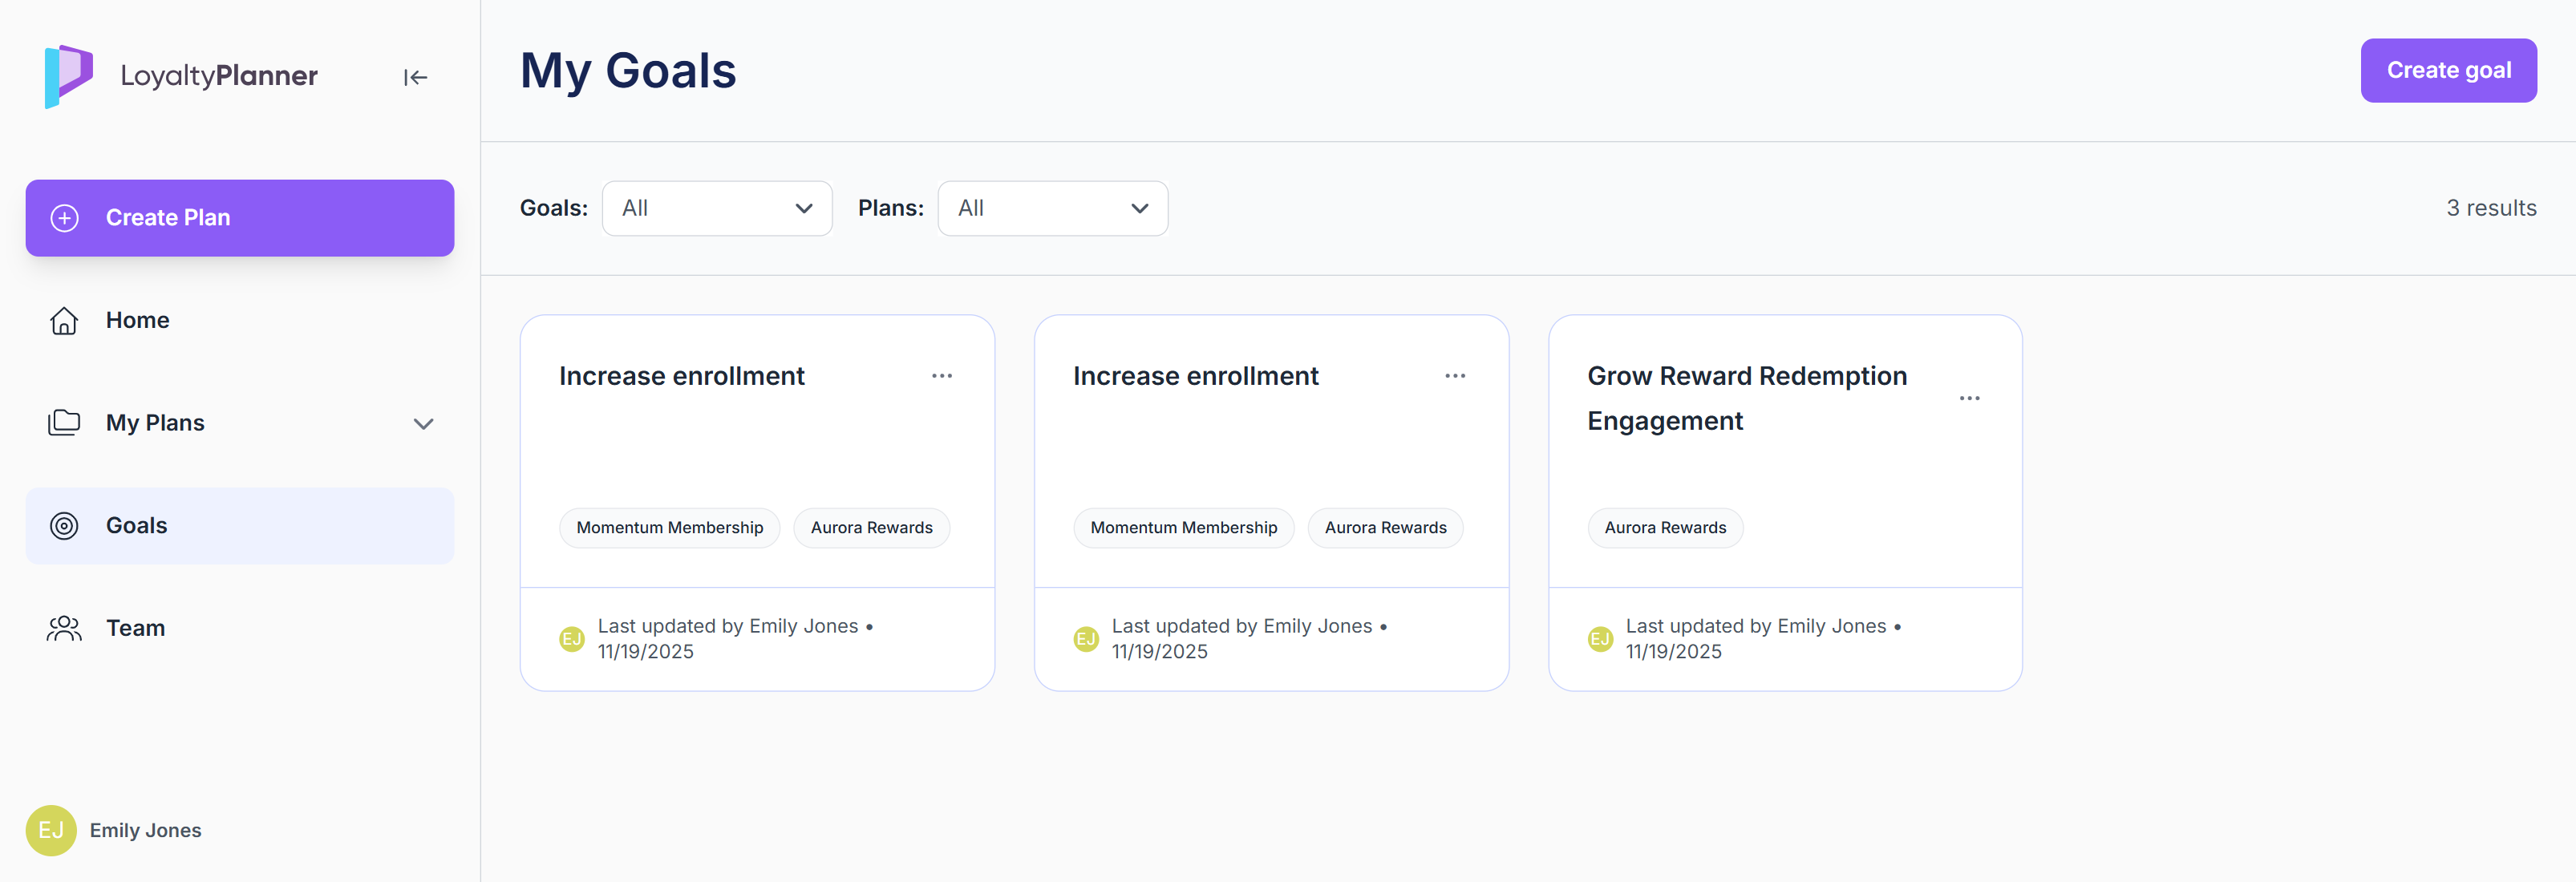
Goals
The Goals page is where you can set, track, and manage the expected business outcomes of your loyalty program.
On this page, you can:
View all goals in one place
Create new goals using the Create goal button
A sidebar opens where you can add the goal name, description and connect the goals to Plan(s).
Filter goals by Plan(s) connected
Use the … option on goal cards to edit, copy or delete goals
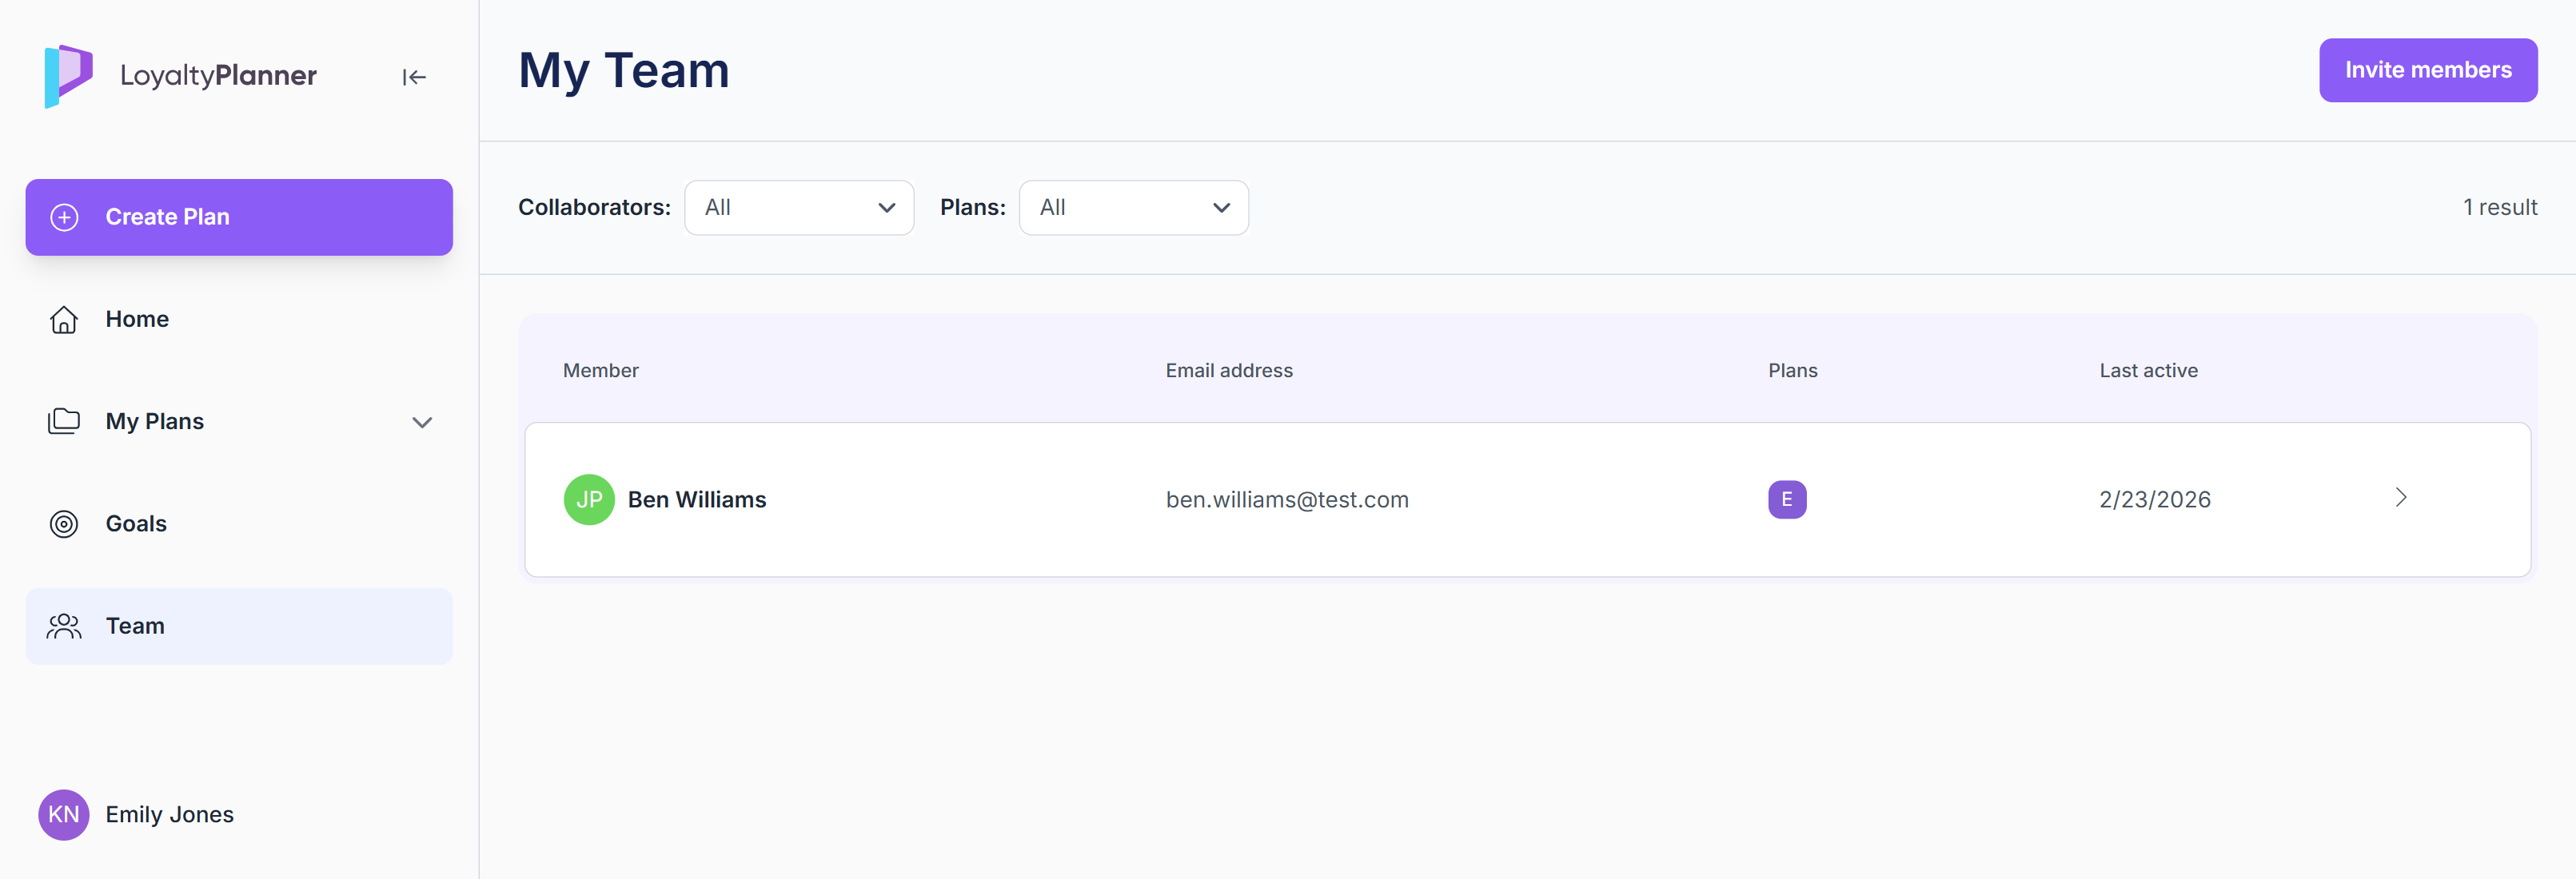
Team
The Team tab is where you manage collaborators who can access your plan, leave comments on steps, and help refine your concept.
On this page, you can:
View the list of existing members, including which plans they have access to and when they were last active in the Planner platform
Invite new members by clicking the Invite members button
Search members and filter them by plan(s)
First Steps Checklist
To make the most of Planner right away, here’s a checklist for your first session:
Log in with the credentials provided
Use the Create Plan button in the navigation sidebar.
Choose how to define your concept. You have two options:Upload a PDF using the Loyalty Strategy Interpreter
Recommended if you already have loyalty documentation.Start from a blank Concept Whiteboard
Design a concept from scratch.
Complete the Concept Whiteboard
Define the core of your program:Program Structure
Membership Conditions
Rewards
Earning Mechanics & Campaigns
When you’re ready, click Generate member journeys.
Explore the Loyalty Map
Review how Planner translated your concept into:Program stages
Stations
Connected member journeys
Open and refine journeys
From the Loyalty Map:Open any journey
Edit steps
Add requirements
Upload documents
Add comments
Insert custom steps
Set Goals
Define what success looks like for the loyalty program.Add collaborators
Invite collaborators to work together on your plan in the Planner.