The Custom events module provides a solution for registering and rewarding customer actions that are not covered by Antavo’s built-in functionalities. You can define your events in the Custom events module configuration page and send these events through our Events API. Additionally, the module enables you to expand built-in events with extra fields.
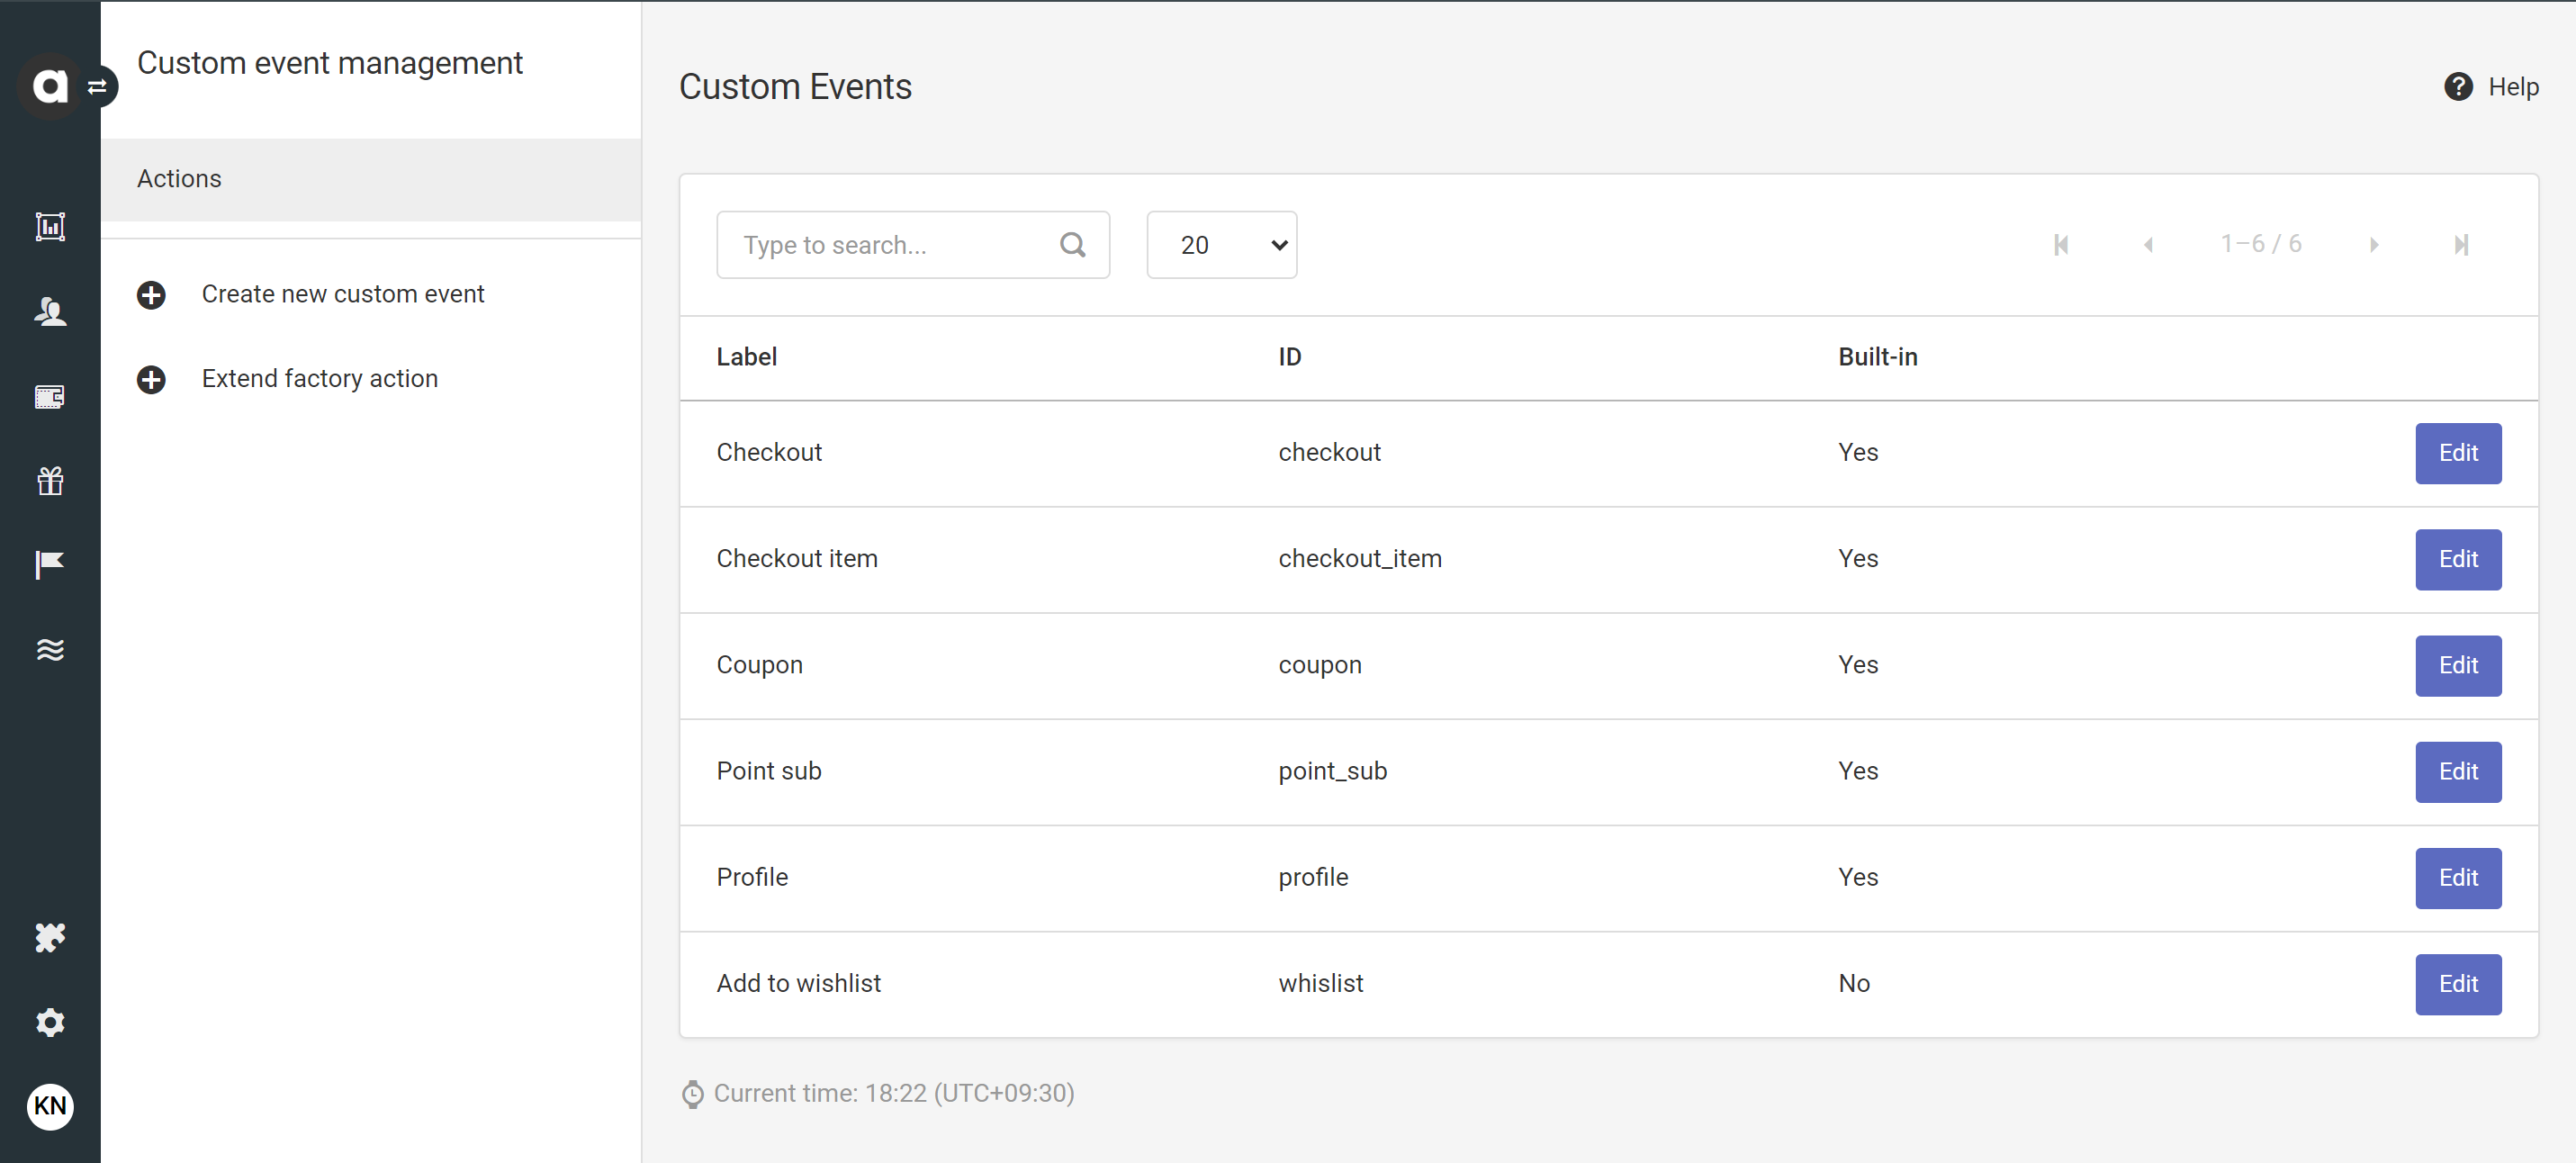
To find the configuration page, navigate to the Modules menu and search for the Custom events module. The page will display the list of built-in events that have been updated or extended with custom attributes, along with any custom events that have been added, with the following information:
Label | Name of the event |
ID | Unique ID of the event |
Built-in |
|
Defining a new event
Click the Create new custom event button in the sidebar
Add the unique ID of the event
This is the machine-readable ID that needs to be referenced when sending API calls.Add a label
This is the name of the event as it appears across the Management UI, including workflows and customers' event streams.Add a description
This serves informative purposes in the Management UI, reminding the user what the event is used for.Assign a default point value to the event
The number of points you add here will be awarded to the customer when the event is registered on their account. You can use the Workflows module to override this value under certain conditions.Enable One-time option if the event should only be registered once in the customer’s lifetime
Any further attempt will fail, and the Events API will respond with an error.Decide if the event should be included in the Display API response returned when sending a request for the list of customers' events
Select the account to which this event should be recorded
This setting applies if the account is not specified in the event sent through the Events API or added manually in the Management UI.Click Save
Adding a new custom attribute
Add custom attributes to expand events with additional data fields (e.g., if you want to include store location or cashier name in the Checkout event).
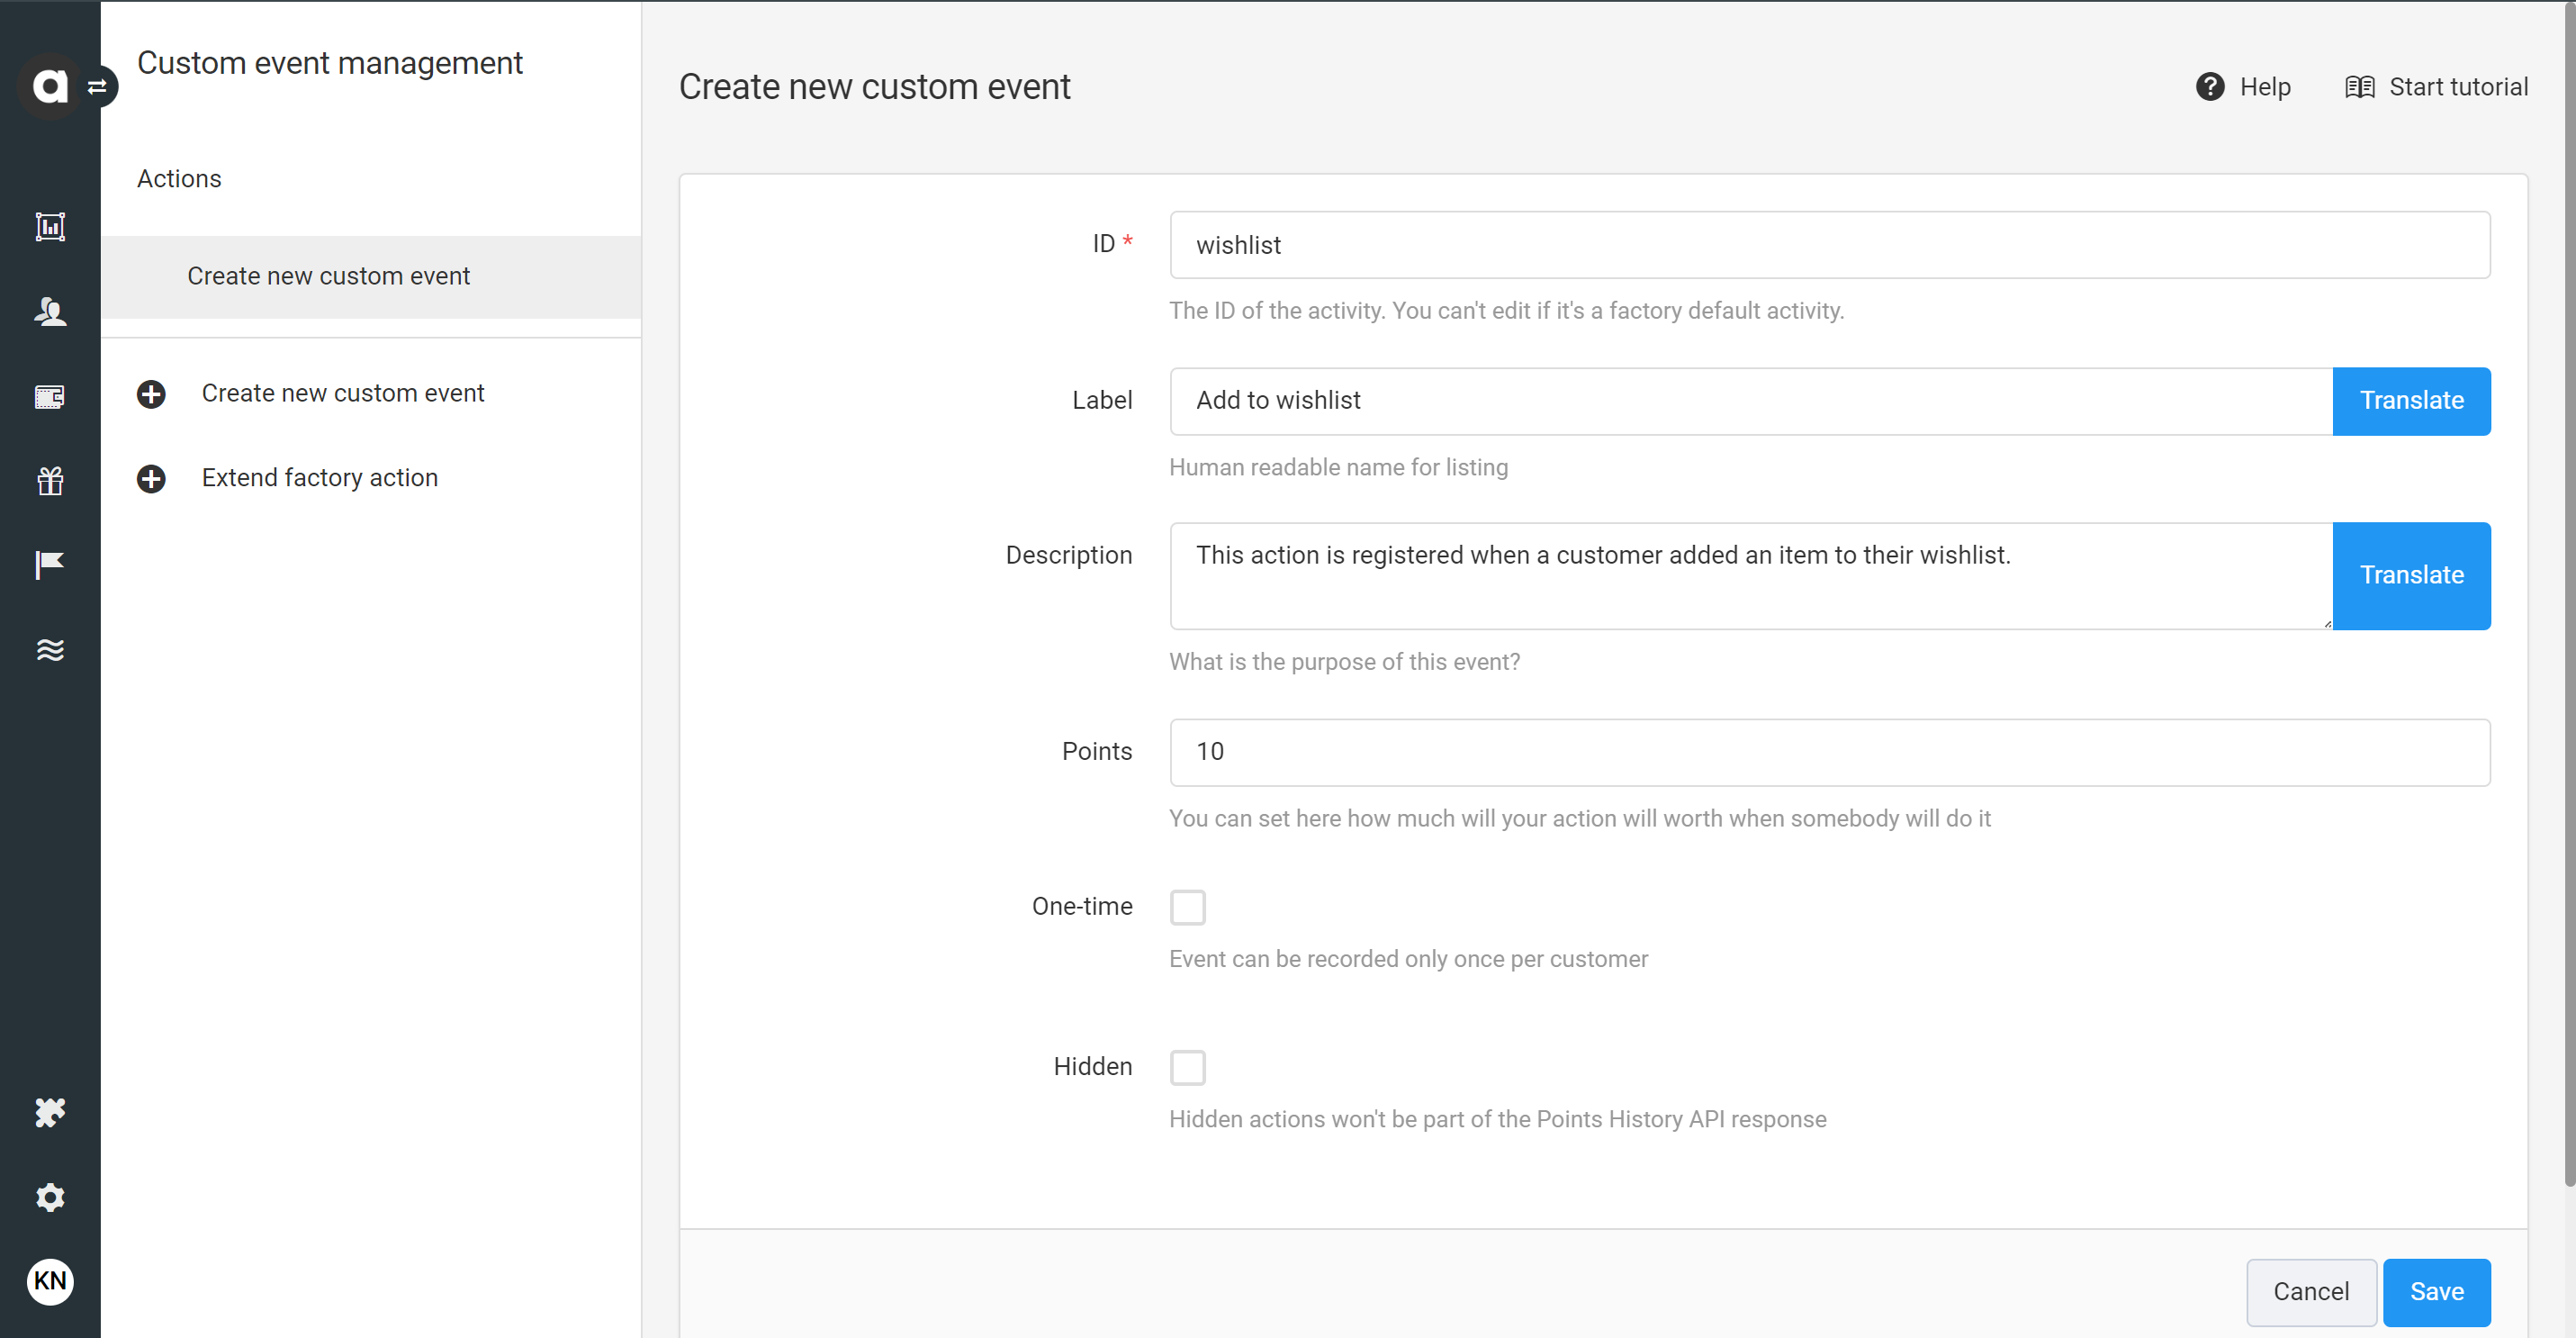
To do this, click the Edit button next to the event that you’d like to extend, then navigate to the Attributes tab. Here, you’ll find the list of attributes that have already been added to the event, along with the following information:
Label | Name of the attribute |
Unique ID | Unique ID of the attribute |
Type | The type of data stored in the attribute |
Required |
|
Built-in |
|
Tags | Tags associated with the attribute |
Configure an attribute
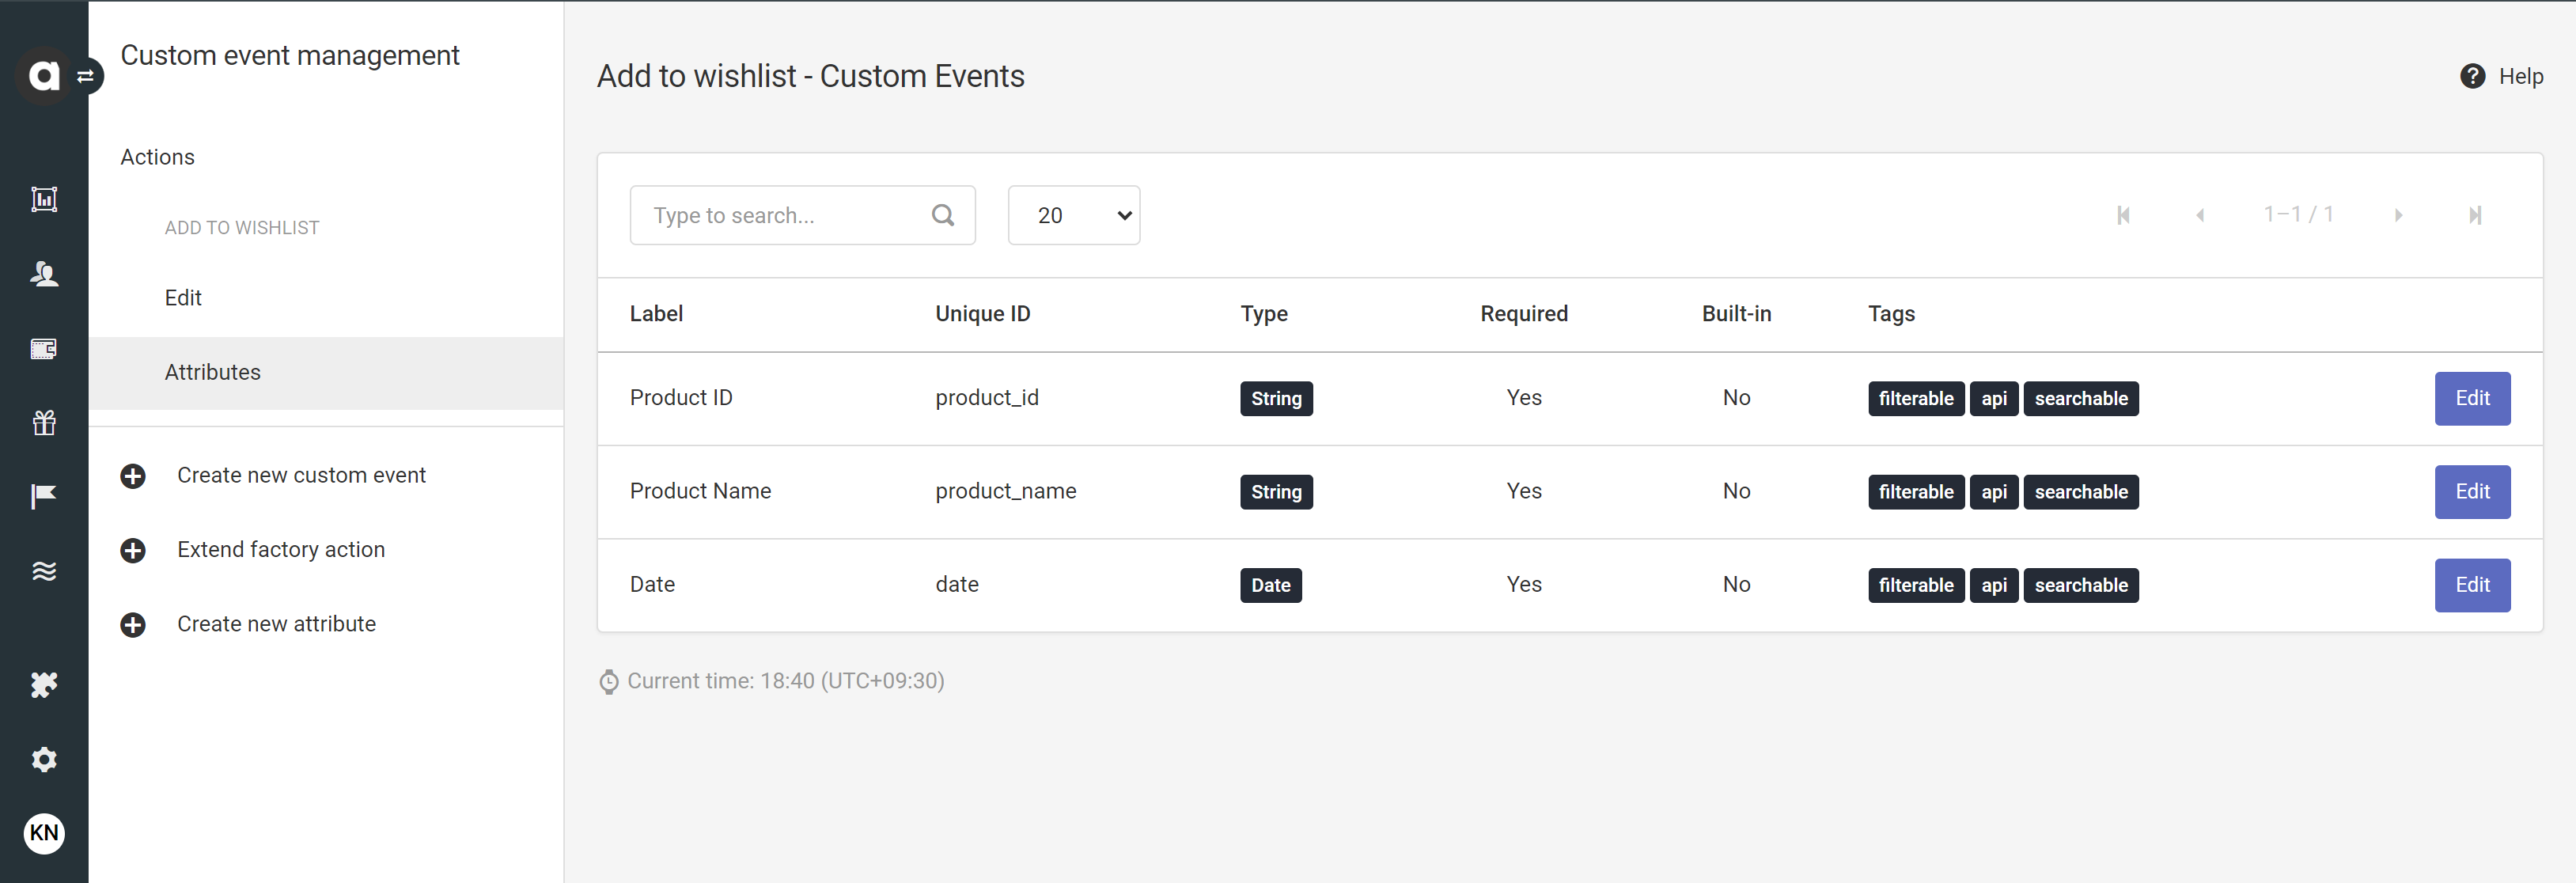
Click the Create a new attribute option in the sidebar
Add a label
This is the name of the attribute as it appears across the Management UI, including workflows and customers' event streams.Define the unique ID
This is the machine-readable ID of the attribute that needs to be referenced when sending API calls.
System keywords (e.g.,source,transaction) cannot be used as IDs. If a system keyword is provided as an ID, an error message is displayed, and the attribute cannot be created.Add a description
This serves informative purposes in the Management UI, reminding the user what the attribute is used for.Select the field type
Choose the type of data that will be stored in the attribute. Ensure that when sending the data through the API, it is in the format required by the selected type to prevent API request failures. The available types are:String
Numeric
Boolean
Select
Add the selectable options by defining possible values.URL
Date
Datetime
Multiple choice
Add the selectable options by defining possible values.List
Add a default value (only applicable for String, Numeric, Boolean, and Url type attributes)
You can enter a default value for event fields. After the new event attribute is saved, the default value will automatically populate in all future events if no value is provided in the API request. Please note that event objects are WORM (Write Once-Read Many), so field values cannot be populated with default values configured after the event has been registered.Format (only applicable for String and List types of fields)
For String and List types, you can further specify the format to Date, URL, Email, Phone number formats. The API will validate the values accordingly.Tags
Tags define how attributes can be accessed and managed in the system.API: The field is included in the response returned by the History endpoint of the Display API.searchable: The value of the field can be used as a search condition when requesting customer data through the Display API, by using key-value pairs as query parameters. Additionally, it is available for searching within lists in the Management UI.importable: The value of the field can be populated through the Imports module. Note that as events are WORM (Write Once-Read Many) objects, the field values cannot be modified after the event has been registered.groupable: The data values of the field can be grouped when configuring charts to be displayed on the Dashboard.filterable: The field can be used as a filter condition when requesting customer data through the Display API. Its impact on performance may vary, so it is important to test each filtered operation to ensure efficiency.
The field can also be used for filtering in the Management UI's list filters and search fields.unique: The same field value can only be registered once and cannot be saved to the same field for any other event.
Please note that once the unique tag has been added, it cannot be removed once the attribute settings have been saved.
Access Level
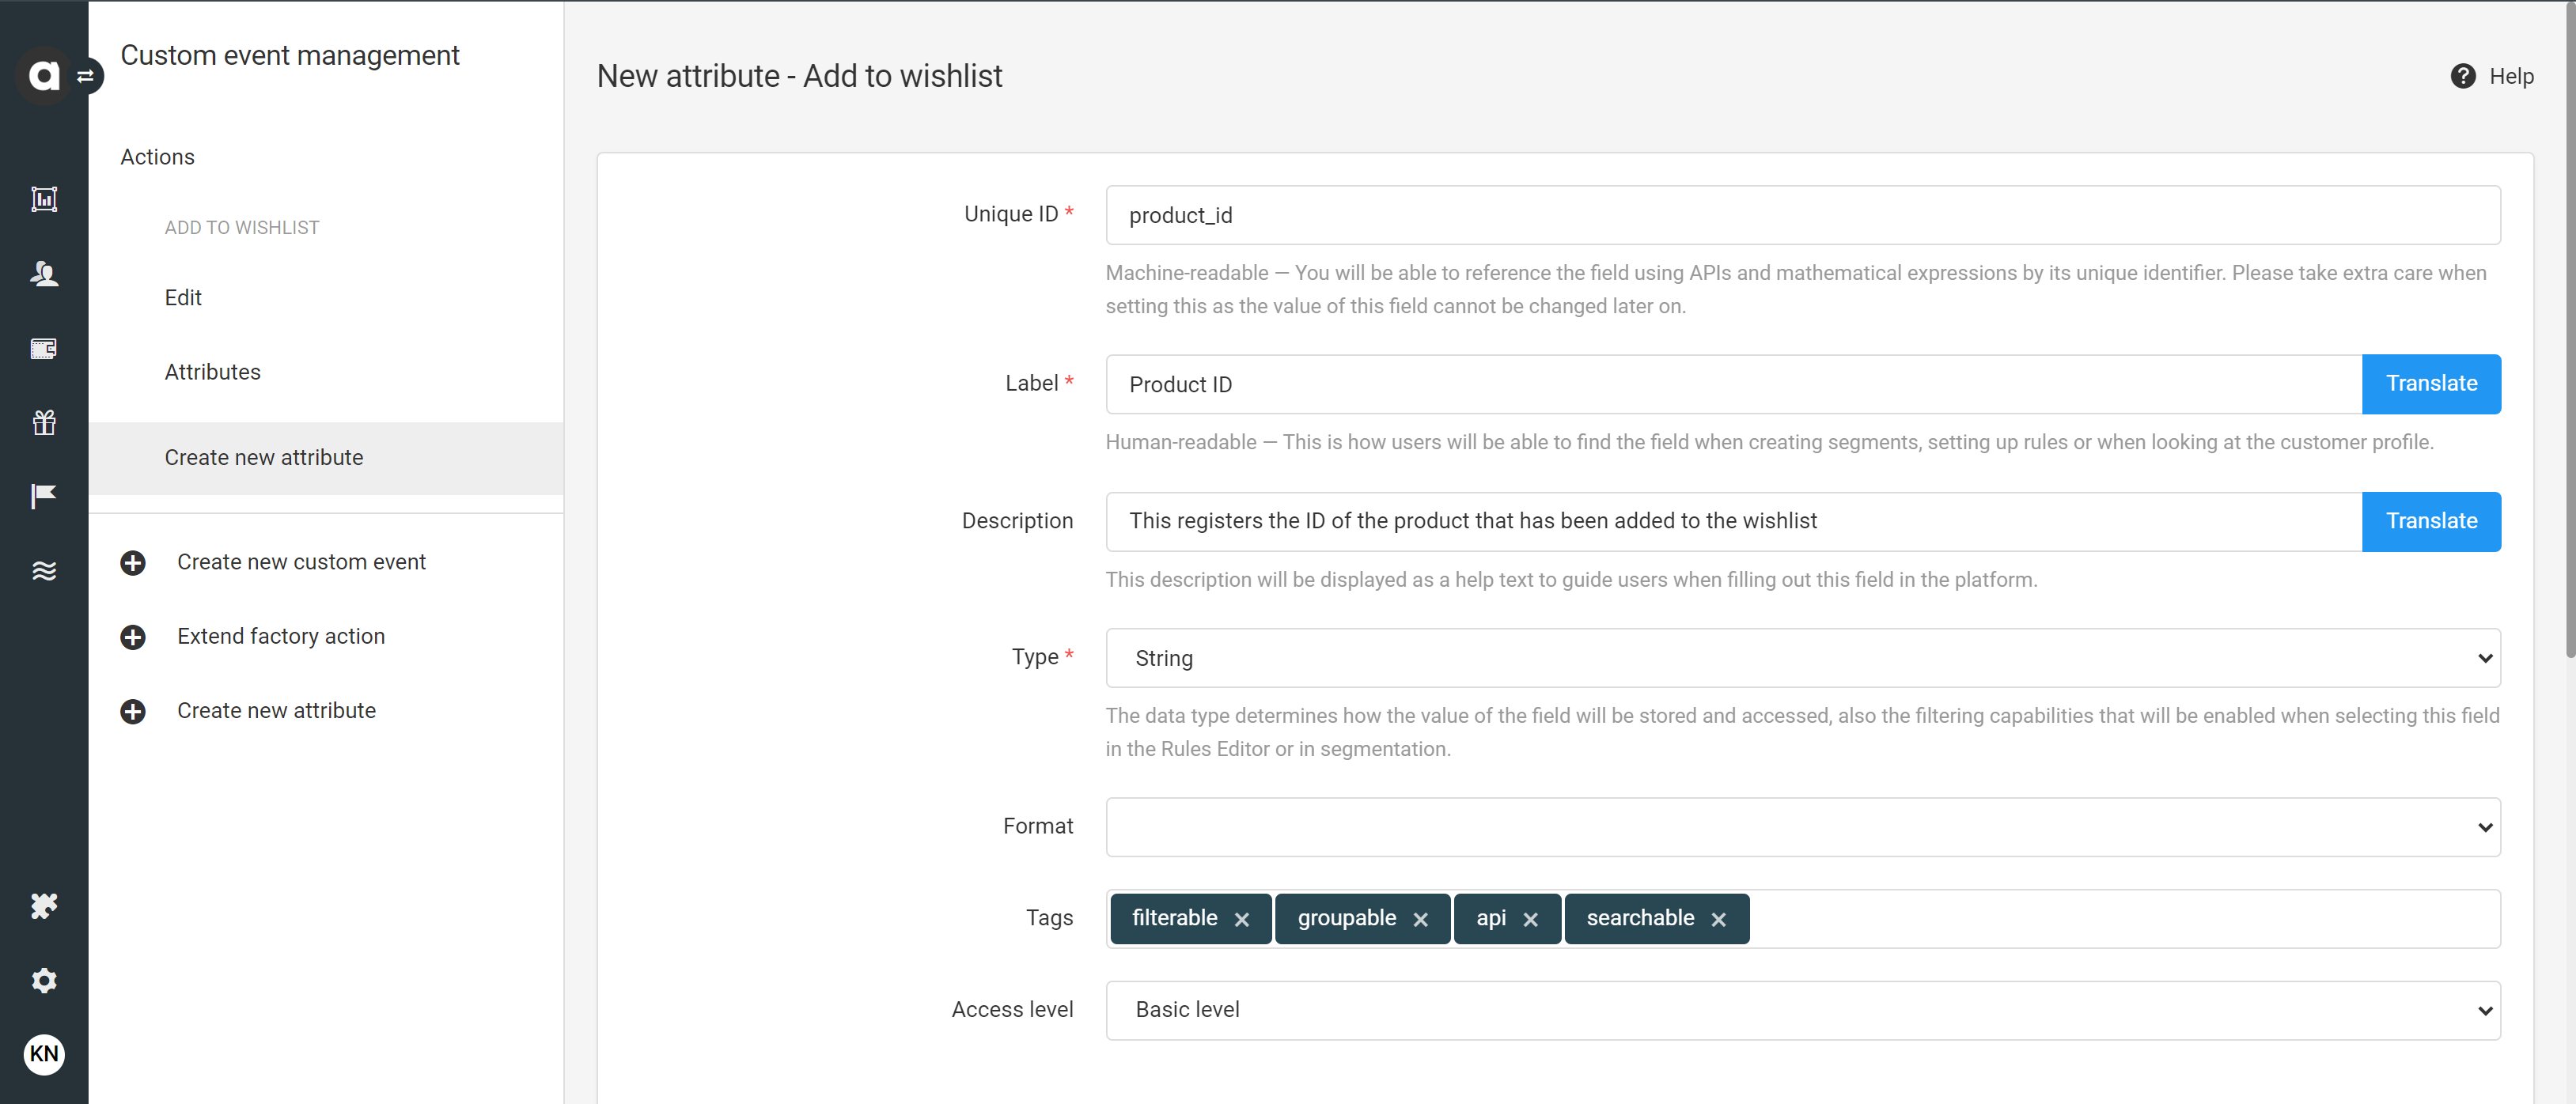
Select the access level that should apply to the event field. Users without the defined level of access cannot add and/or view this attribute through the Events tab of Customer Insights.
Data and privacy controls
Required
Is this attribute critical or supplementary to the custom event? If an attribute is required but not included in the event sent through the API, the API request will fail, and the event will not be registered in Antavo’s database.Computed
The value of computed fields cannot be defined when registering the event under Customer Insights or through the Events API.Save to customer
If enabled, this will save the attribute to the customer object.
.png)
Don’t forget to click Save at the bottom of the page.
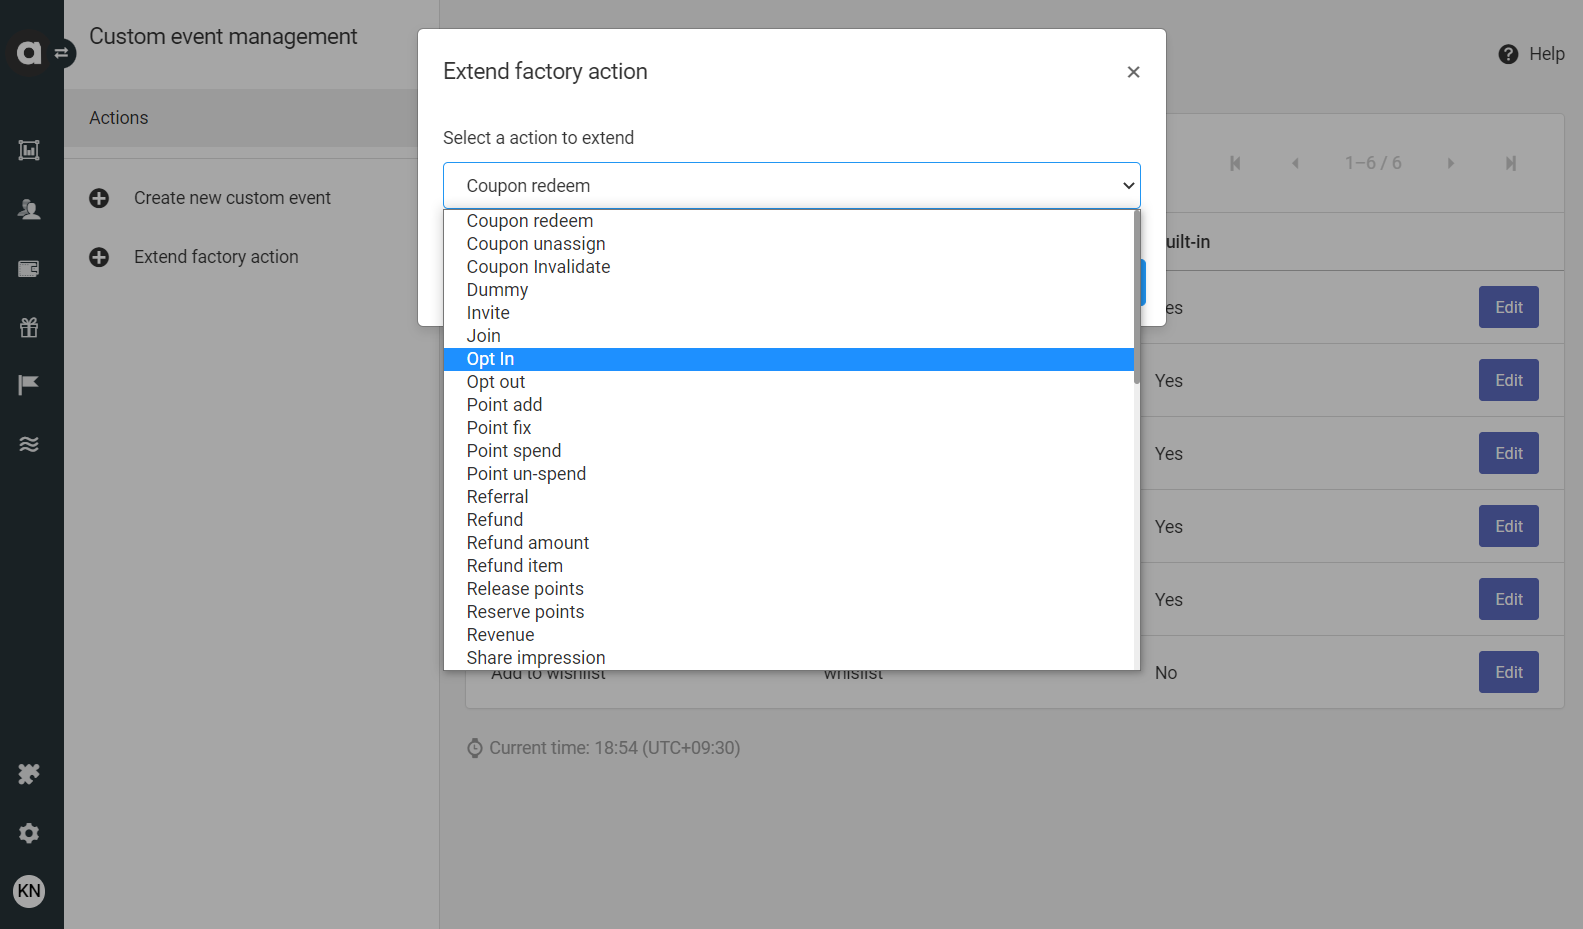
Extending a factory action
There is an option to extend built-in events with custom attributes:
Click the Extend factory action option in the sidebar
Select the event from the dropdown menu
Click Extend
Update event settings (if necessary) and click Save
Navigate to the Attributes tab
Add new attributes as described above
Managing events and attributes
Edit an event or an attribute
On the list pages, locate the event or attribute you’d like to edit and click the Edit button next to it. After updating the settings, be sure to click Save before leaving the page.
Delete an event
You can delete custom events by clicking the Archive button located in the right corner of the event editor interface.
While both built-in and customer events can be archived, we strongly recommend not removing built-in events, as doing so might break the fundamental functionalities of the loyalty program.
Restore an event
You can unarchive an archived event by following these steps:
Click the Extend factory action option in the sidebar
Select the name of the archived event from the dropdown menu
Click Extend
In the event editor interface, locate the Unarchive button in the right corner
Click the Unarchive button
Delete an attribute
Event attributes cannot be deleted. If you stop using an attribute, ensure that the Required checkbox on the editor interface is unchecked.
Translate events and attributes
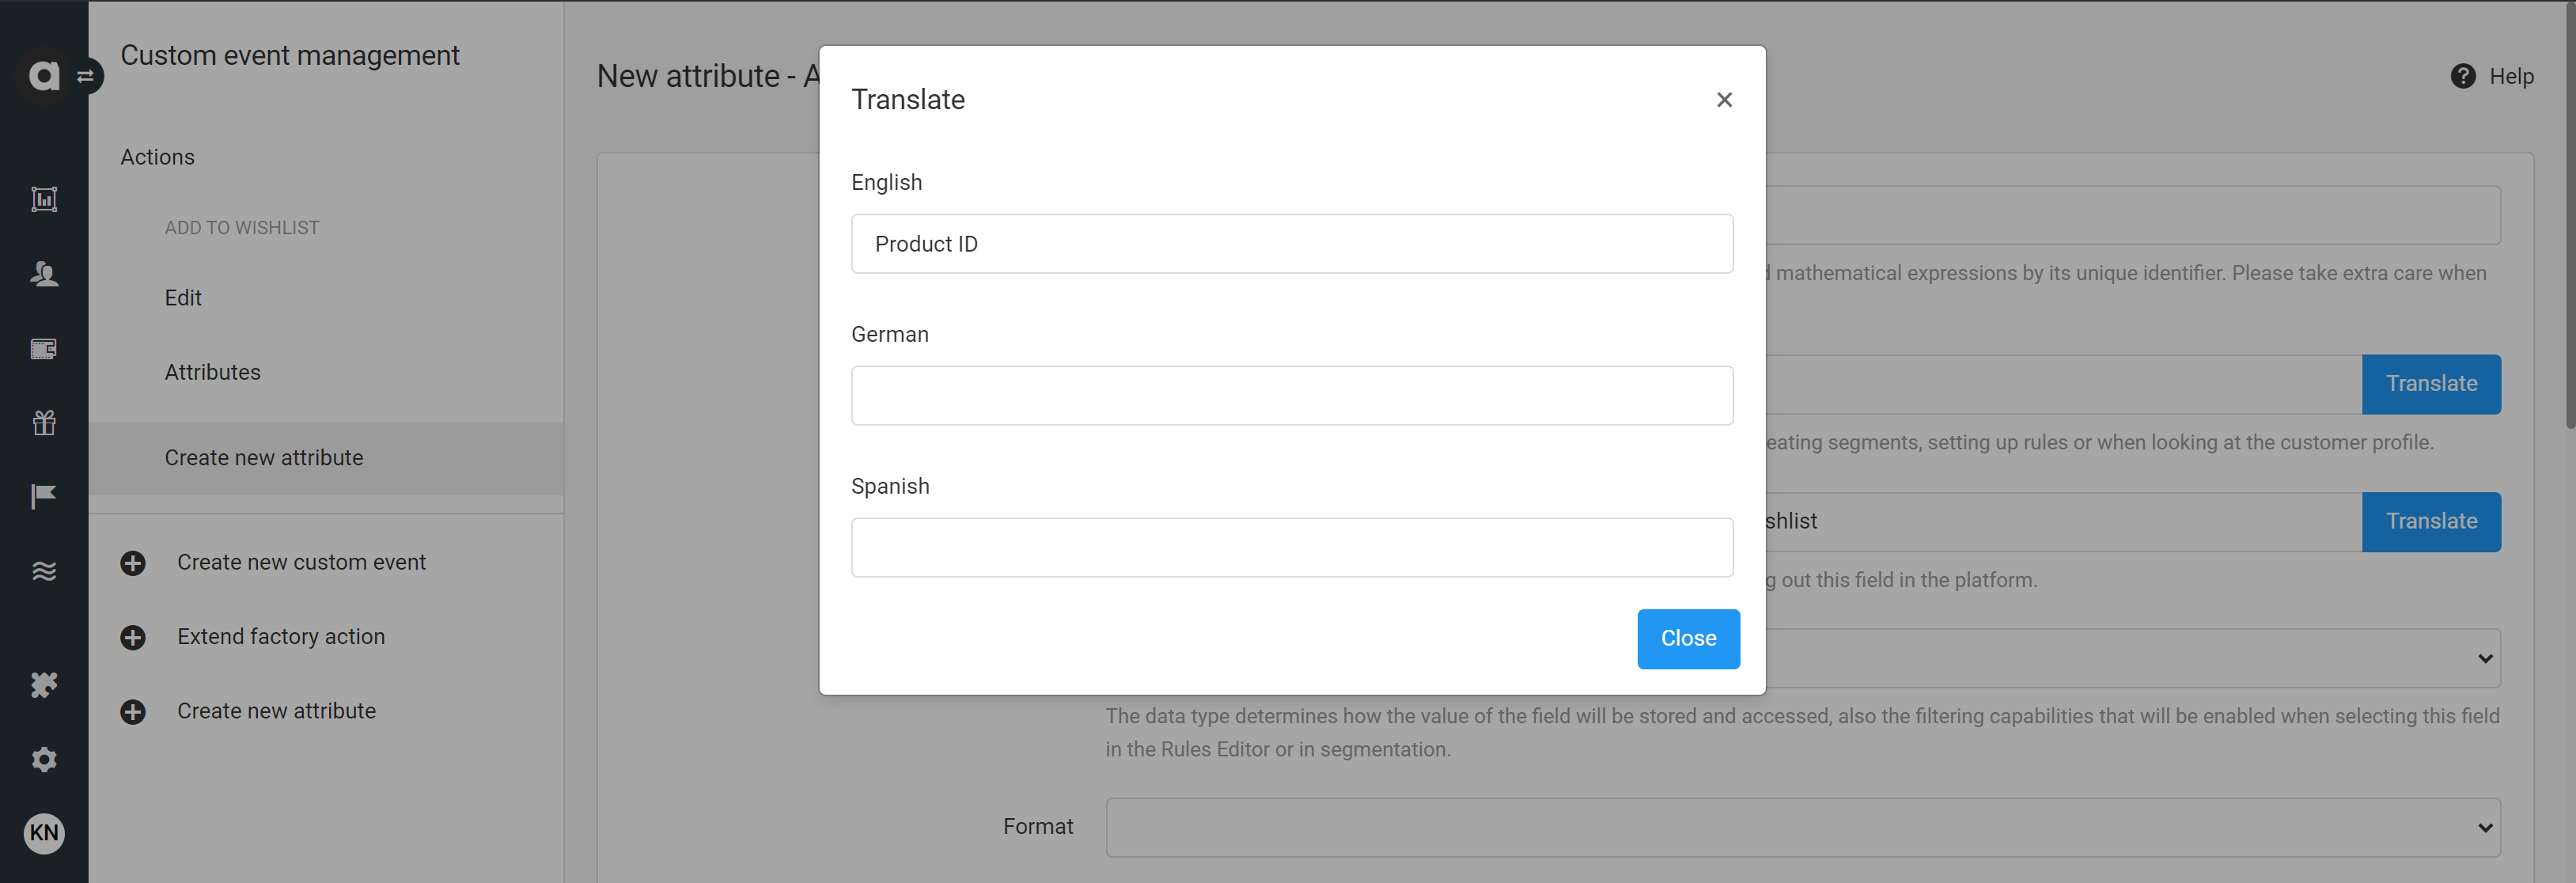
The labels and descriptions of events and attributes are translatable on the configuration interfaces, allowing event history to be provided in multiple languages. To add translations, click the blue Translate button next to the field.
Best practices
When rewarding custom actions with points, you can specify certain conditions for the activity by using Workflows or the Challenges module. The Challenges module offers pre-built functionalities to configure maximum completions, repeat intervals, availability for specific segments, as well as start and end dates.
If you are using the Challenge module, ensure that the number of points to be awarded for each challenge is set within the Challenges editor. Additionally, set the point value of the event to 0 on the event editor interface to avoid double rewarding.
Common examples of custom events include:
Using the search bar
Adding an item to a wishlist
Adding an item to favorites
Subscribing to the newsletter
You can also define actions with negative points. A typical scenario for point deduction is a newsletter unsubscription event.