Antavo’s Product catalog offers the option to manage and keep track of products available in your store directly in the Antavo Management UI. This module streamlines the handling of product-related events only requiring the submission of the Product ID. Antavo then automatically expands and inserts the corresponding product information into the event. This simplifies the process, reducing the size and complexity of transaction-related event uploads.
The product catalog information can also be directly used as loyalty benefits, added as physical rewards using the Rewards module and/or as product offers via the Offers module.
To find the configuration page, navigate to the Modules menu and search for the Product catalog module. The page will open to the list of products that you’ve already added with the following information:
ID | The ID of the product |
Title | The title of the product |
Availability | in stock, out of stock, or pre-ordered |
Price | The price of the product |

Adding new products
You can either add products one by one manually or use the Imports module to mass import products in one go.
Create products manually
Click the Create new product button on the left sidebar
Define product fields
The product catalog uses the field of the Google Product Feed.Click the Create button
Import products
Click the Import products button on the left sidebar
You’ll be redirected to the Imports module interface where you can upload the import file.Select the source of the CSV import file in the Imports module interface
Please ensure that your file follows the Google Product Feed format.
Upload: Upload your CSV file right away in the Filename field by clicking the Choose file button.
URL: Insert the URL where the import file is accessible in the Url field.
SFTP or FTPS file transfer protocols: Define the Host, Port, User, Pass, and Path connection details in the corresponding field. You can also select a Cleanup method to rename or delete the import file after it has been processed.
Managing products
Edit a product
Go to the Product catalog main page
Click the Edit button of the product that you would like to update
Modify settings
Save your changes by clicking Update
Both manually added and imported products can be updated.
Delete a product
Products cannot be deleted from the product catalog.
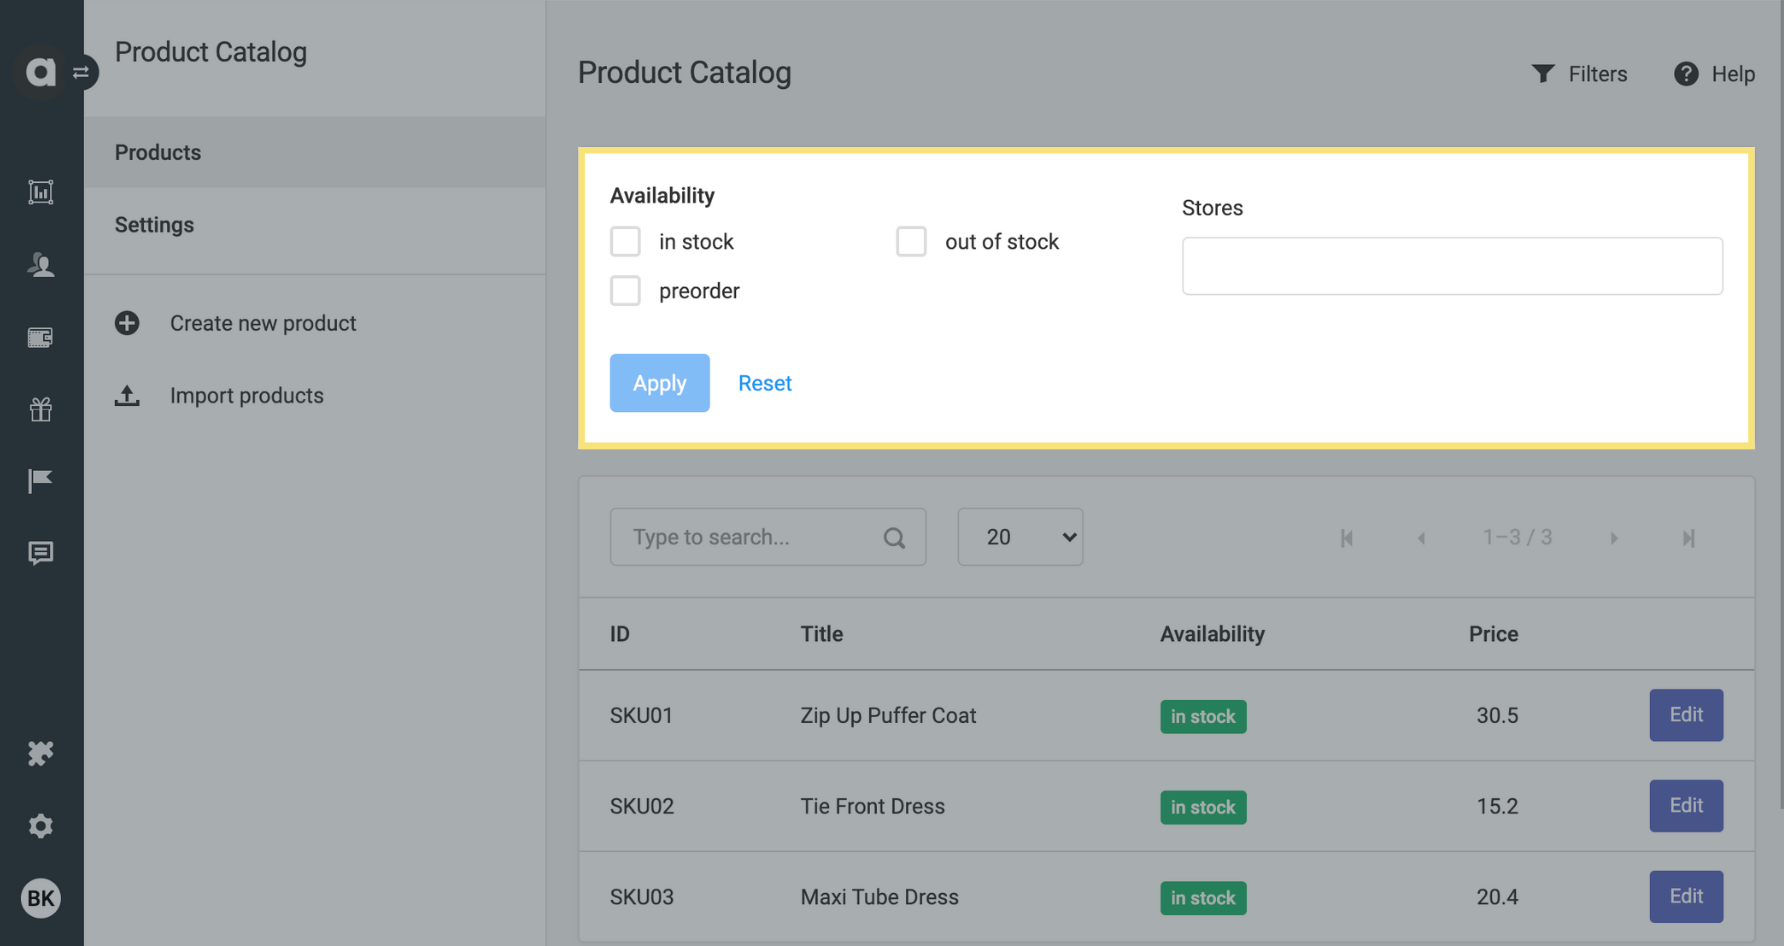
Filter products
Filter your product list on the Management UI interface based on availability (in stock, out of stock, pre-ordered) and product attributes with the filterable tag.
Click the Filters button at the top of the module configuration page. Click Apply to see the filtered list, or Reset to choose a new filtering method.
Product settings
Navigate to the Settings tab to specify certain preferences in your workspace’s Product catalog. To effectively update the below settings, please ensure to click Save at the bottom before leaving the page.
Physical reward integration
Checking this box enables you to associate products from the catalog with physical rewards.
Product based earning
This feature allows you to assign a point value to each product that customers can collect when purchasing the item. This setting overrides the points_rewarded value of the checkout_item event, which is calculated based on the mechanism configured under the Incentivized purchase module or Earn rules section of the Multi-accounts or Points economy modules. However, if there’s a workflow that modifies the points_rewarded attribute, the operation of the workflow takes priority and alters the product base earning.
Go to the Product catalog module’s main page
Click the Edit button of the product that you want to update
Under the Price and availability section, set the number of points you wish to add in the Loyalty points field
If you use the Checkout accept module to keep the points pending until the customer's purchases are confirmed, the points you set in this field will be assigned as pending too when the
checkoutevent is registered.
Properties
List the properties that you would like to have present at the checkout_item event. When the Product ID is sent within the checkout event, the values of the selected properties will automatically be populated in the checkout_item properties. All built-in and custom product attributes can be added in this multi-select field.
