Antavo’s Management UI (MUI) is designed to assist in setting up and managing the brand’s loyalty program. Users can immediately change the loyalty mechanism, adjust designs and texts, or set up and run temporary campaigns and promotions through the Management UI at any time.
In addition to loyalty-related settings, real-time analysis allows for monitoring loyalty program performance and tracking member engagement within the program.
Accessing the Management UI
Log in to the Management UI using the credentials provided by the Professional Services team at the start of the loyalty program implementation process.
.png)
If you forget your password, you can request a reset by clicking the Forgot password button. Please note that after five consecutive failed attempts with incorrect credentials, you will be locked out for 1 hour due to security reasons.
Structure of the Management UI
After logging in, you will be directed to the Dashboard within the Management UI.
The Dashboard displays key performance indicators of the loyalty program, providing real-time statistics on loyalty member actions. It is customized by the Professional Services team to align with your business goals and requirements.
Sidebar items
The dark grey vertical bar on the left-hand side of the Management UI serves as the main menu bar, displaying icons of featured functionalities of the Management UI.
Clicking the ⇆ icon at the top of the sidebar will expand it, revealing the names of the tabs. The sidebar will remain open until you click the icon again to close it.
The default menu items available are:
Dashboard
Offers quick access to the overview reporting page.Customer Insights
Provides actionable information on loyalty members and their actions, guiding you in managing customer profiles.Modules
Lists the configuration pages for all loyalty modules and integrations in the loyalty program.To enable an inactive module, either use the Request a Demo button to notify the Antavo team or submit a ticket via the Antavo Service Desk. The Modules list indicates the accessibility of certain modules through specific tags, explaining why certain features might not function as expected:
UNDER DEVELOPMENT: The module is currently under development.
EARLY ACCESS: This indicates a beta version of the module, with further developments forthcoming.
DEPRECATED: The module has been discontinued and will be removed soon.
LEGACY: This module’s functionalities have been replaced by another module.
When clicking the puzzle icon to access the Modules menu, the module list will also appear on the sidebar. You can expand this list to reveal any available submenus, such as Webhooks or Friend referral.
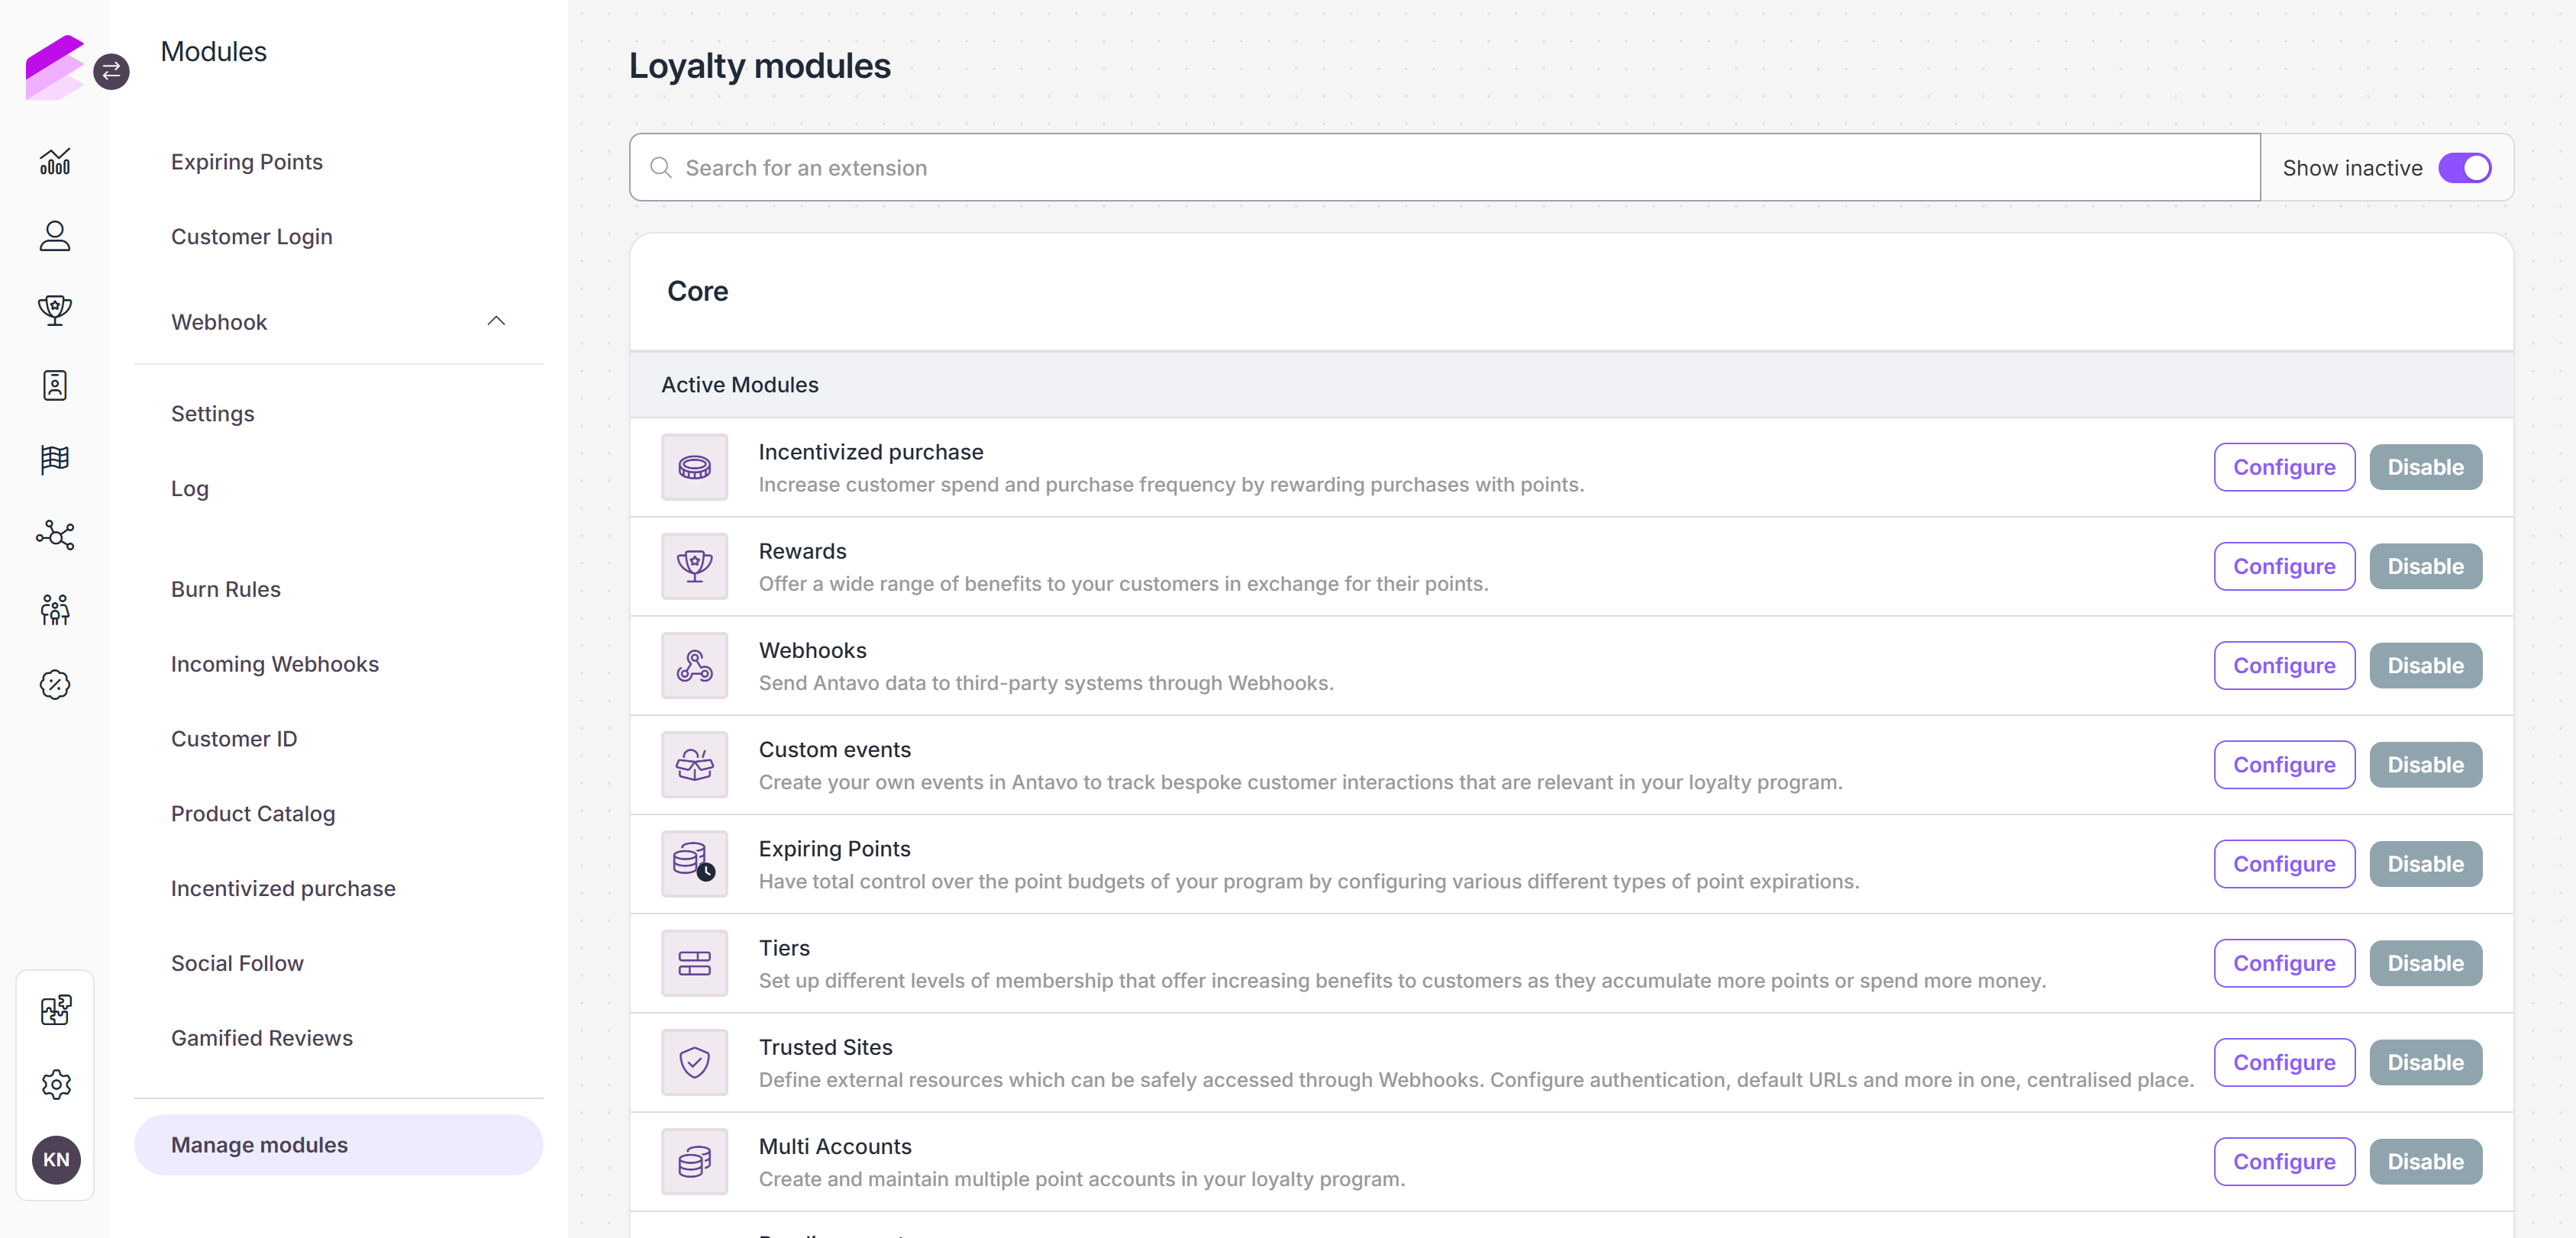
Submenus (if any) can be opened through the sidebar of the modules menu.
Settings
Gathers the configuration interfaces for all essential loyalty program settings.
The remaining items in the menu become available based on enabled modules.
Find your user account at the bottom of the bar. Clicking on it will reveal two options:
Manage profile
Allows you to administer profile information and make changes to login credentials. If Multi-factor authentication is enabled, it also provides access to the configuration interface of this module.Logout
Logs you out of the Management UI and redirects you to the login page.
Module menu
When you open a configuration interface of a module through the main Sidebar or the Modules page, the functionalities of the module appear on the left side of the page next to the main Sidebar.
At the top of the module menu, you can see the name of the module. Below this, you can access the subpages of the module configuration, and actions buttons at the bottom of the menu.
Configuration changes
At the bottom of editor pages throughout the Management UI, you’ll find details about an entity’s creation date, last configuration update, and the name of the user who made the configuration changes.
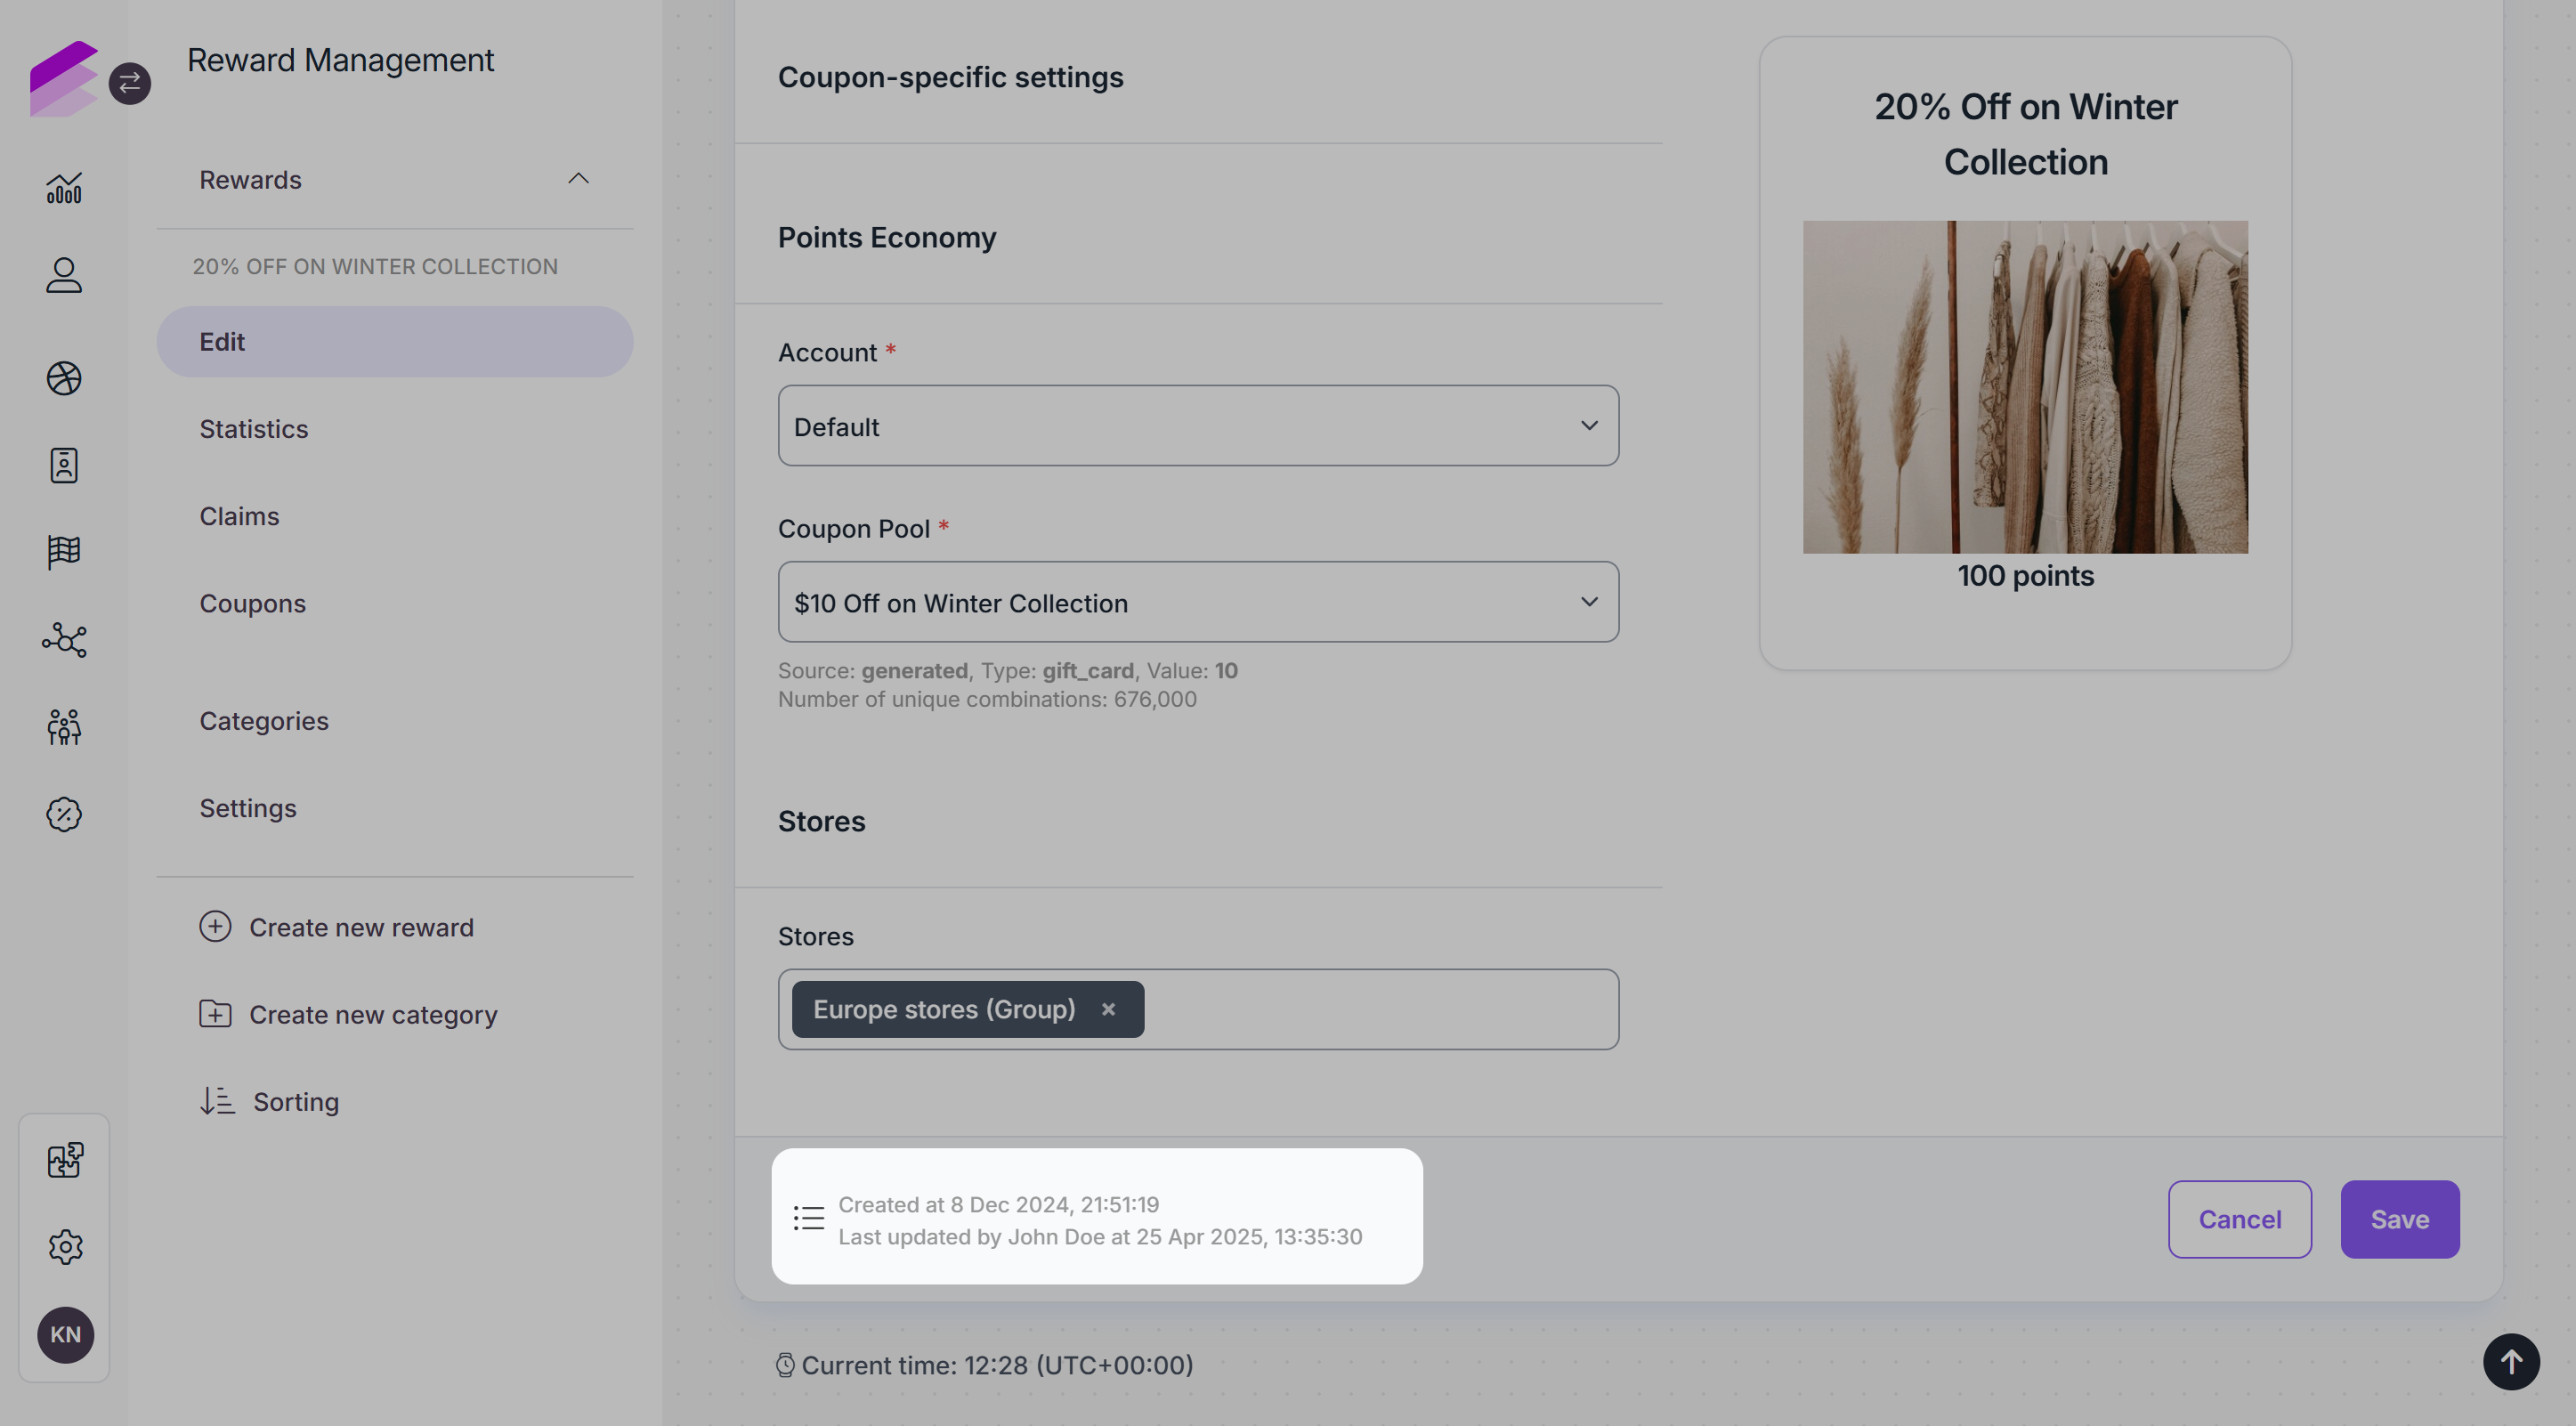
This information is available on the following entity editor pages when the corresponding module is enabled:
Account (Multi-accounts)
Attribute (Common attributes)
Automation process (Jobs)
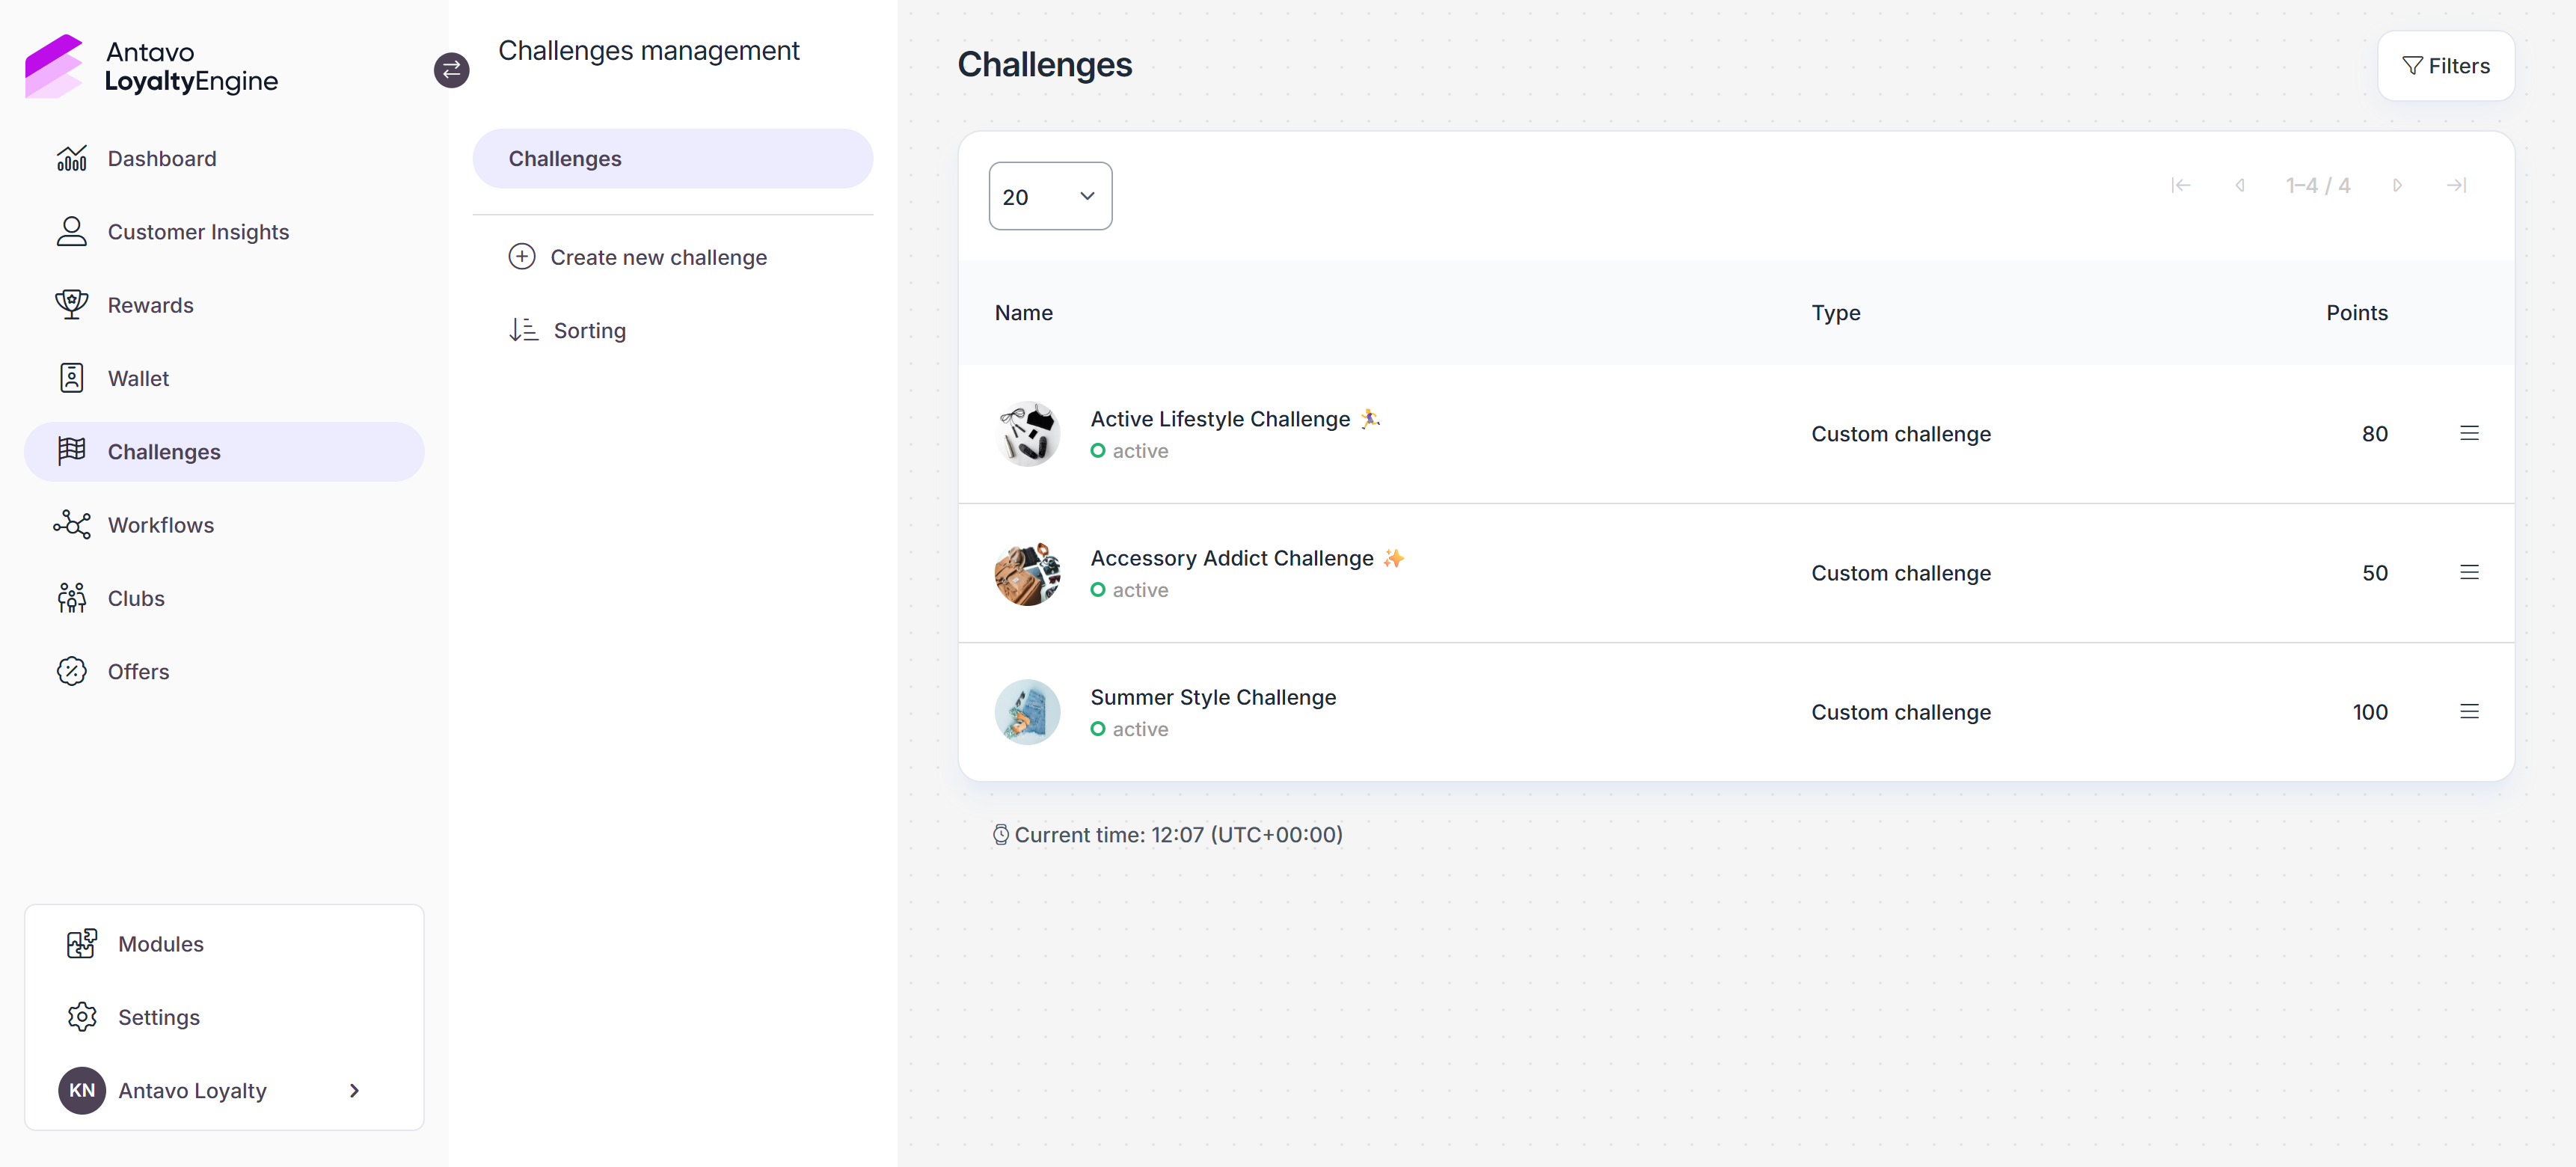
Challenge (Challenges)
Contest (Contest Lite)
Coupon pool (Coupons)
Custom entity, Custom entity attributes (Custom entities)
Custom event, Custom event attributes (Custom events)
Export (Export)
FAQ item (Frequently Asked Questions)
Flow and Question (Gamified profiling)
Group (User groups)
Incoming webhook (Incoming webhooks)
Instagram contest (Instagram contest management)
Offer (Offers)
Pass (Wallet)
Product (Product catalog)
Project (Prediction management)
Quiz (Quizzes)
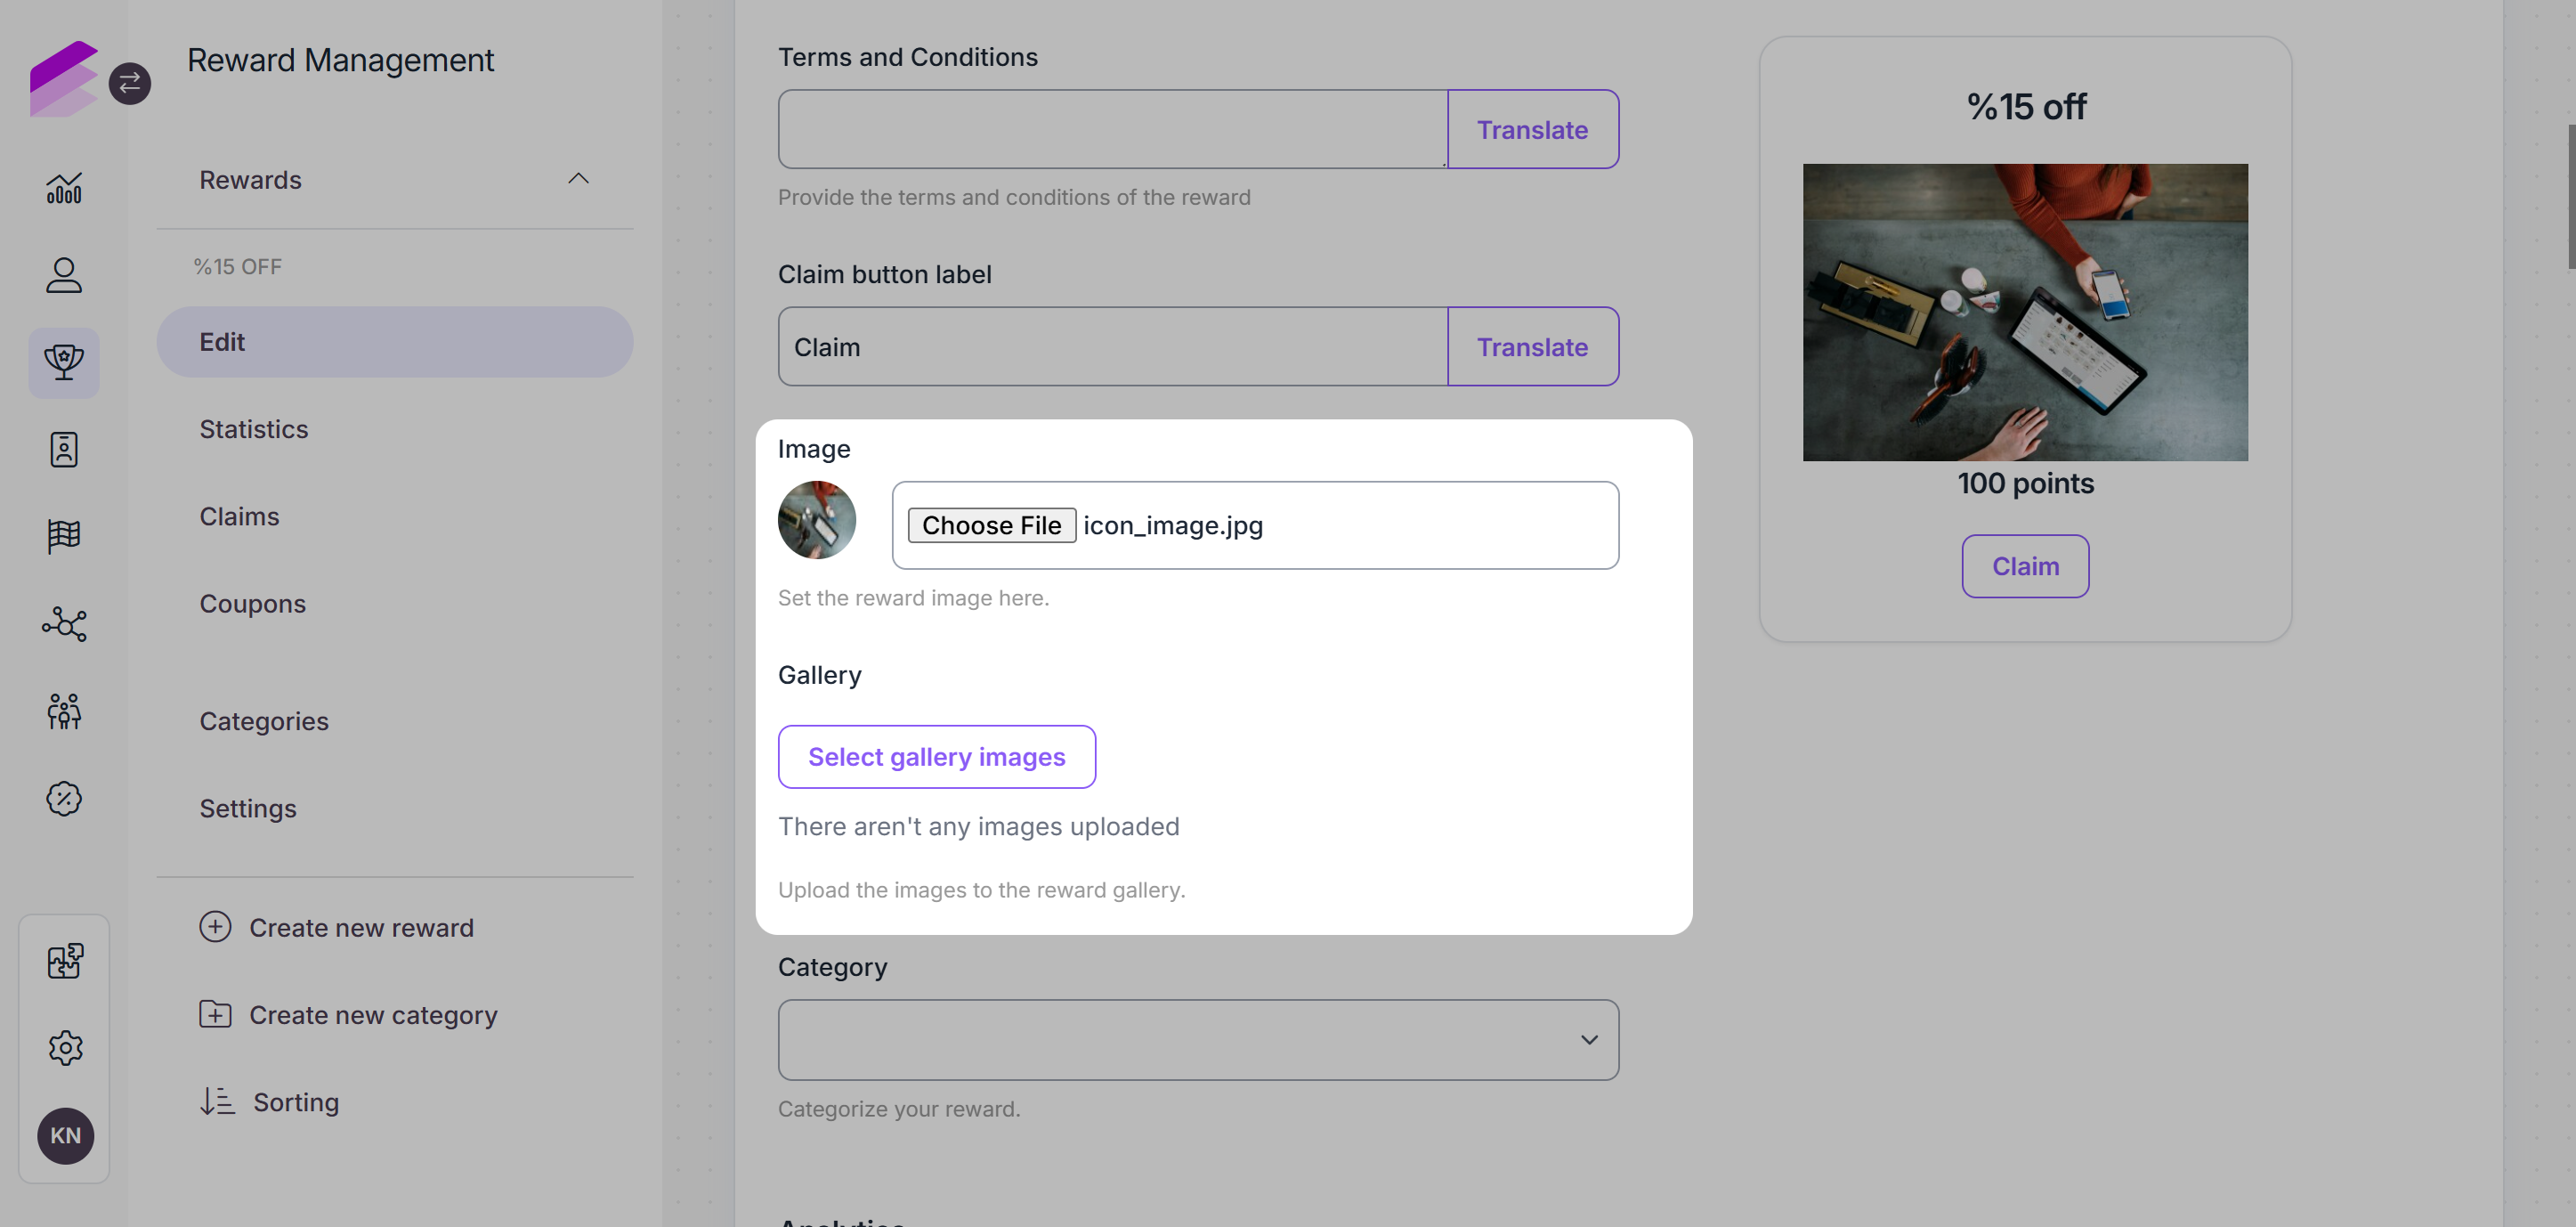
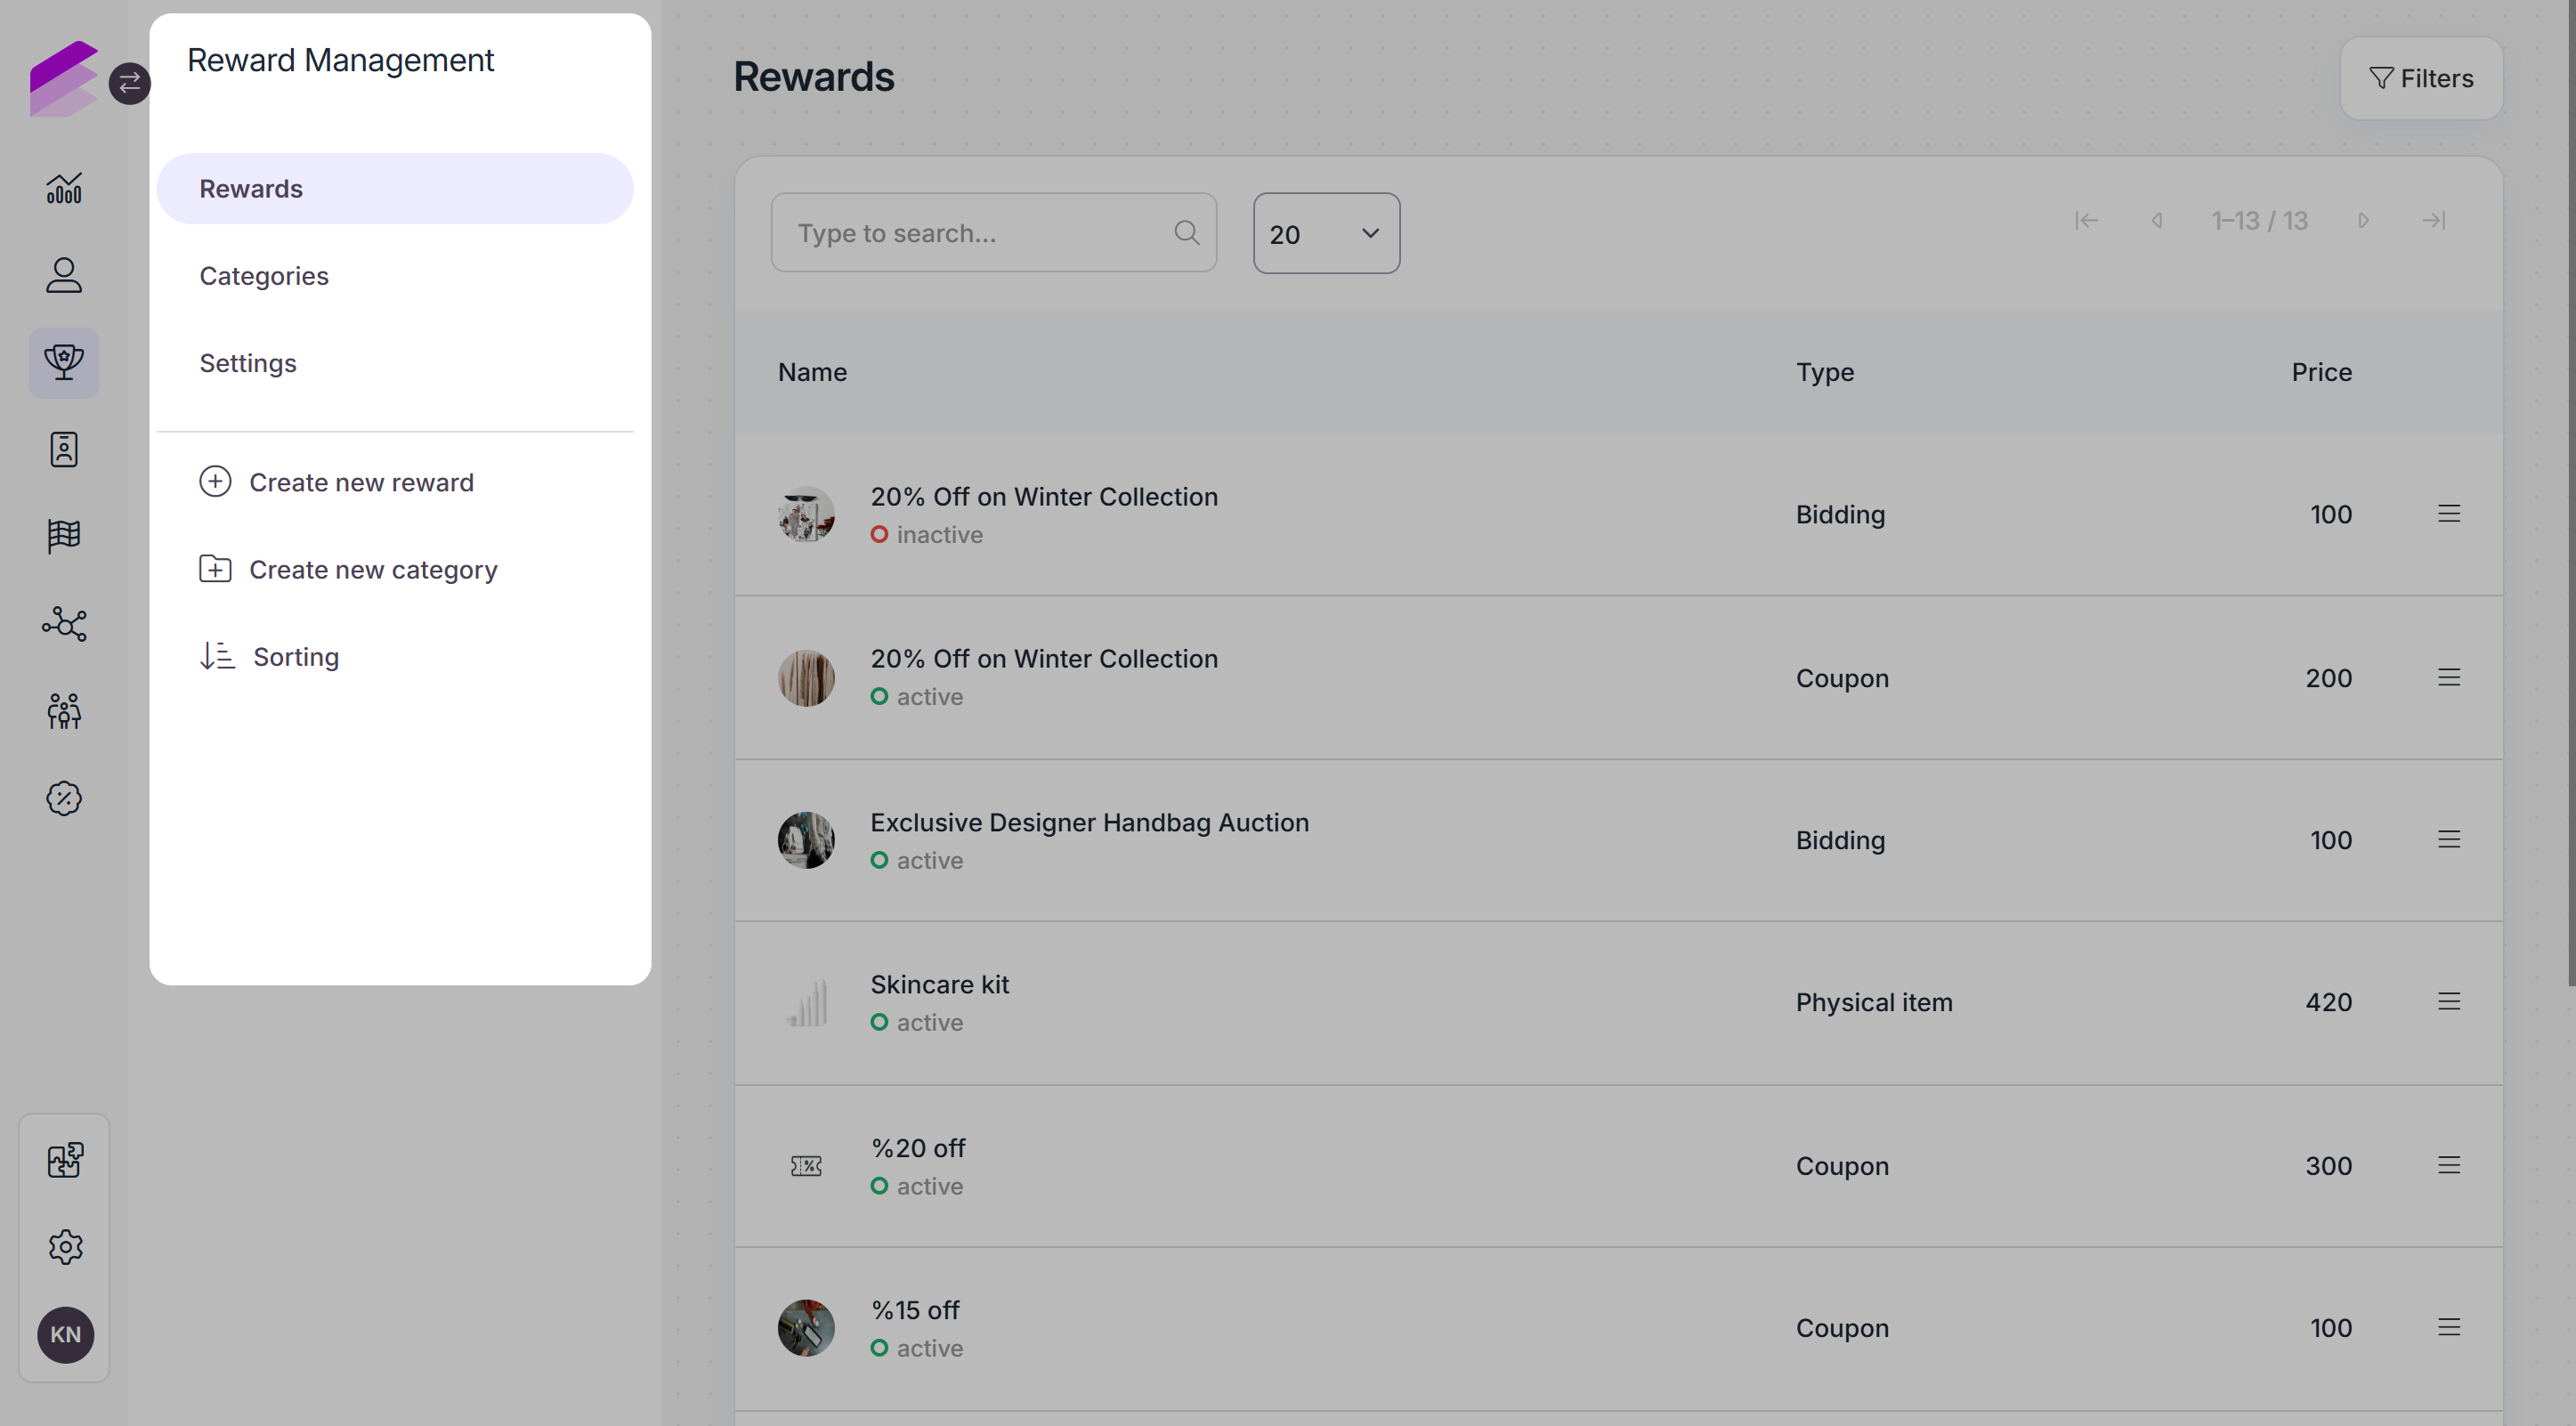
Reward (Rewards)
Rule (Customer mapping)
Sites (Trusted sites)
Stores (Store management)
Tenant (Tenants)
Tier structure (Tiers)
Tiered campaign (Tiered campaigns)
Treasure (Online and Offline treasure hunt)
User (Settings → Users)
Webhook (Incoming webhooks)
Workflow (Workflows)
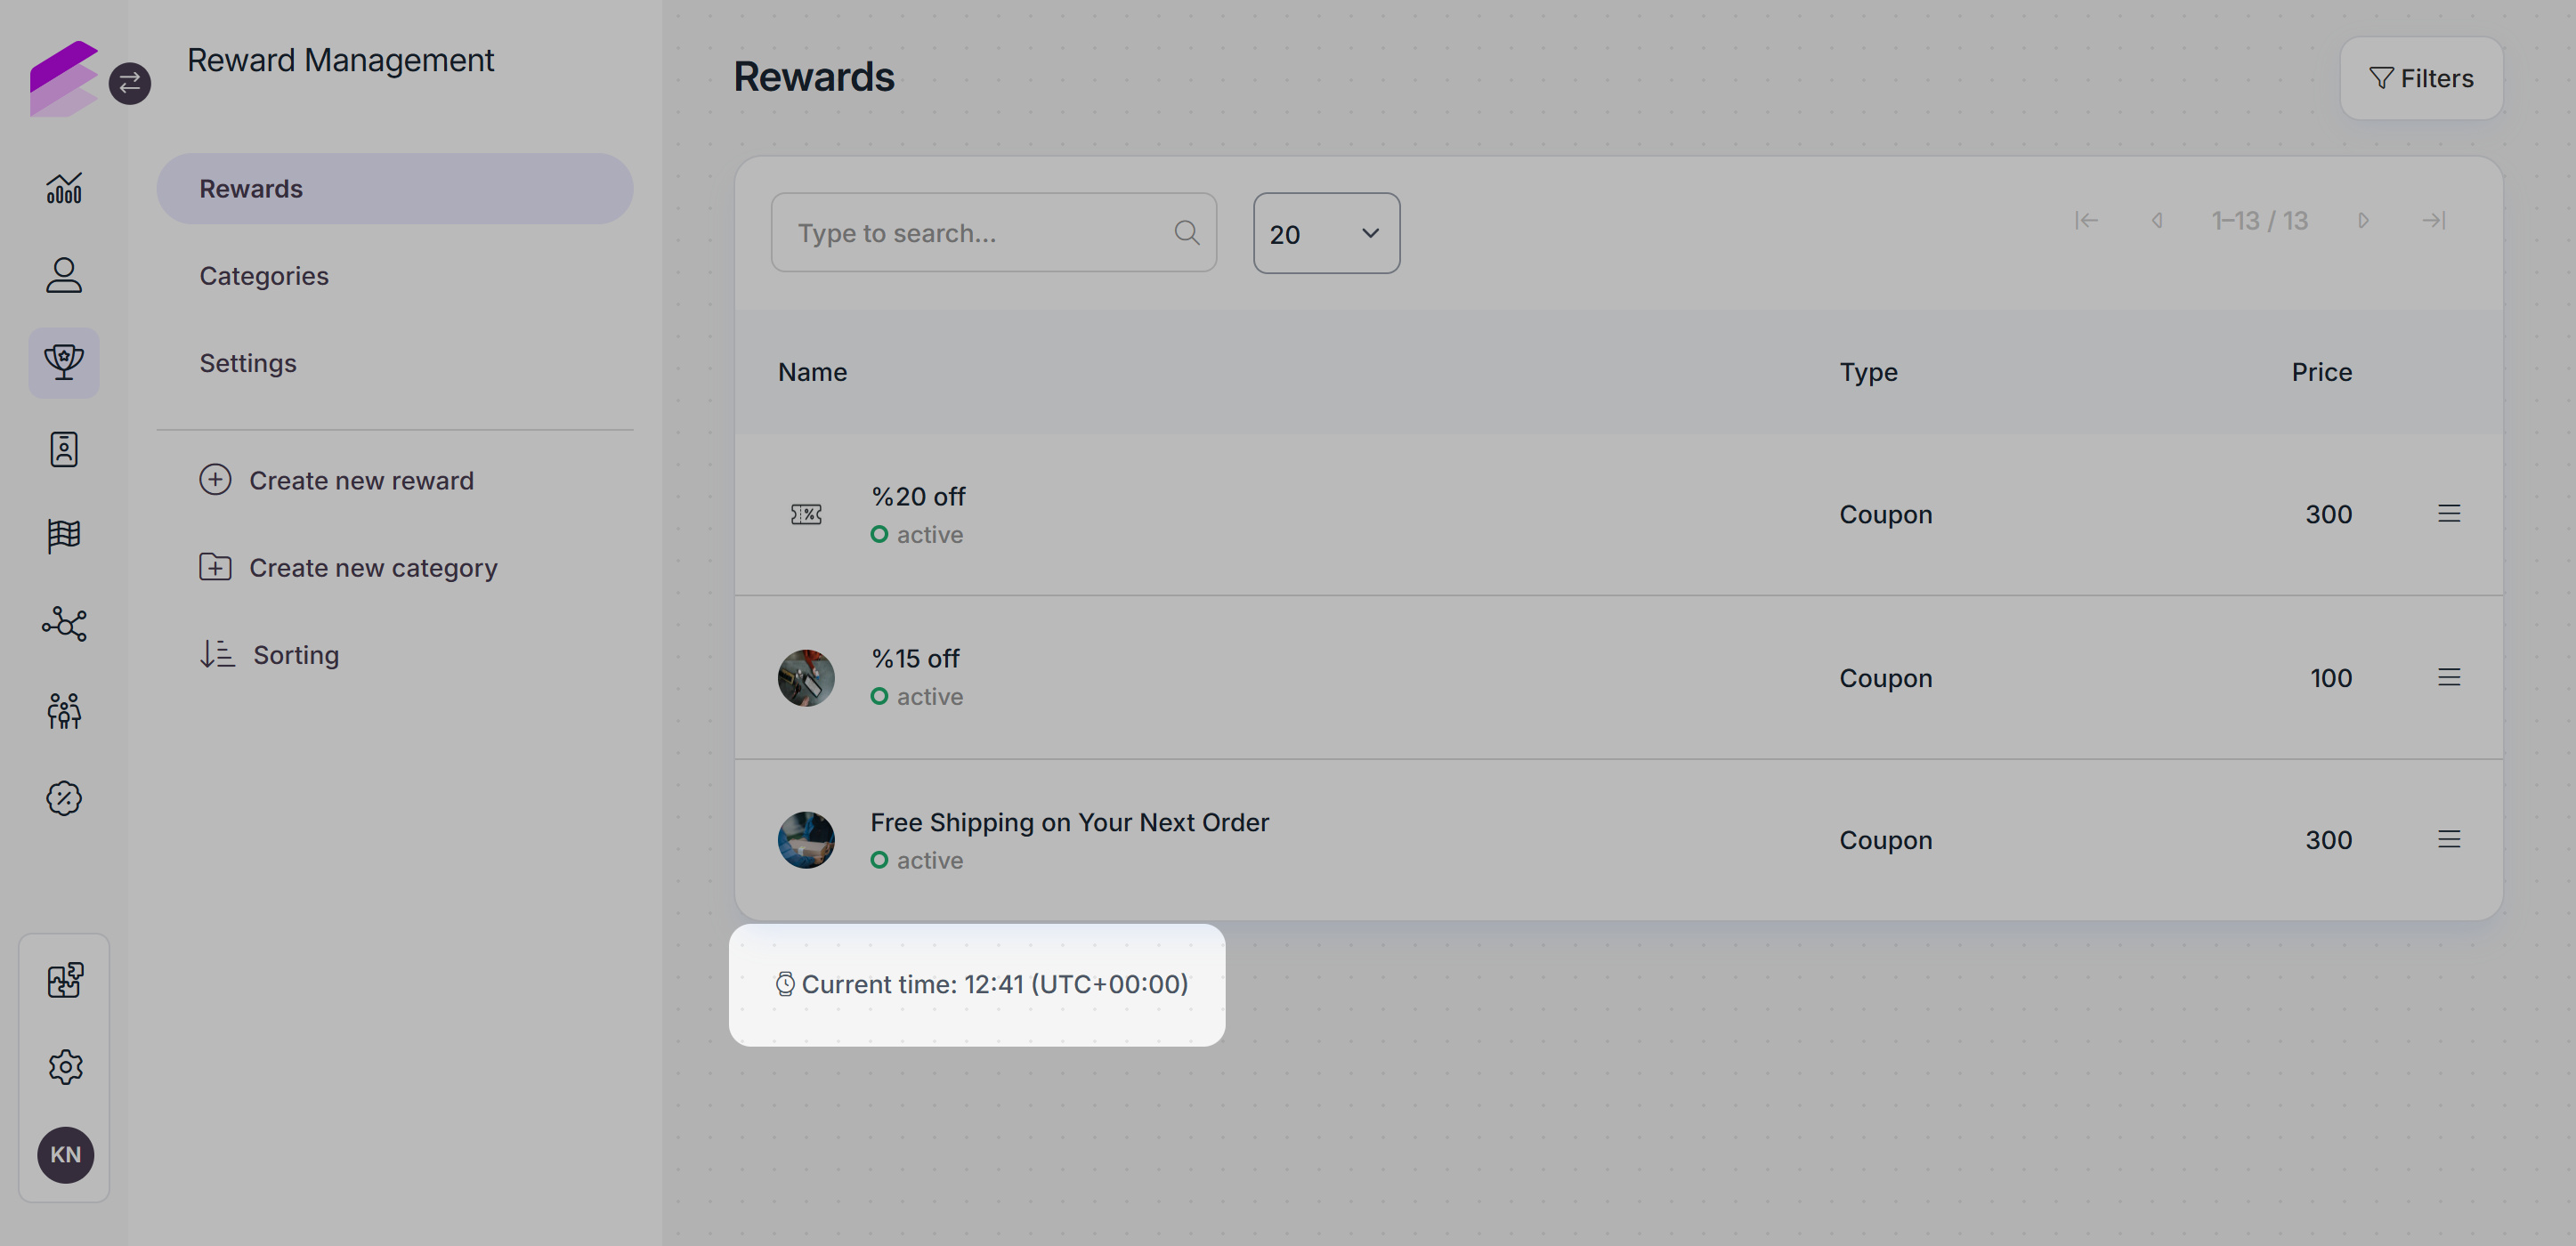
Filters
At the top of specific listing pages, there’s a search bar to filter the displayed items. The filter is accessible in the following modules:
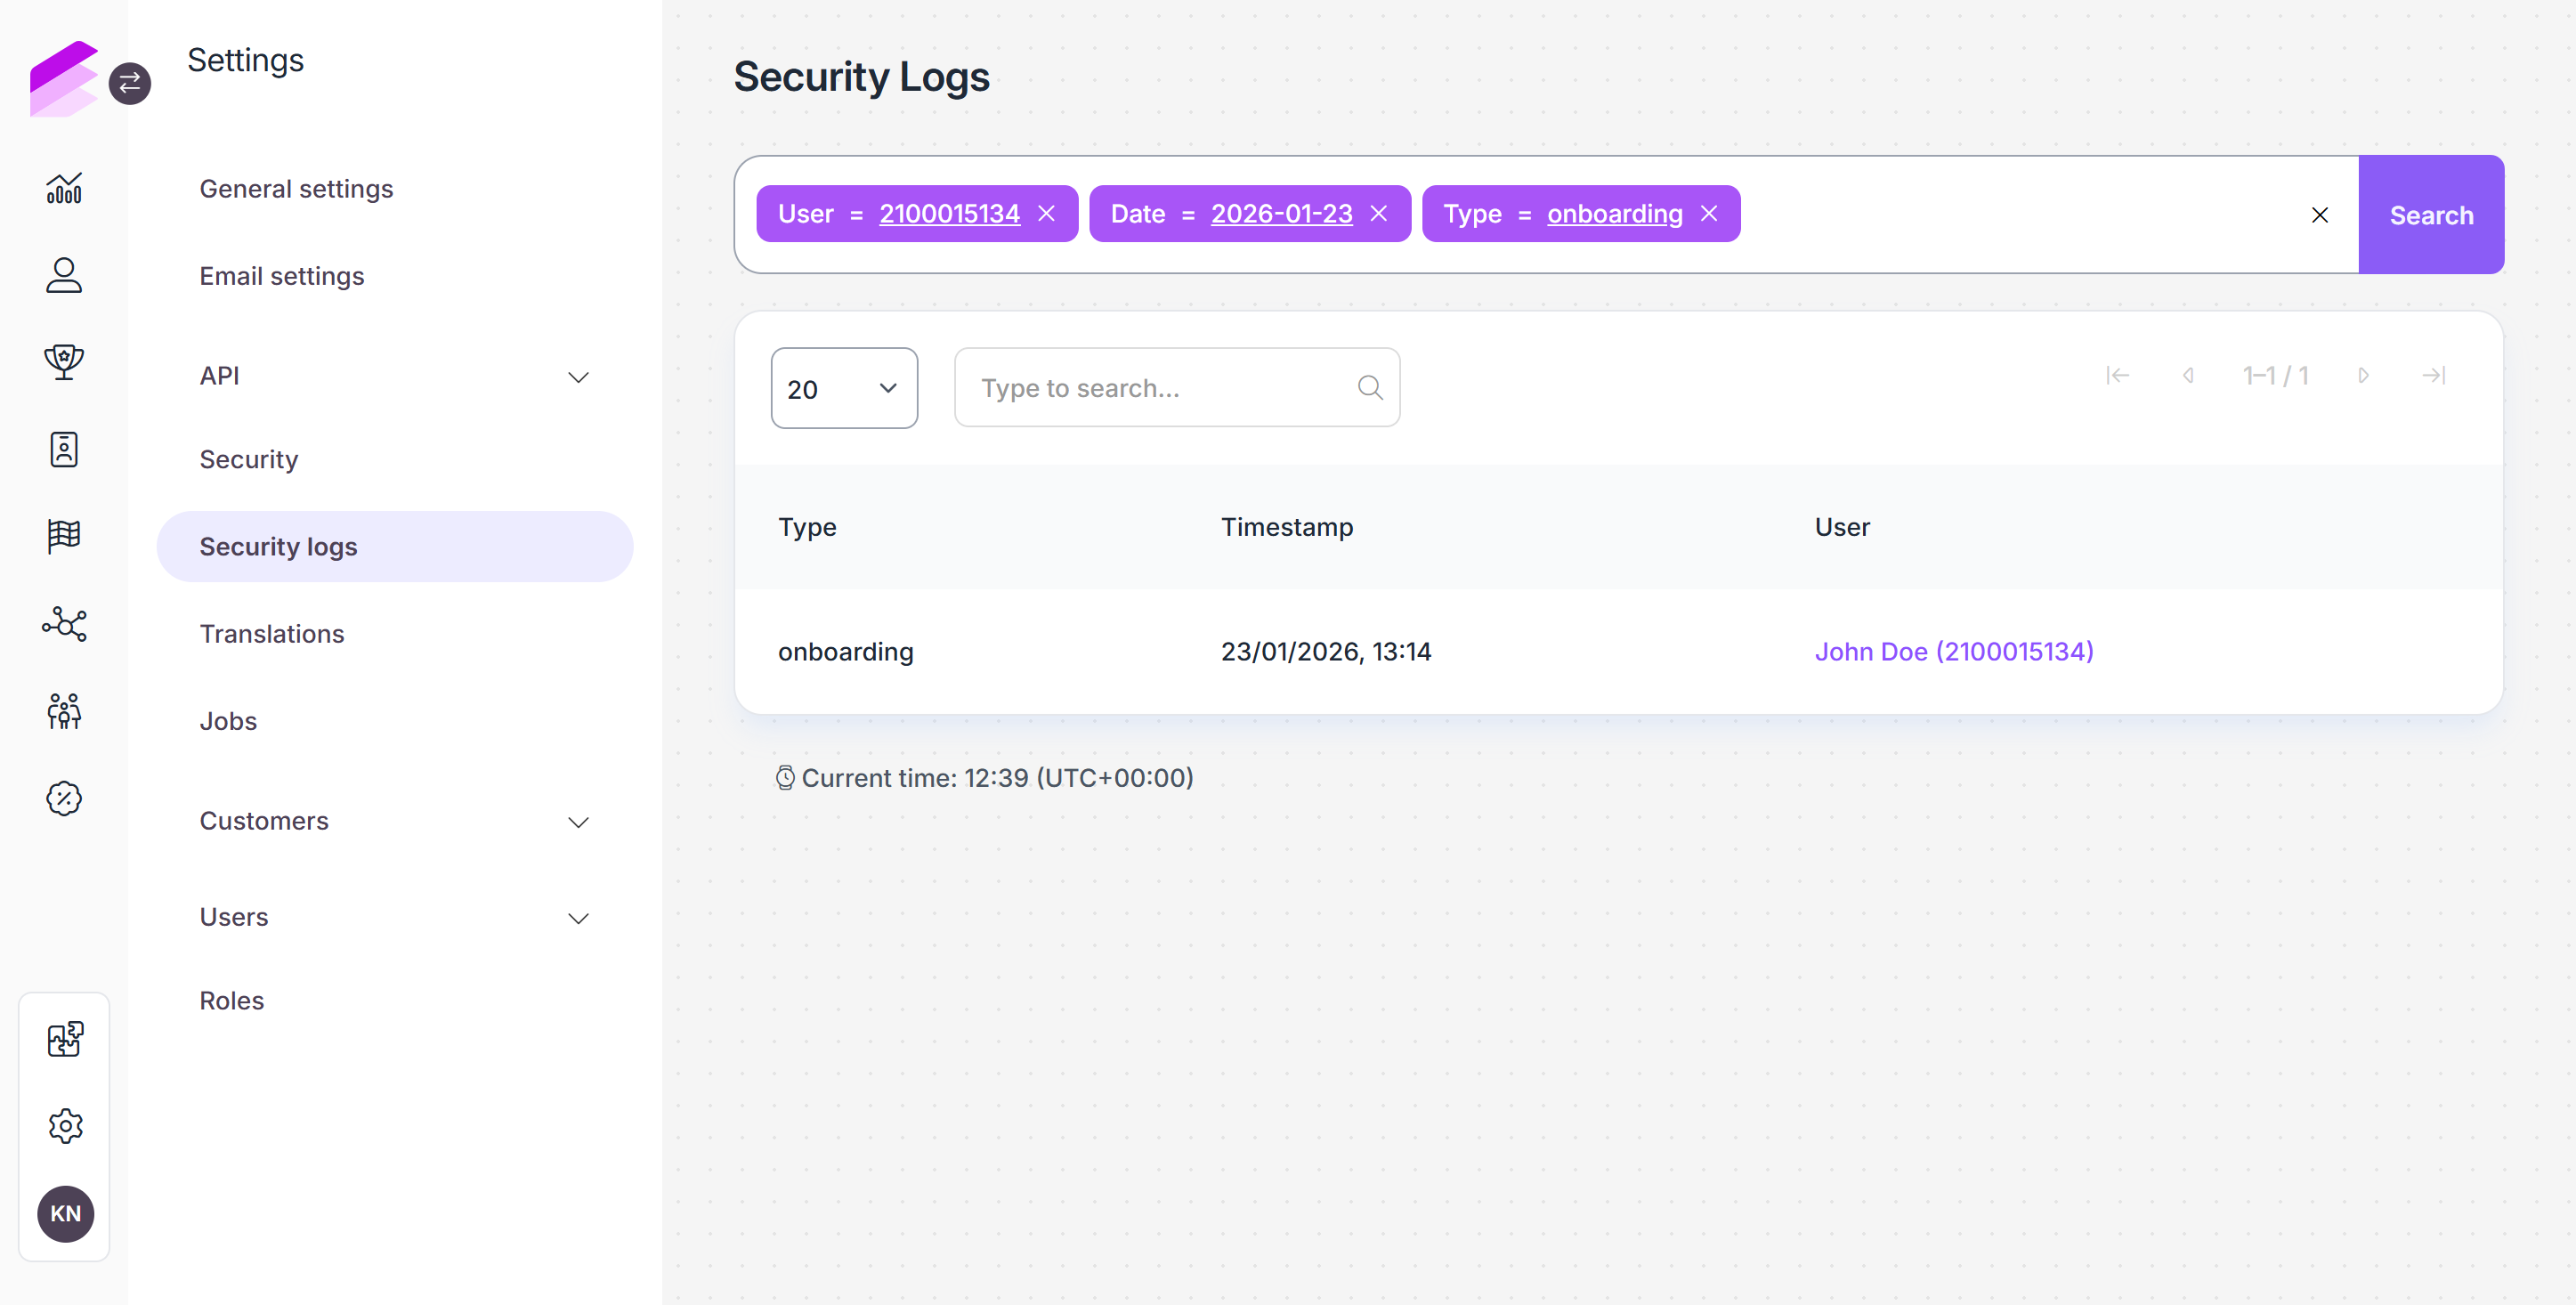
The filter criteria may differ depending on the module. For date values, please use the YYYY-MM-DD format.
Footer
The Footer at the bottom of the page displays the timezone configured for the loyalty program under General settings.
Uploading files
On certain configuration pages within the Management UI, you may be required to upload a file (eg, when adding reward images or uploading import files). By default, Antavo uses Amazon S3 secure cloud service to store these files. However, you also have the option to use Google Cloud Storage, please contact us for more information.