Klippa is an automated document processing tool that transforms customer-scanned purchase receipts into digital transactional data.
To enable the monitoring and rewarding of transactions made through non-integrated POS systems, Antavo’s receipt scanning solution uses transaction data provided by Klippa. This data is used to register customers' purchases as events within their loyalty program accounts. The integration is particularly beneficial for FMCG brands that distribute their products across various retail stores.
To use this integration, you need to:
Offer customers an interface to upload a picture of their receipt.
Consult your Klippa Customer Success Manager regarding the terms for using the receipt scanning add-on.
How it works
Send the scanned receipts to Klippa
First, make sure to forward the uploaded receipts to Klippa. Instructions on how to send the input file in a pipeline can be found in the Klippa documentation.
Klippa processes the input file
Klippa processes the input file and transforms it into digital data by automated data extraction. For manual data review to enhance accuracy, you can use Klippa’s Human-In-The-Loop interface.
Antavo registers the transaction-related events
Throughout the process, Klippa provides Antavo with the extracted data. This enables us to register checkout events in the loyalty program based on the transaction lifecycle you have configured in Antavo’s interfaces.
Configure pipeline settings
You need to configure the settings of the data processing pipeline so that Antavo can register the necessary events. You will need different pipelines for different types of documents (receipts or invoices) that you would like to translate into transactional data.
To access the configuration interface, navigate to the Modules menu, and search for the Klippa integration. The page will open to the list of pipelines you have configured.
To create and configure the settings of a new pipeline, click Create new settings in the left sidebar.
Basic information
Name
Enter the name of the new pipeline.Pipeline ID
Input the ID of the Klippa pipeline that Antavo should handle. Keep in mind that a pipeline ID is exclusive to one pipeline setting within Antavo, you can’t use the same pipeline ID in multiple pipeline settings.Create draft transaction
Check this box if Antavo should register a draft transaction when a scanned file is forwarded to Klippa, before it is converted to digital data.Create receipt under review transaction
Check this box if Antavo should register transaction-related events before the transformed data is reviewed in Klippa. In this scenario, thecheckout_acceptevent will be logged, and points will be assigned after the review is done. Please note that this option is only available if you use the Checkout accept module and don’t use the Pending events module.
.png)
Authentication
Under the Authentication section, you need to insert the Klippa Input ID and Secret so that Antavo can receive the data.
.png)
Data mapping
The data mapping configuration fields you connect transactional data coming from Klippa with the required Antavo checkout events (checkout and checkout_item). This ensures your transactional data is consistent, flexible, and easier to maintain than using hardcoded solutions. If your data format changes, you only need to update the mapping, no code updates are required.
To set these mappings correctly, you need to know what the incoming JSON object from Klippa looks like (which fields are available, and how they are structured). In most cases, your developer will be able to provide you with this information, since they have access to the raw data coming from Klippa.
Mandatory usage
Data mapping is now required. Older hardcoded integrations will still work, but if you want to migrate, contact the Antavo Service Desk.
How it works
On the user interface, all available Antavo event attributes can be mapped.
Instead of typing attribute names directly, you’ll define JSON mapping rules. The mapping rules follow the JMESPath syntax. To do this correctly, you need to know what the incoming Klippa JSON looks like.
In most cases, your developer team can provide this guidance and ensure the mappings are set up properly.
.png)
Always required fields
checkoutevent: Totalcheckout_itemevent: Product ID, Quantity, Subtotal
(Ifcheckout_itemis not used for transactions in your program setup, provide placeholder values.)
Transaction ID
If the incoming data has no transaction ID, the system will generate one automatically so each checkout stays unique.
Points economy
If your workspace uses Multi-accounts, select the account to which the transaction-related events and earned points should be registered.
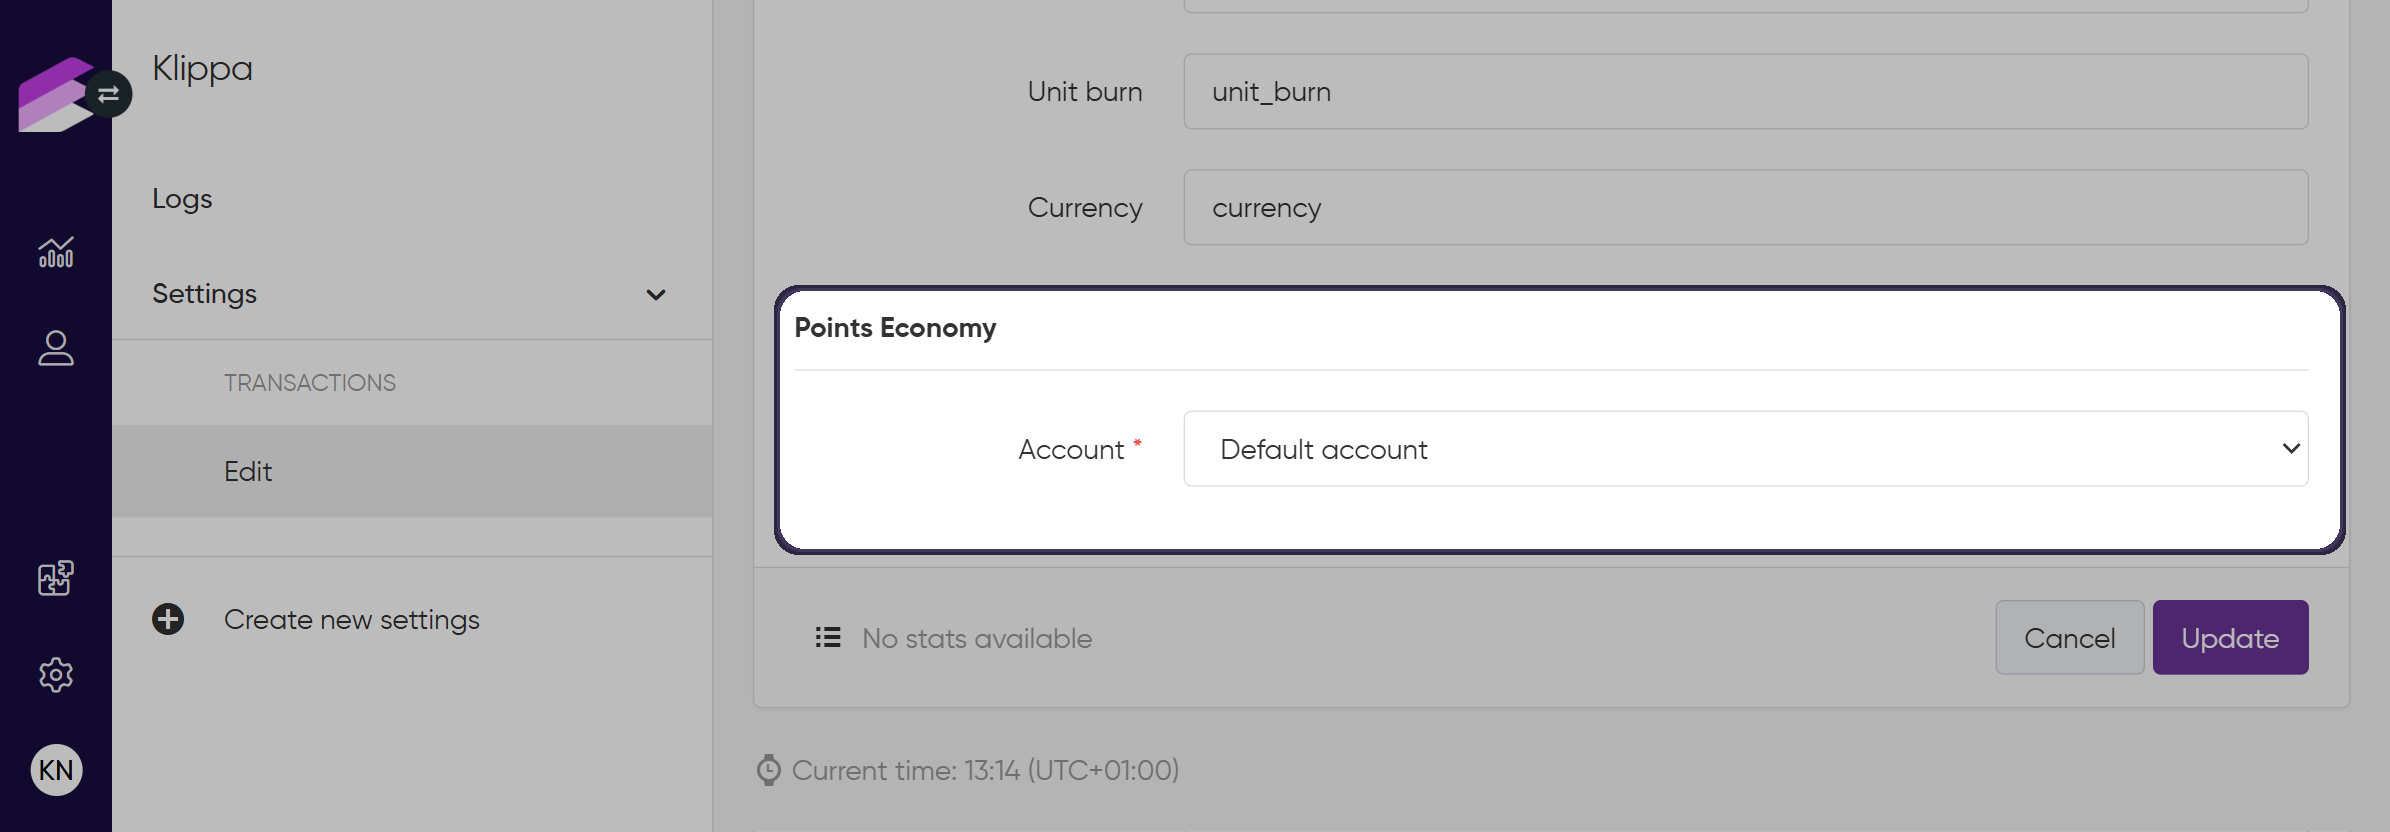
Edit pipeline settings
Navigate to the Settings tab
Click the Edit button of the pipeline settings that you’d like to edit
Modify the settings according to your needs
Click Update at the bottom of the page
Logs
The error logs tab provides a comprehensive list of incoming requests sent to Antavo by Klippa during receipt processing.
The list includes the following details:
Customer ID | The ID of the customer |
Type | Type of the incoming request |
Timestamp | Date of the request being sent |
ID | The ID of the request |
By clicking > you can extend the log item and view the body of the incoming request.
.png)
You can filter the list based on timestamp, customer ID, request type and request ID.