Please note, that this module is no longer supported, although it remains operational. We strongly recommend the use of the new Webhooks module. Please contact the Antavo Service Desk to discuss transitioning to the supported solution.
The Antavo Webhook module facilitates automatic interactions between the loyalty program and external systems. Webhook messages can be triggered by specific customer actions, allowing you to define the endpoint where the messages are sent for processing by the external party.
To access the configuration page of the module, navigate to the Modules menu and search for the Webhooks (legacy) module. You’ll be directed to the Settings tab, where you can set up and update the settings for webhooks.
Configuring the webhook settings
Basic settings
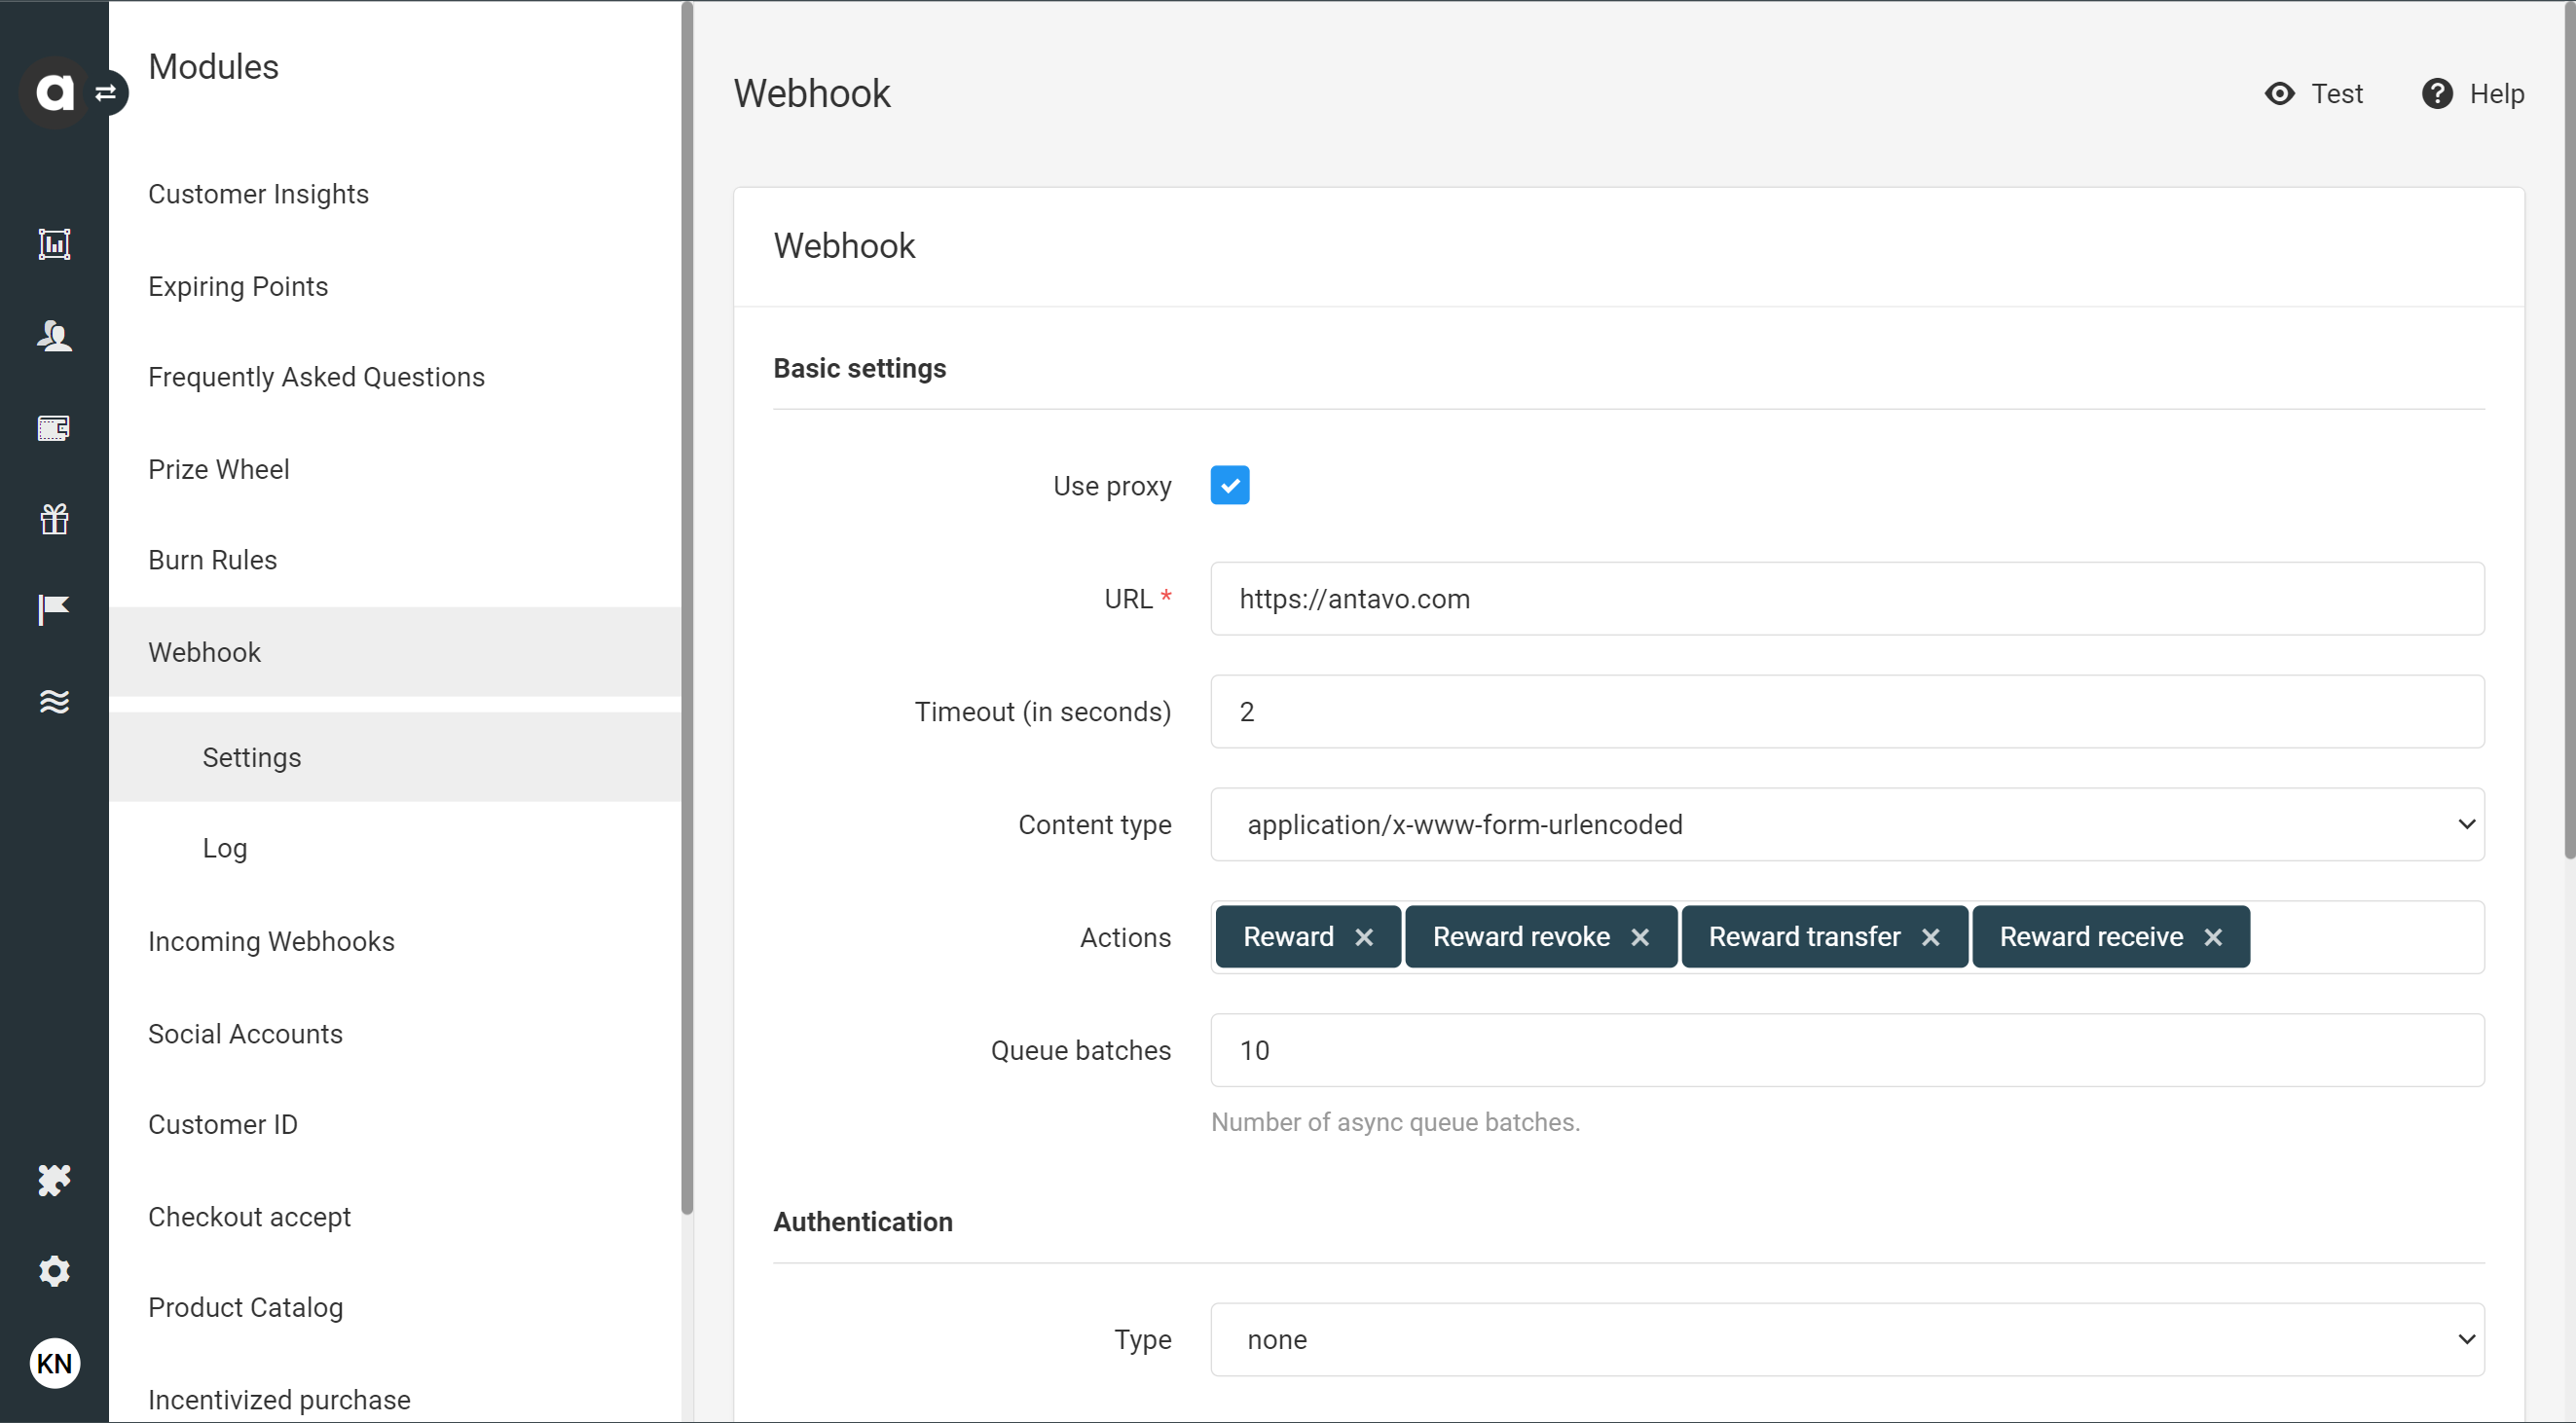
Proxy usage
Decide if you want a proxy with a static IP address to be used to send requests.Leave the checkbox blank if Antavo should directly send the coupon request to the endpoint which may involve various IP addresses.
Tick the checkbox if Antavo should use a proxy with a static IP address for sending requests, ensuring that all requests originate from the same IP address.
Endpoint URL
Paste the external webhook endpoint provided by your developers.Timeout value
Set a timeout value for the webhook request in seconds. This determines how long Antavo waits for a response before considering the webhook message as a failed attempt. The maximum configurable value is 60 seconds. Leaving this blank will apply the default value of 1 second.Content type Select the preferred format for sending data: URL-encoded or in JSON. Choose the format that best suits your developer’s requirements.
Actions
Use the dropdown field to select the list of events that will trigger webhook messages.Queue batches
This option allows webhook requests to be processed in parallel using multiple execution threads, potentially improving performance. Enabling this functionality requires setting up the webhook processQueue background service.

Authentication
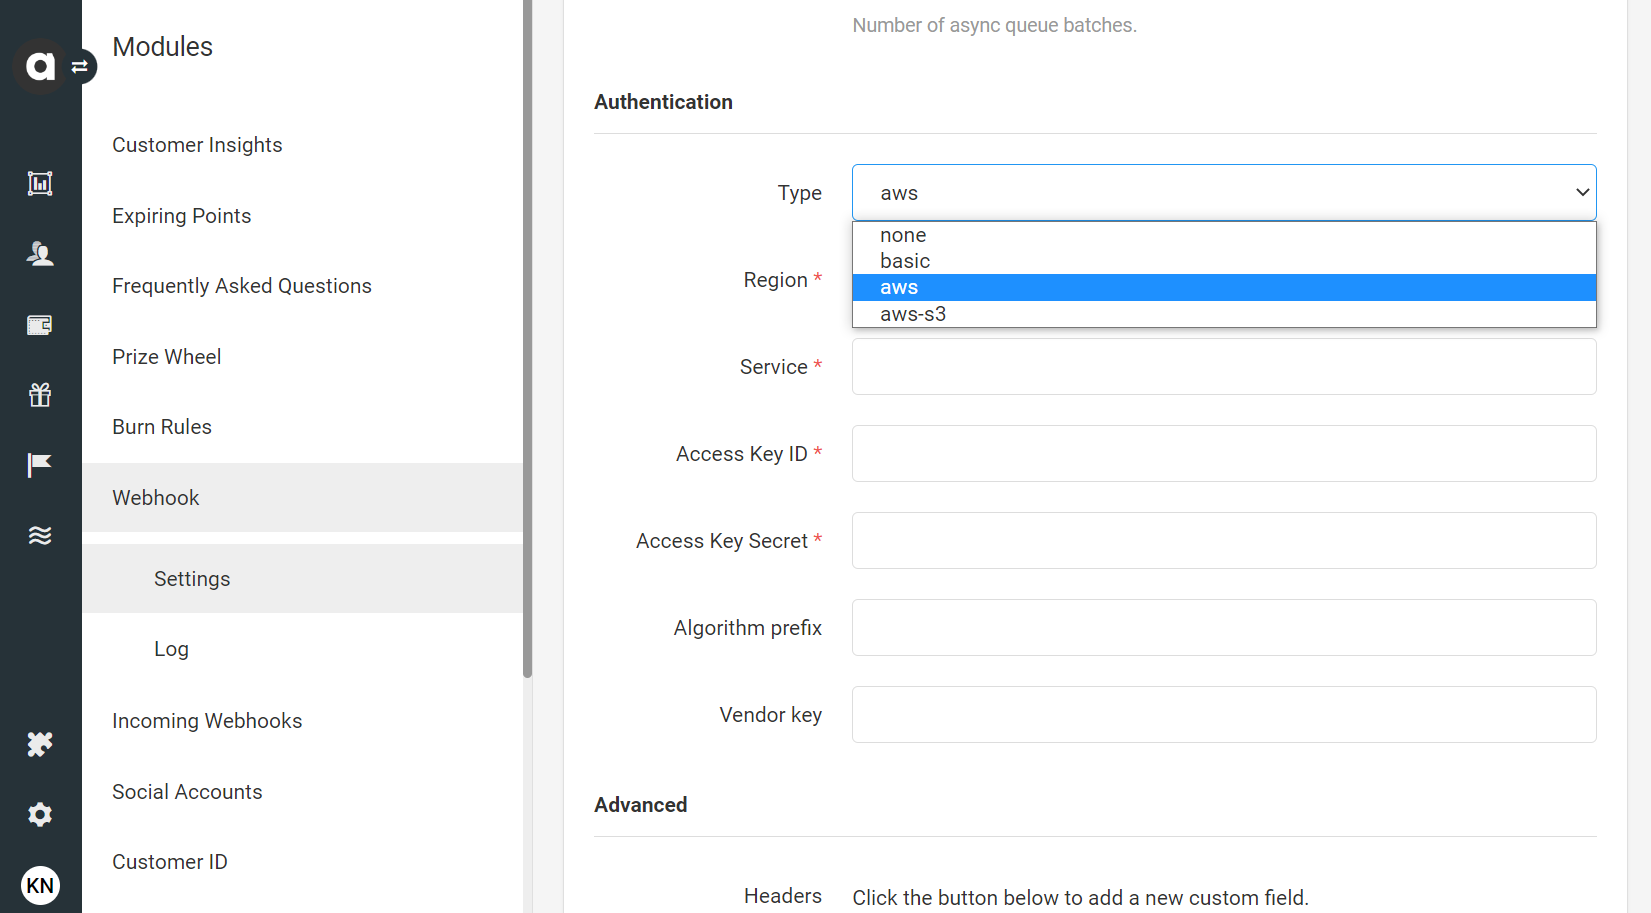
The webhook authentication header ensures the security of server-to-server communications and enables external parties to verify that webhook data originates from Antavo. By default, the authentication type is set to none, indicating that the header will not be included in webhook messages.
To enable authentication, choose one of the three authentication methods from the dropdown list:
Basic: This method adds a webhook header with basic authentication fields encoded in Base64.
Username
Password
AWS: This method adds a complete AWS signature.
Region
Service
Access Key ID
Access Key Secret
Algorithm prefix
Vendor key
AWS-S3: This method adds a complete AWS signature compatible with Amazon Web Services S3 Bucket communications.
Region
Service
Access Key ID
Access Key Secret
Filename format
Remember to click the Save button before leaving the page.

Test the webhook mechanism
Test the configured webhook mechanism by clicking the Test button, located on the upper right side of the Settings tab. This will allow you to verify that the format is correct and that the request is returned without errors.
Webhook log
The Log tab helps to keep track of the webhook messages sent by Antavo. The list displays the following information about each webhook message trigger attempt:
Created at | The date when the webhook message was sent |
Action | The event that triggered the webhook message |
Customer | The affected customer’s profile |
Response code | The code that the external party responded with |
Status | The status code of the webhook message
|
Log entries are retained for 90 days (7.776.000 seconds).
.png)
Filter the log list
You can filter the webhook messages based on the response status code by using the Filter button on the upper right-hand side of the page.
Export the list
Click the Export button in the sidebar to export the webhook message log. You can export it in .csv and .psv using the Exports module.
Log items
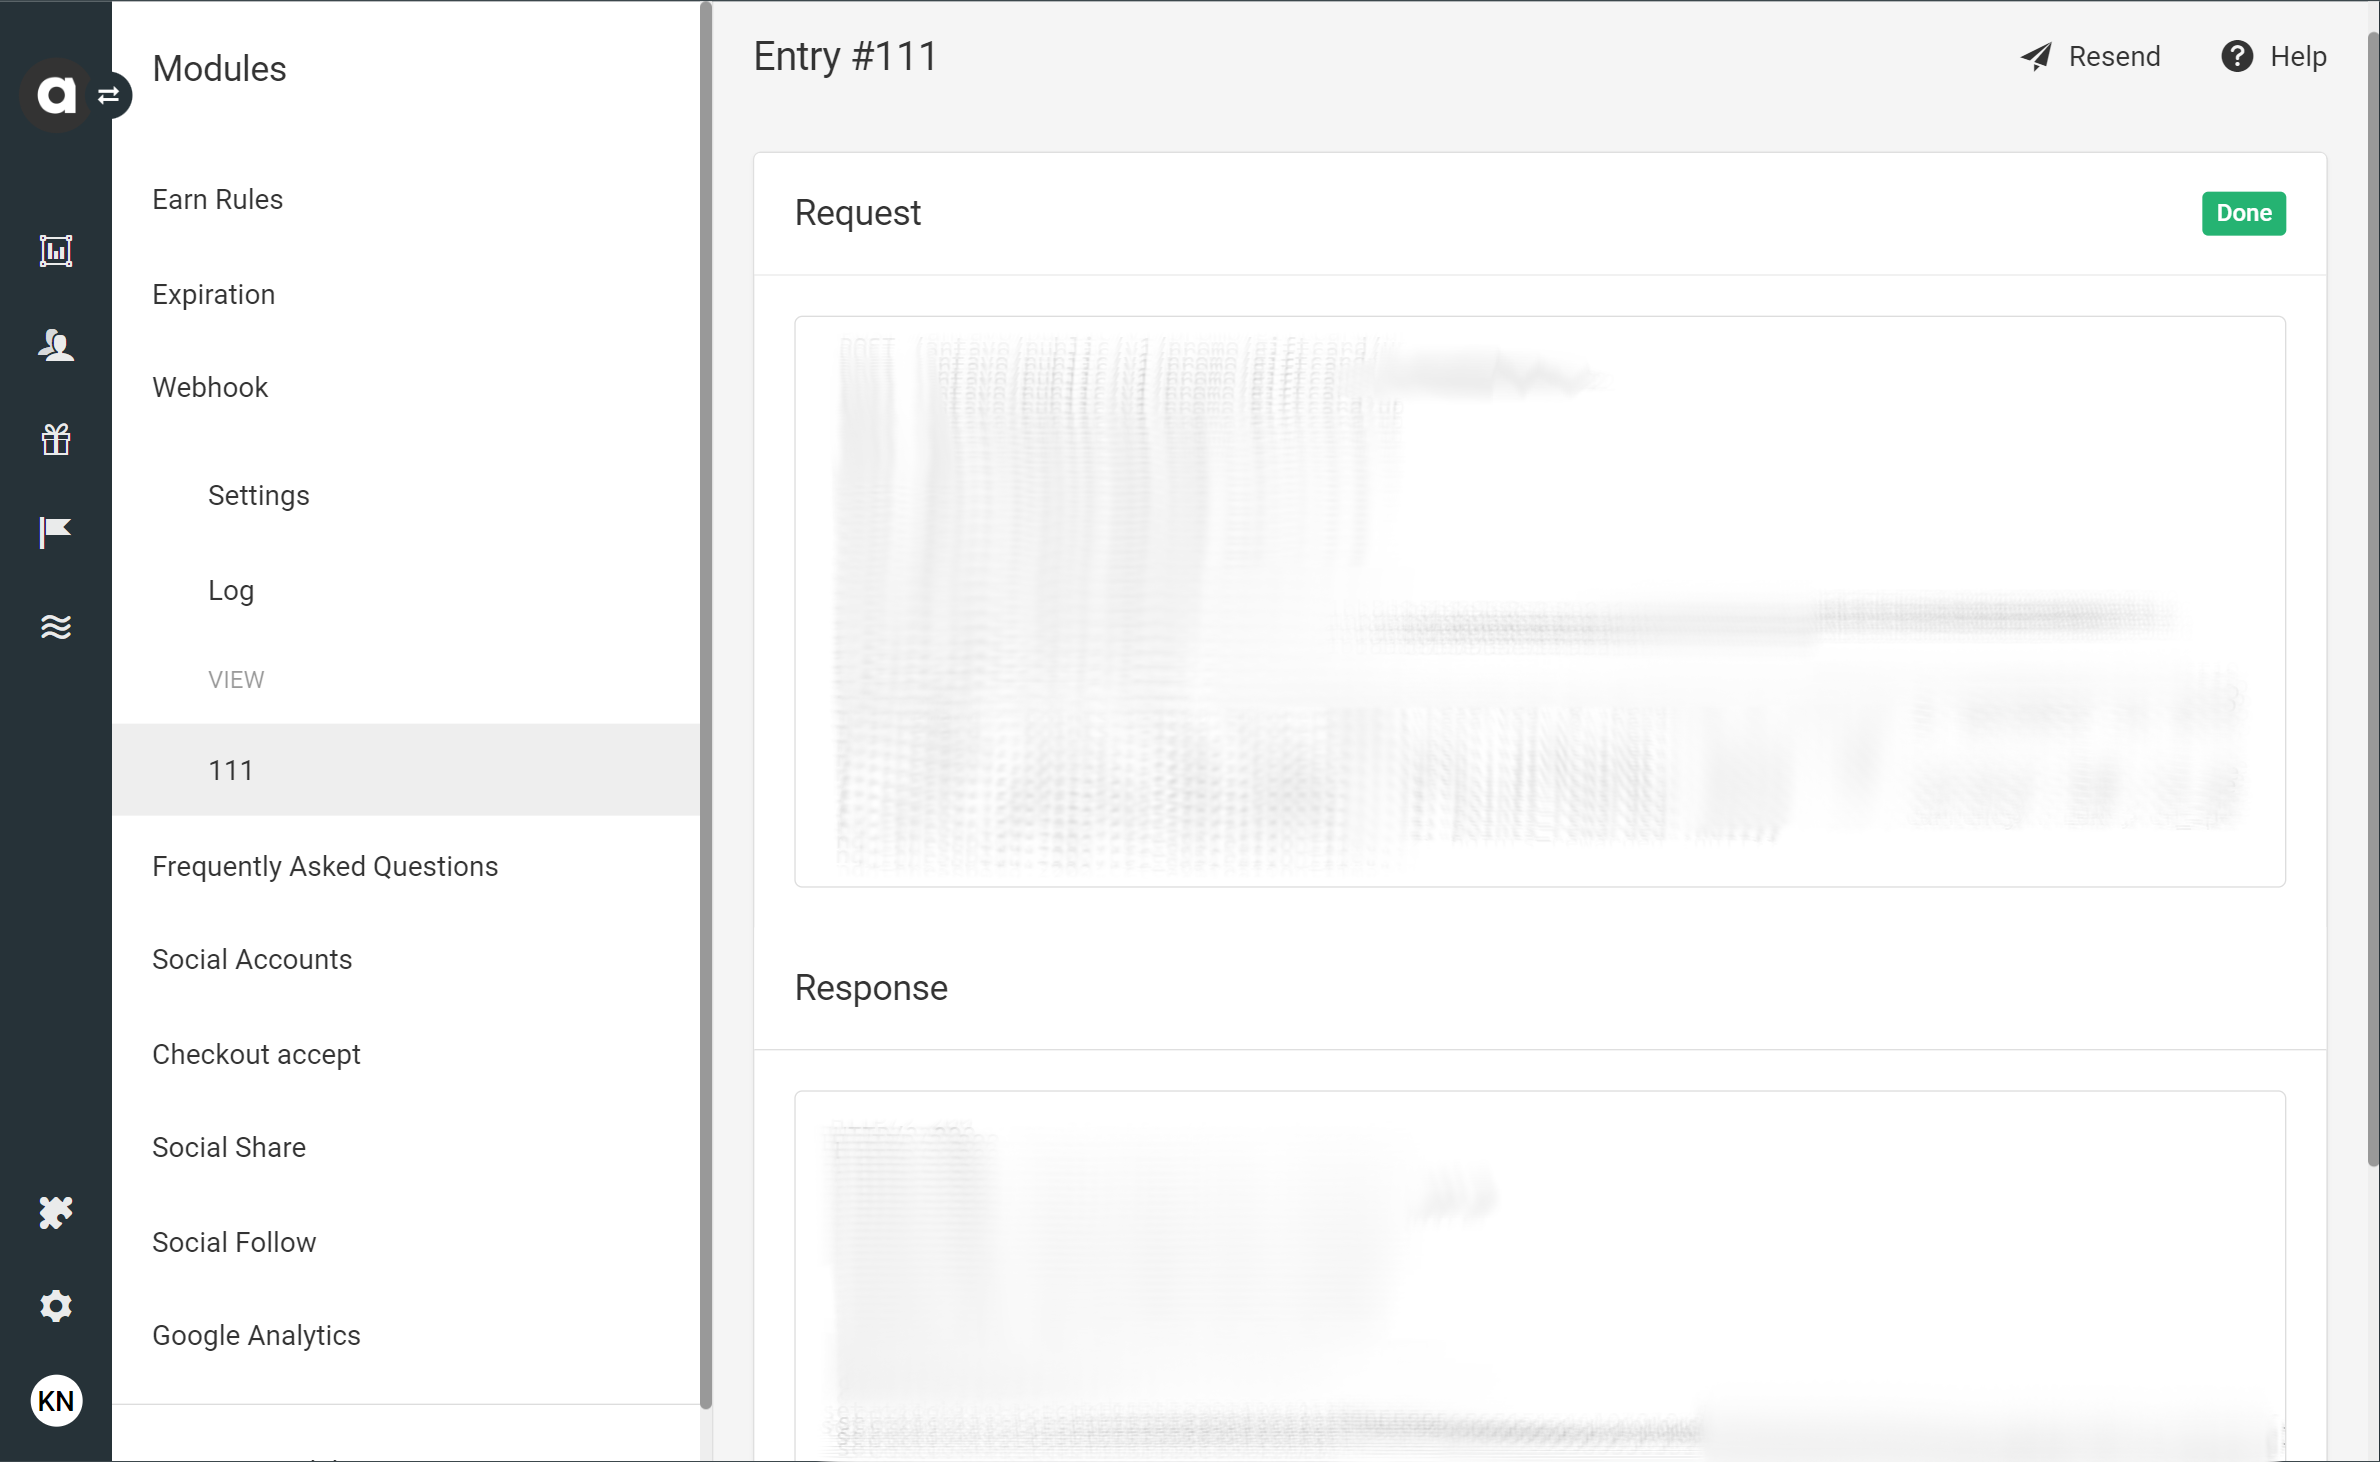
To review the complete content of the request and response, click the View button of the relevant webhook message. If you encounter an error on your webhook endpoint, you can use the Resend button at the top right corner of the page to retrigger webhook events and cover up the outage. Click Resend on the upper right-hand corner of the page to retry.
