With the out-of-box functionality of the Friend referral module, you can establish a referral system that rewards referrers with bonus points when their friends make their first purchase in the loyalty program. However, there might be cases where, instead of points, you prefer to reward the referrer with a coupon or any other type of instant benefit. This tutorial guides you through the steps of using Workflows, the Rewards and Custom events modules, and the Events API endpoint to implement this mechanism in your loyalty program.
.jpg)
Prerequisites
Friend referral module
If you haven’t used the Friend referral module in your loyalty program yet, please contact us through the Service Desk to enable it and set up the basic configuration for you. This is essential, as the Friend referral module establishes the relationship between the referee and referrer through the built-in referrer attribute of the customer entity.
Referral tracking system
Additionally, ensure that you have implemented a tracking mechanism in your website environment capable of handling invitations and recognizing customers as referrers and referees.
1. Assign the referrer to the referred customer
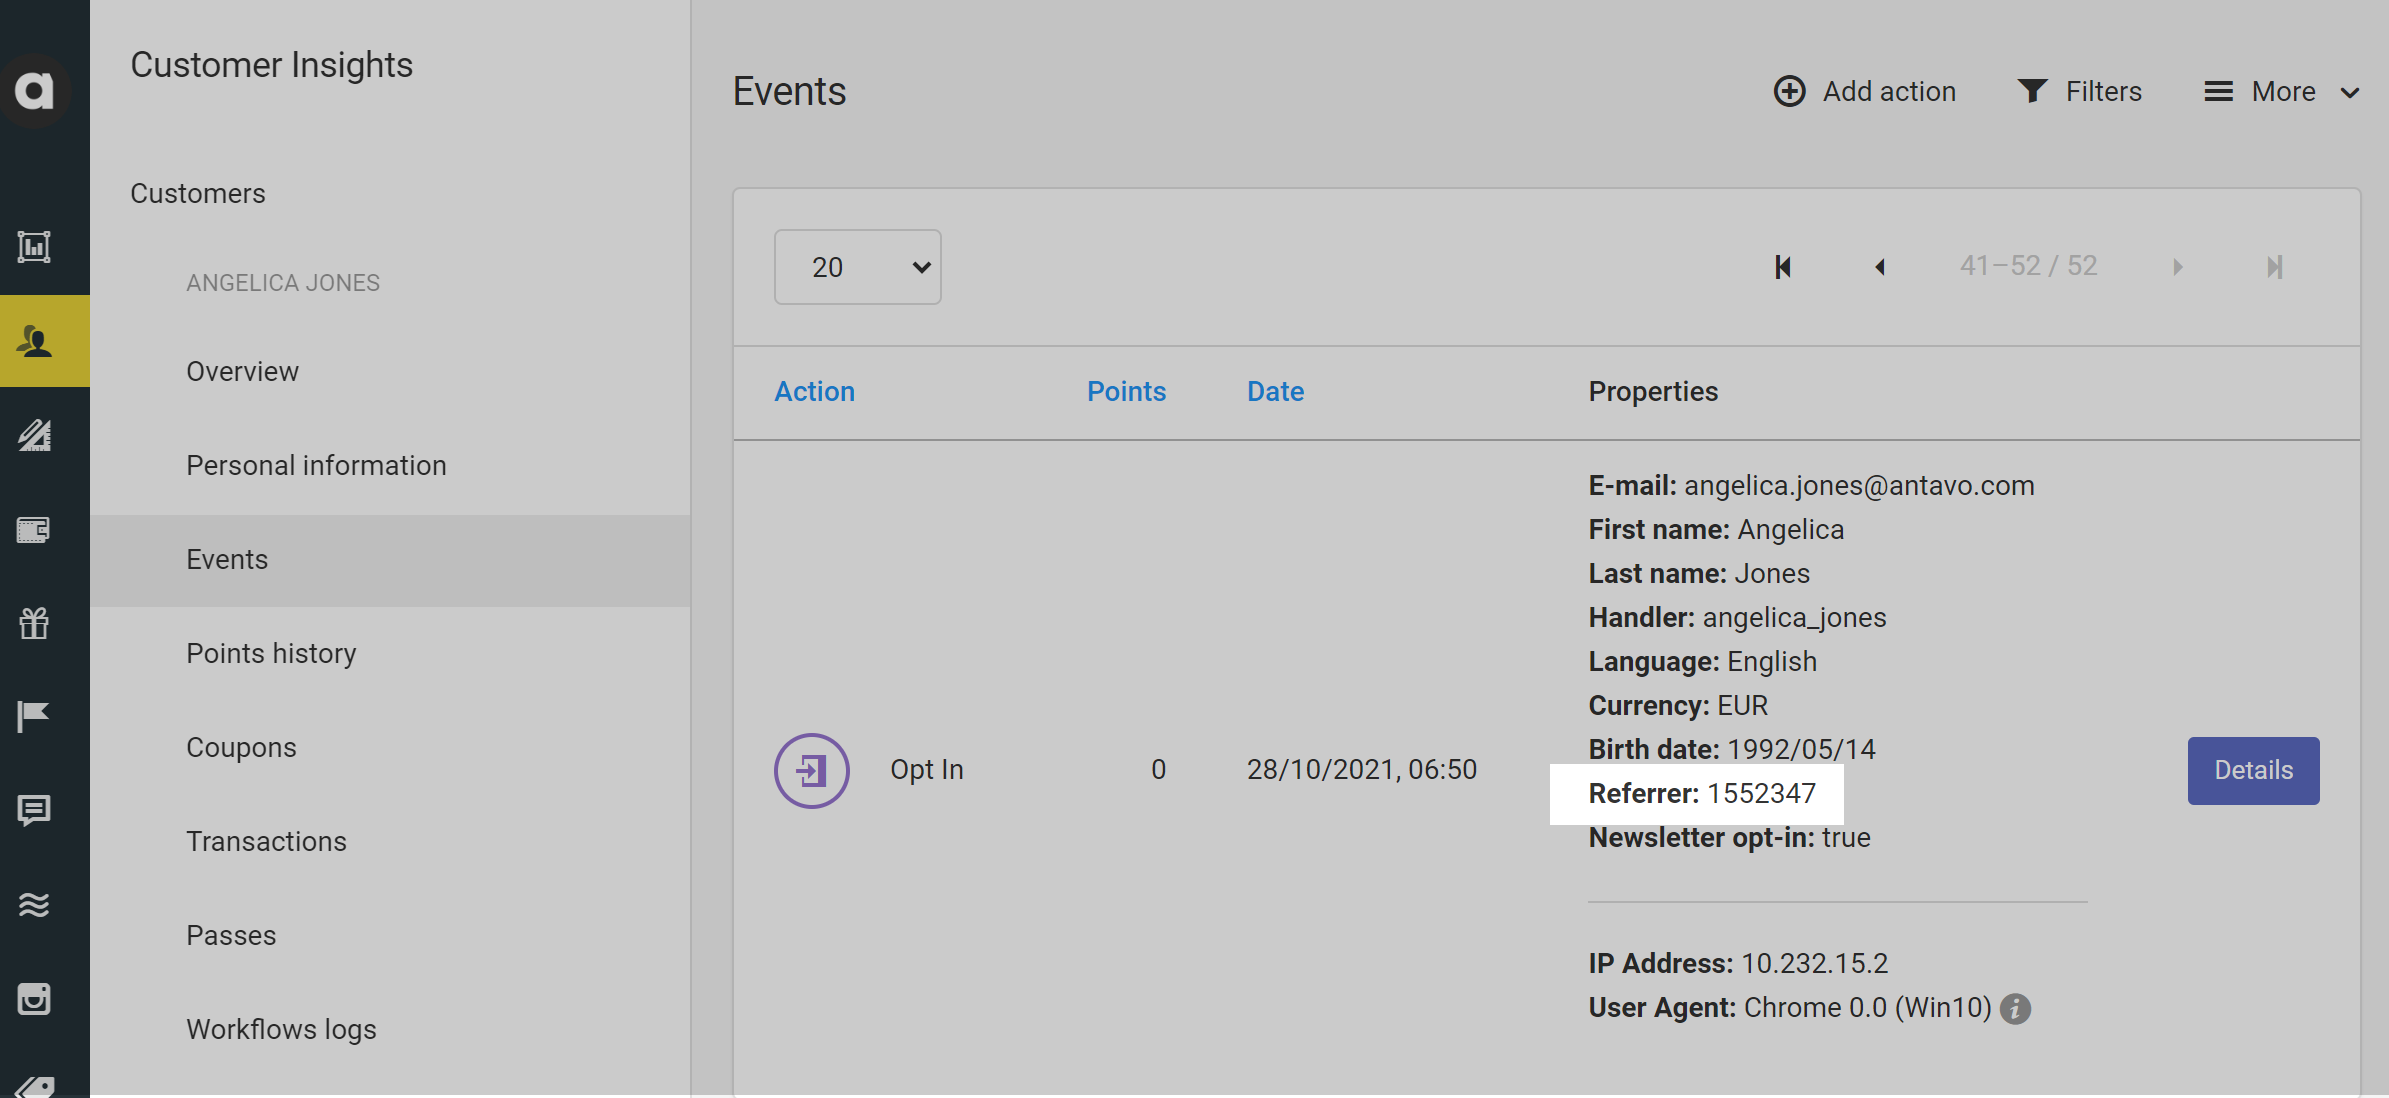
Firstly, you need to inform Antavo that a customer joined the program through another member’s invitation. To achieve this, populate the customer ID in the referrer attribute of the Optin event that enrolls the invited friend to the program. If your developer team requires additional information on how to use Antavo’s Events API to send the Optin event.

2. Configure the instant reward
The instant reward that referrers will earn should be configured as a reward using the Rewards module. If you want to reuse a previously added reward as a referrer reward, you can skip this step.
To create a new reward in the UI navigate to Rewards and click Create a new reward.
You can choose any of the reward types according to your needs, for detailed steps on configuring each reward type, refer to our user manual.
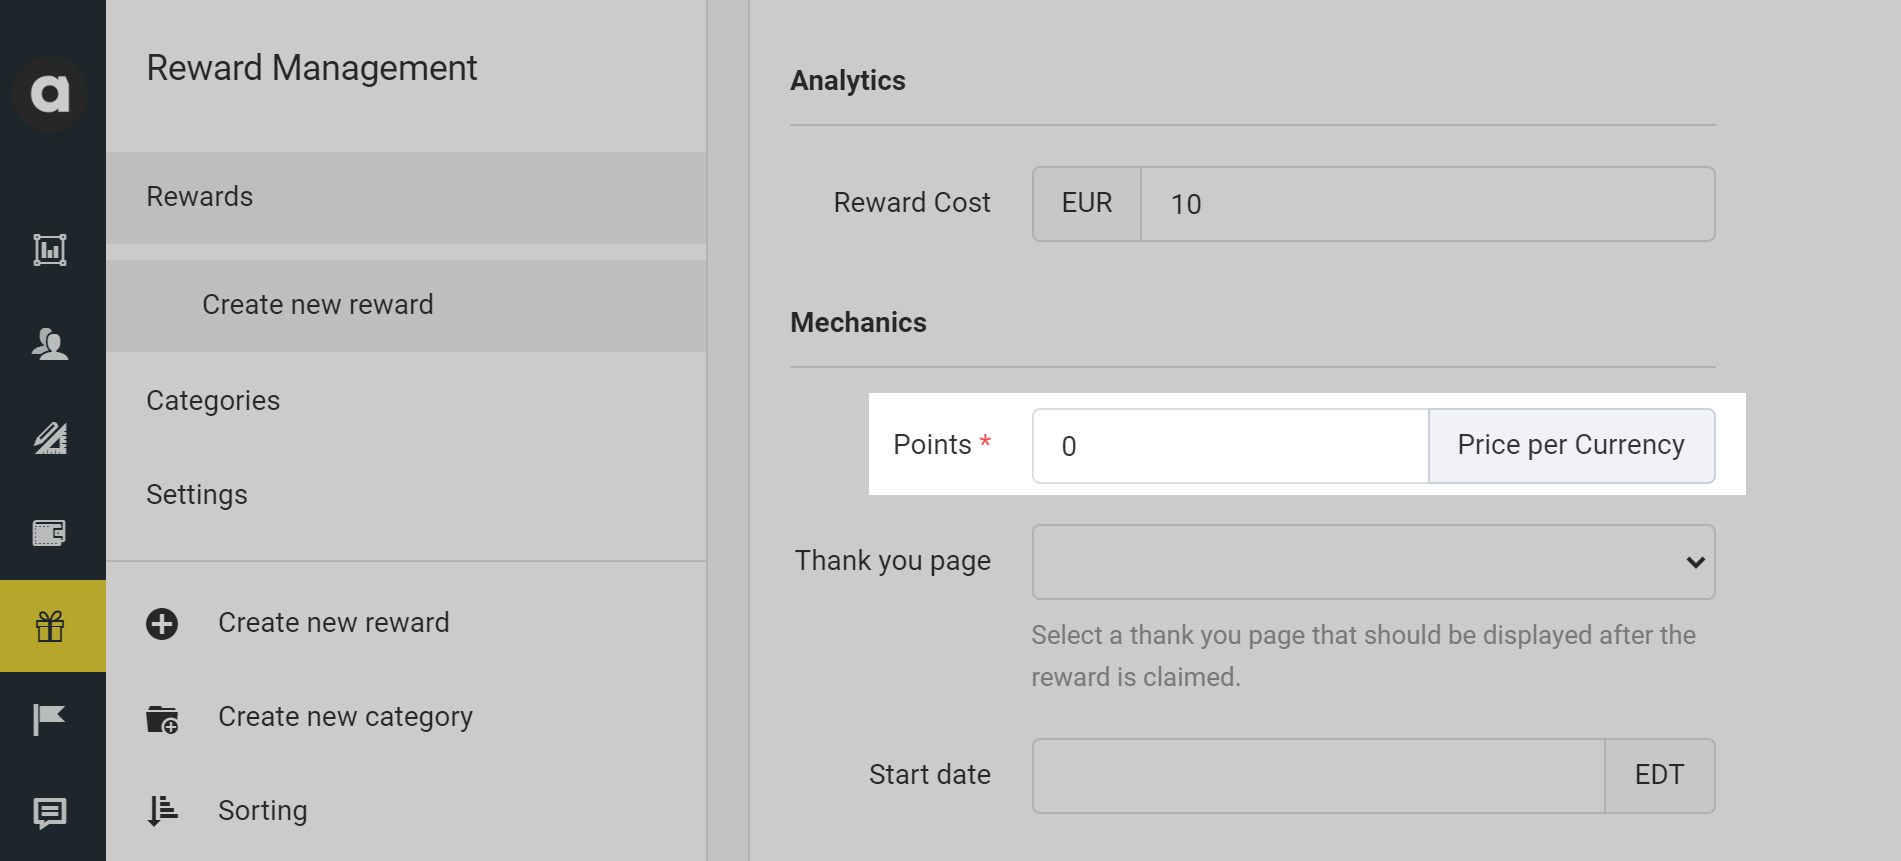
We recommend setting the value of the Points field to 0. This helps to ensure that no points will be deducted from the referrer’s balance when they earn the reward.

Additionally, you may want to hide the reward from the list of regular rewards claimable for points and promote this benefit on the membership site elsewhere. In this case, you can tick the Hidden checkbox under the Mechanics section. This ensure that the dedicated Display API endpoint will not return this item when querying the claimable rewards.
.png)
Advanced option - Display reward as a restricted item
Additionally, you have the option to keep the reward item visible among all other rewards while making it unavailable to claim by restricting it to a segment that no customer is part of.
You can create the segment through the Create segment option of the Customer Insights menu. Add _id not exist as the segment filter which defines the empty segment.
Select the newly created segment in the Segments field of the Mechanics section of the reward editor. The reward that is restricted to an empty segment will always appear unclaimable for every member. Ensure that the Display only for selected segments checkbox remains empty and add a segment restriction message. This ensures that the Display API endpoint will provide all the necessary information when designing your membership site.
3. Define referral custom event
Next, use the Custom events module to define the event that will trigger the assignment of the instant reward to the referrer.
To create a new event,click Create a new custom event under Custom events.
When creating the event, ensure that the value of the Points field is set to 0 to prevent any points from being added to the referrer’s point balance when the event is registered.
.png)
4. Set up the workflows
Referral registration workflow
The goal of this workflow is to register the referral custom event in the referrer customer’s Events history when their friend completes the first purchase.
To begin, add the Event trigger to the canvas. This trigger will be a Checkout or Checkout accept event, depending on whether you handle a return period for purchases or not.
Next, connect a Customer attributes filter to the action (lower) branch of the trigger node.
Configure the filter with the following customer parameters can identify referees making their first purchase:
Attribute: checkout_count, Operator: equals to, Value: 1
Attribute: referrer, Operator: exist
Ensure that the parameter filters are connected with AND relation so that they both apply.
.png)
On the success (upper) branch of the filter, connect a Trigger event action node.
Configure the action node as follows:
Customer: {customer.referrer} - This indicates that the event will be registered for the referrer of the customer making the purchase.
Action: Delect the customer event defined in step 3.
.png)
Referral reward assignment workflow
For the second workflow, use the event registered at the end of the first workflow as the starting trigger event.
Drop the Event trigger node to the canvas and select the custom event (defined in step 3) from the dropdown list.
Connect a Reward claim action to the action (lower) branch of the event trigger. In this node, select the reward (configured in step 2) you want to assign to the referrer. Ensure you enable the Give this reward for free option, especially if the selected reward is available in the program to claim for points as well. Otherwise, the number of points configured in the Points field in the Reward editor will be deducted from the referrer’s point balance.
.png)
If you use marketing automation to send loyalty program notifications, you can trigger an email by adding a Trigger Marketing Communication action at the end of the workflow to inform the referrer that they have unlocked a reward through a successful referral.
Remember to save and activate both of the configured workflows. If you require further information on workflows, read our Workflow articles.
5. Test the referral reward flow
After you have added the referrer ID to the Optin event and defined all the mechanics in the Management UI, you can begin testing.
You should send two API events, both to be registered in the Events history of a referred test customer.
An Optin event with having the Referrer field populated with the ID of the referrer test customer.
A Checkout/Checkout accept event to register the completed purchase.
If the mechanism is configured properly, you should find the customer ID of the referrer customer in the referrer attribute of the Optin event in the Events history of the referred customer. Additionally, the Checkout/Checkout accept event should appear in the history.
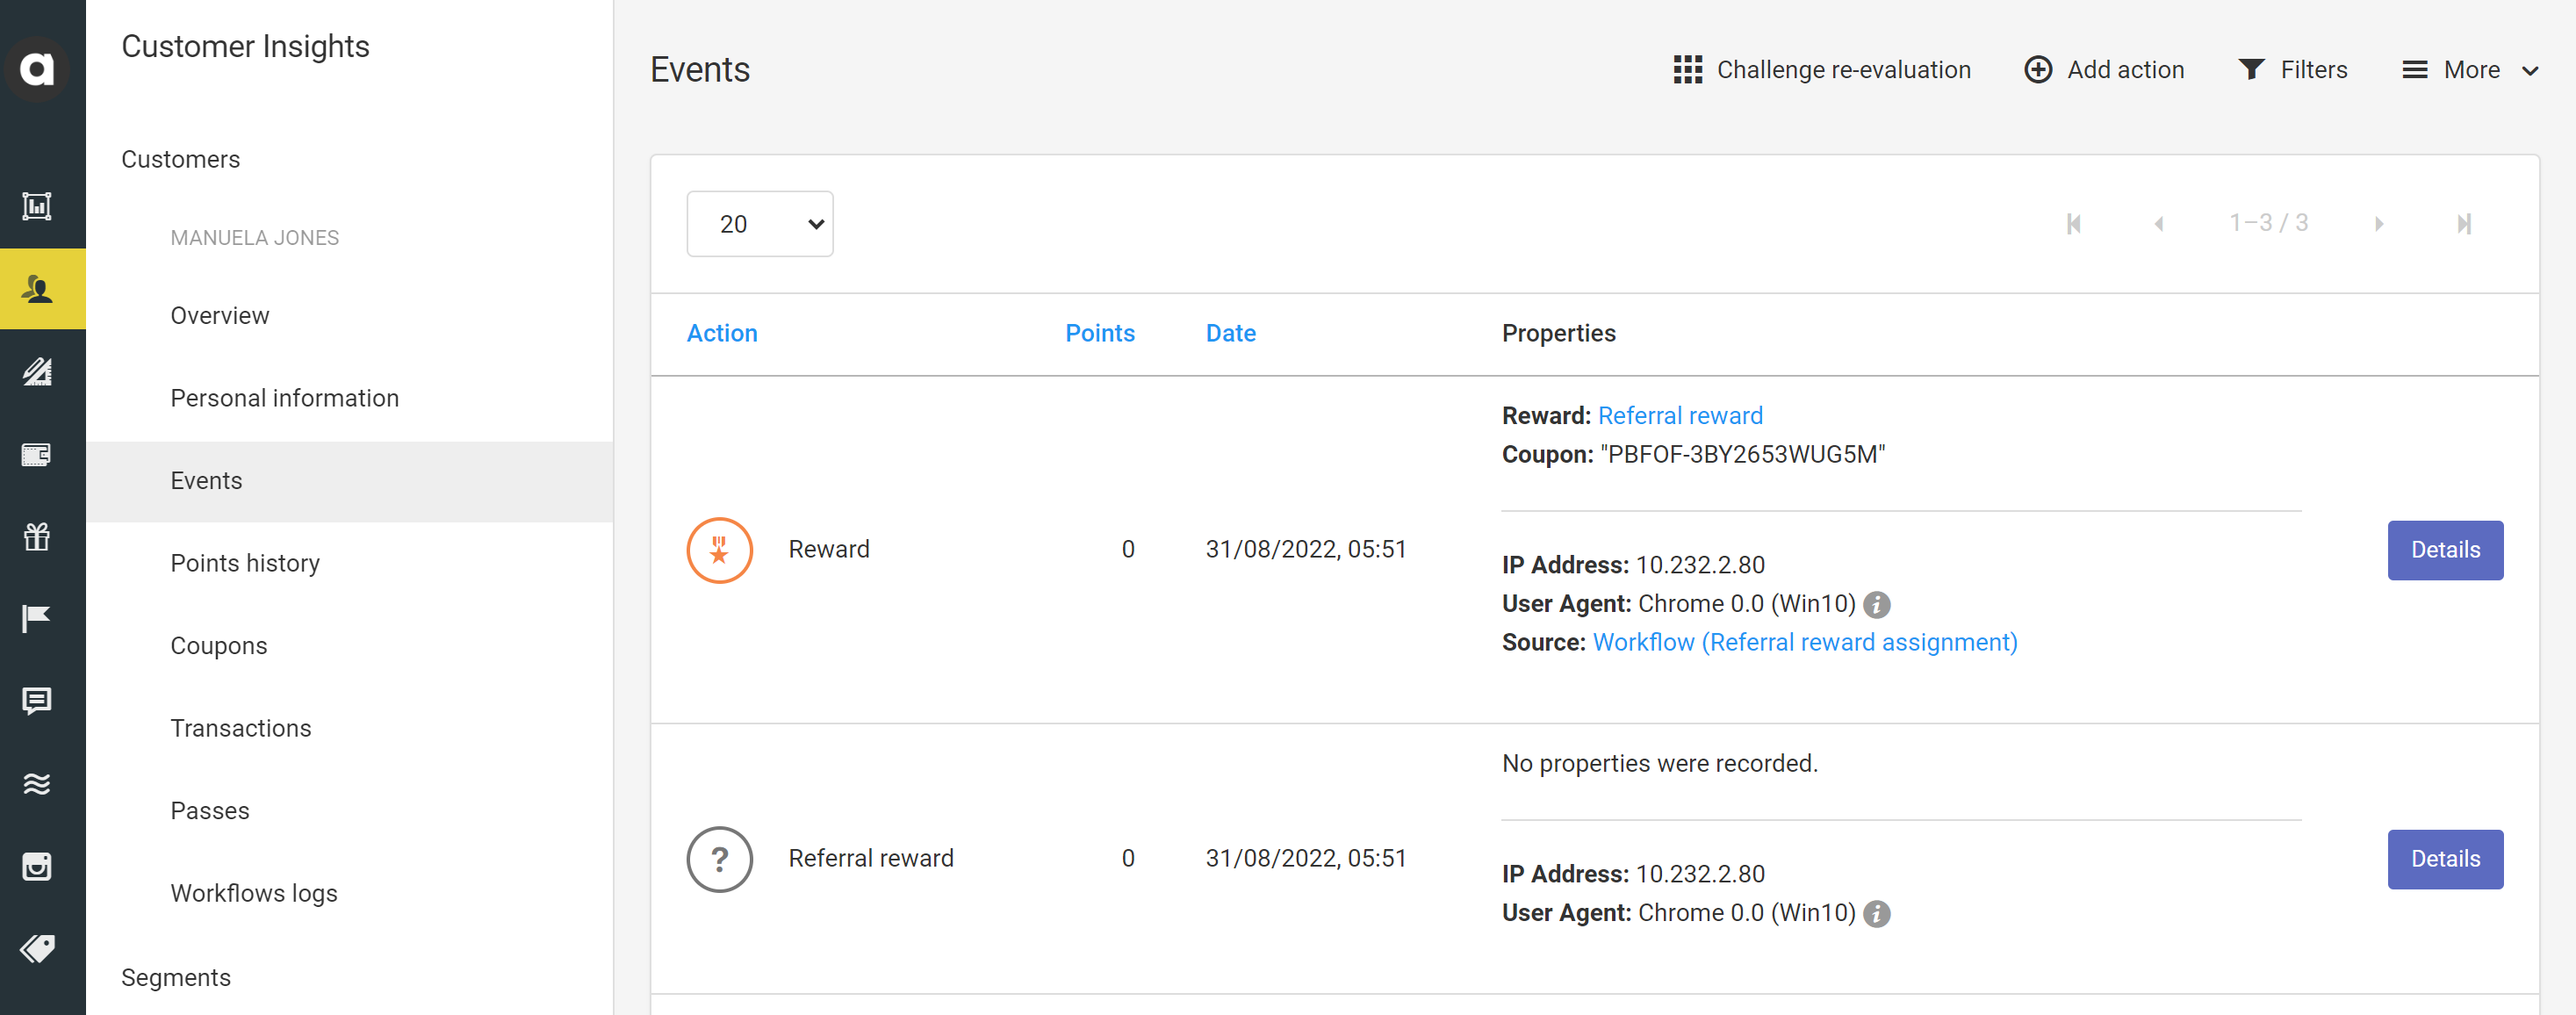
Navigate to the Event history of the referrer test customer. If the flow is configured properly, you will see a custom event and a Reward event with the name of the reward right after the custom event, indicating a successful referral. Both events should be registered with 0 point value.

Verify the successful delivery of the marketing communication email by checking the referrer test customer’s email history in your newsletter provider and its mailbox.