Ometria is a customer data and marketing platform that helps retailers boost revenue from customer relationship management by delivering personalized marketing messages across the entire customer journey.
Integrating Ometria with Antavo can bring several benefits. By merging the customer data gathered by the loyalty platform with Ometria’s marketing capabilities, businesses can craft more personalized and impactful marketing campaigns, tailored to the preferences and behaviors of individual customers.
This integration supports one-way synchronization, meaning data can only be sent from Antavo to Ometria, and not the other way around.
This document outlines how to configure the connection between Antavo and Ometria. Additionally, a typical use case will be discussed briefly.
To access the configuration interface, navigate to the Modules menu and search for Ometria integration in the list.
Configuring the Antavo – Ometria connection
The module configuration requires an API key, which can be found on Ometria’s platform.
Follow these steps to obtain the API key:
Click the Antavo → Settings menu in the upper right corner in Ometria
Navigate to API keys and copy the string to your clipboard
Paste the copied string into the designated field in Antavo's Management UI
Click Connect
Finally, choose the list that you want Antavo to synchronize with
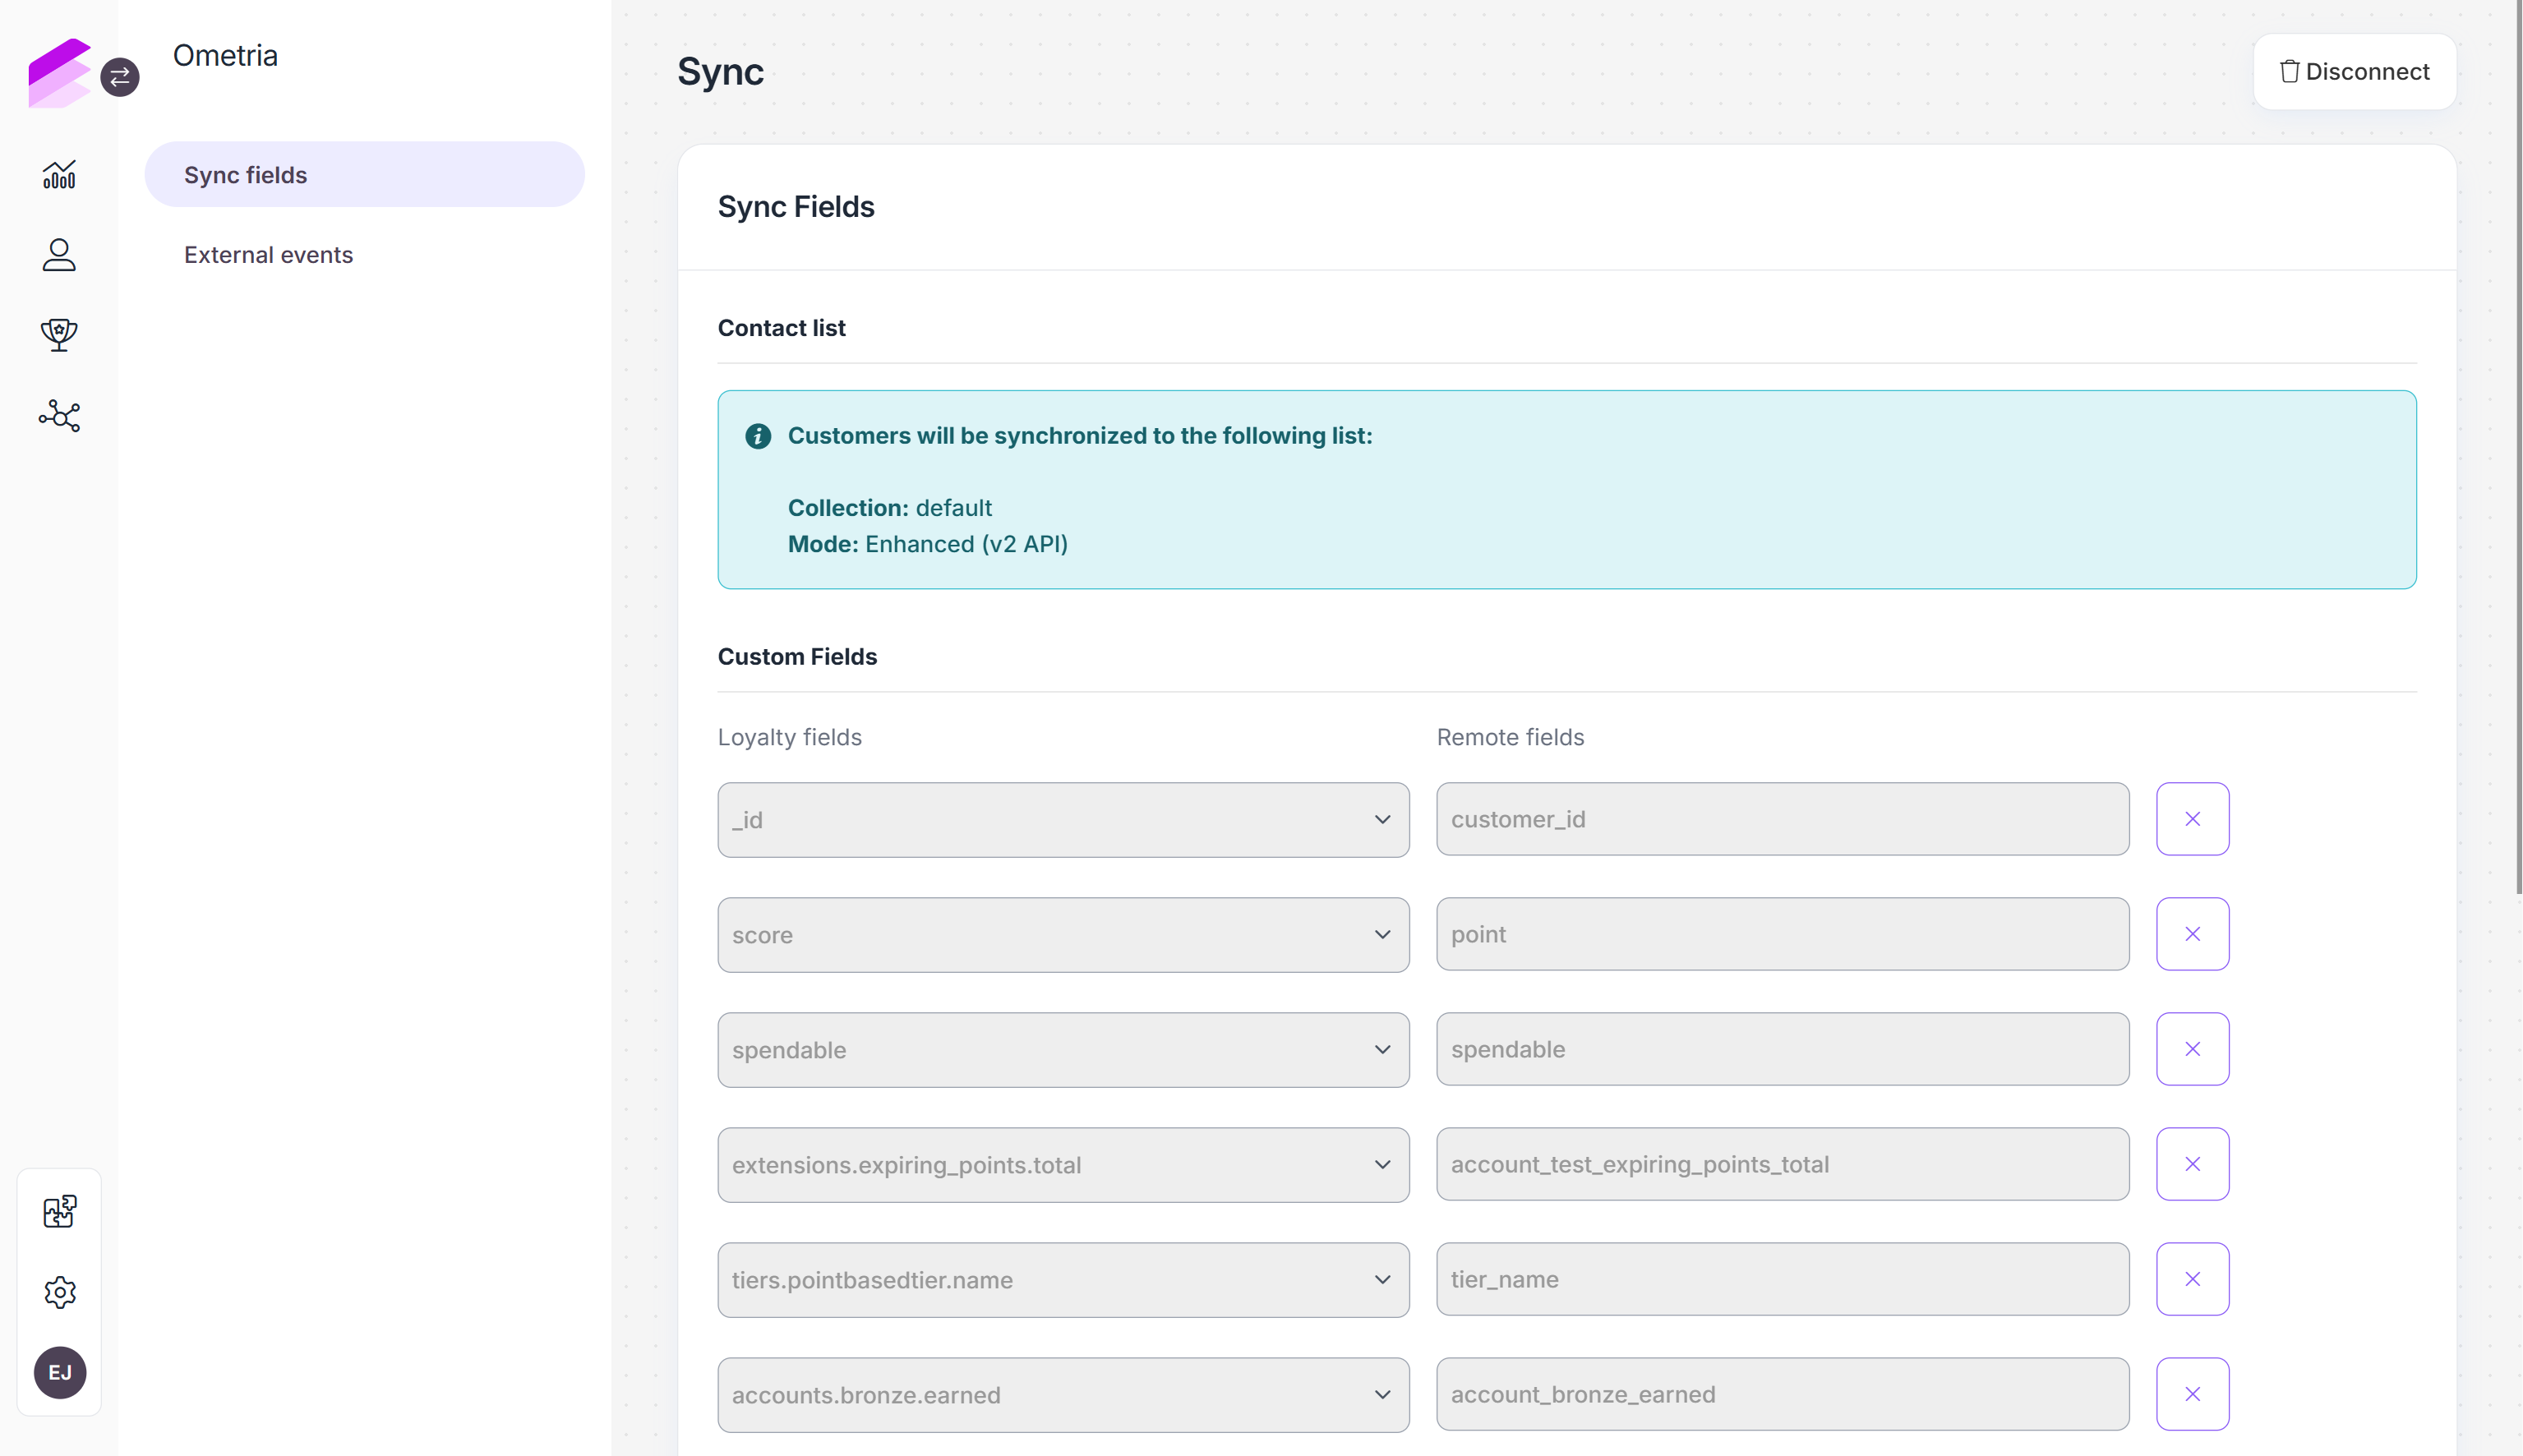
Field synchronization
Field synchronization defines how customer data is mapped between Antavo and Ometria.
Click Add new field + to create a new mapping
The Loyalty fields dropdown lists the available fields in Antavo, while Remote fields represent the corresponding fields in Ometria
Add additional mappings by inserting new rows at the bottom, then click Save
.png)
Creating and syncing custom fields
You can create custom remote fields in Ometria and sync them from Antavo.
Navigate to Ometria → Antavo Settings, create the custom field, then return to the Antavo Ometria module and enter the field ID in the Remote fields column.

Ometria v2
v2 integration is not enabled by default. If you would like to use the enhanced synchronization features, please contact the Antavo Service Desk.
The enhanced mode introduces an updated payload structure aligned with Ometria’s v2 contact data model and expands the list of selectable Antavo customer fields.
In addition to the fields available in legacy mode, you can now also select:
tier-related fields (customer.tiers.*) introduced by the Tiers module (e.g.,
tiers.basic_structure.next.name)expiring points fields introduced by the Expiring points module (e.g.,
extensions.expiring_points.total)multi-account balances (customer.accounts.*) introduced by the Multi-accounts module (e.g.,
accounts.prestige_balance.earned)
These fields appear in the Loyalty fields selector and can be mapped in the same way as other fields.
Ometria field placement rules in the v2 integration
Ometria distinguishes between built-in contact fields and custom properties. The v2 integration automatically places synced values in the correct location:
Mappings to Ometria built-in fields (for example, email or firstname) are sent as top-level fields
All other mappings are sent under properties
This ensures compatibility with Ometria’s v2 API and prevents invalid payload structures.
Triggering Ometria campaigns from Antavo events
You can synchronize Antavo events with Ometria through the Workflows editor. This example shows how to push an automated email campaign based on a customer’s reward claim by setting up this rule.
You can access workflow management through the Workflows icon on the left sidebar.
Click Create new campaign or Create new general workflow, depending on the type of flow you would like to run
Fill in the required fields to create the campaign or workflow
Drag and drop the Event trigger node to the empty canvas from the right sidebar
Select Claiming a reward event from the dropdown menu. This way, whenever someone claims a reward, they will be automatically enrolled in Ometria’s email campaign.
Click Update
Drag and drop the Trigger Marketing Communication action node to the sheet from the right sidebar
This node should appear when the Ometria module is enabled in Antavo’s Management UI.Double-click the node. The payload should include fields (Reward name, Reward description) tagged in Ometria’s email templates.
If these tags are present in the emails, then automated campaigns can be set up in Ometria.